7 Connecting the Power Cord
This section describes the procedure for connecting the power cord and various cautions.
Notes on Power Supply
• Install the printer near an AC wall outlet, preferably one that can be used for the printer alone.
• Only use this printer with the supply voltage indicated on the serial number label attached to
the printer’s side panel.
• If an extension cord is used, the total length of the power cord plus extension should be 5
meters (17 feet) or less.
Power Requirements
To Connect the Power Cord
1
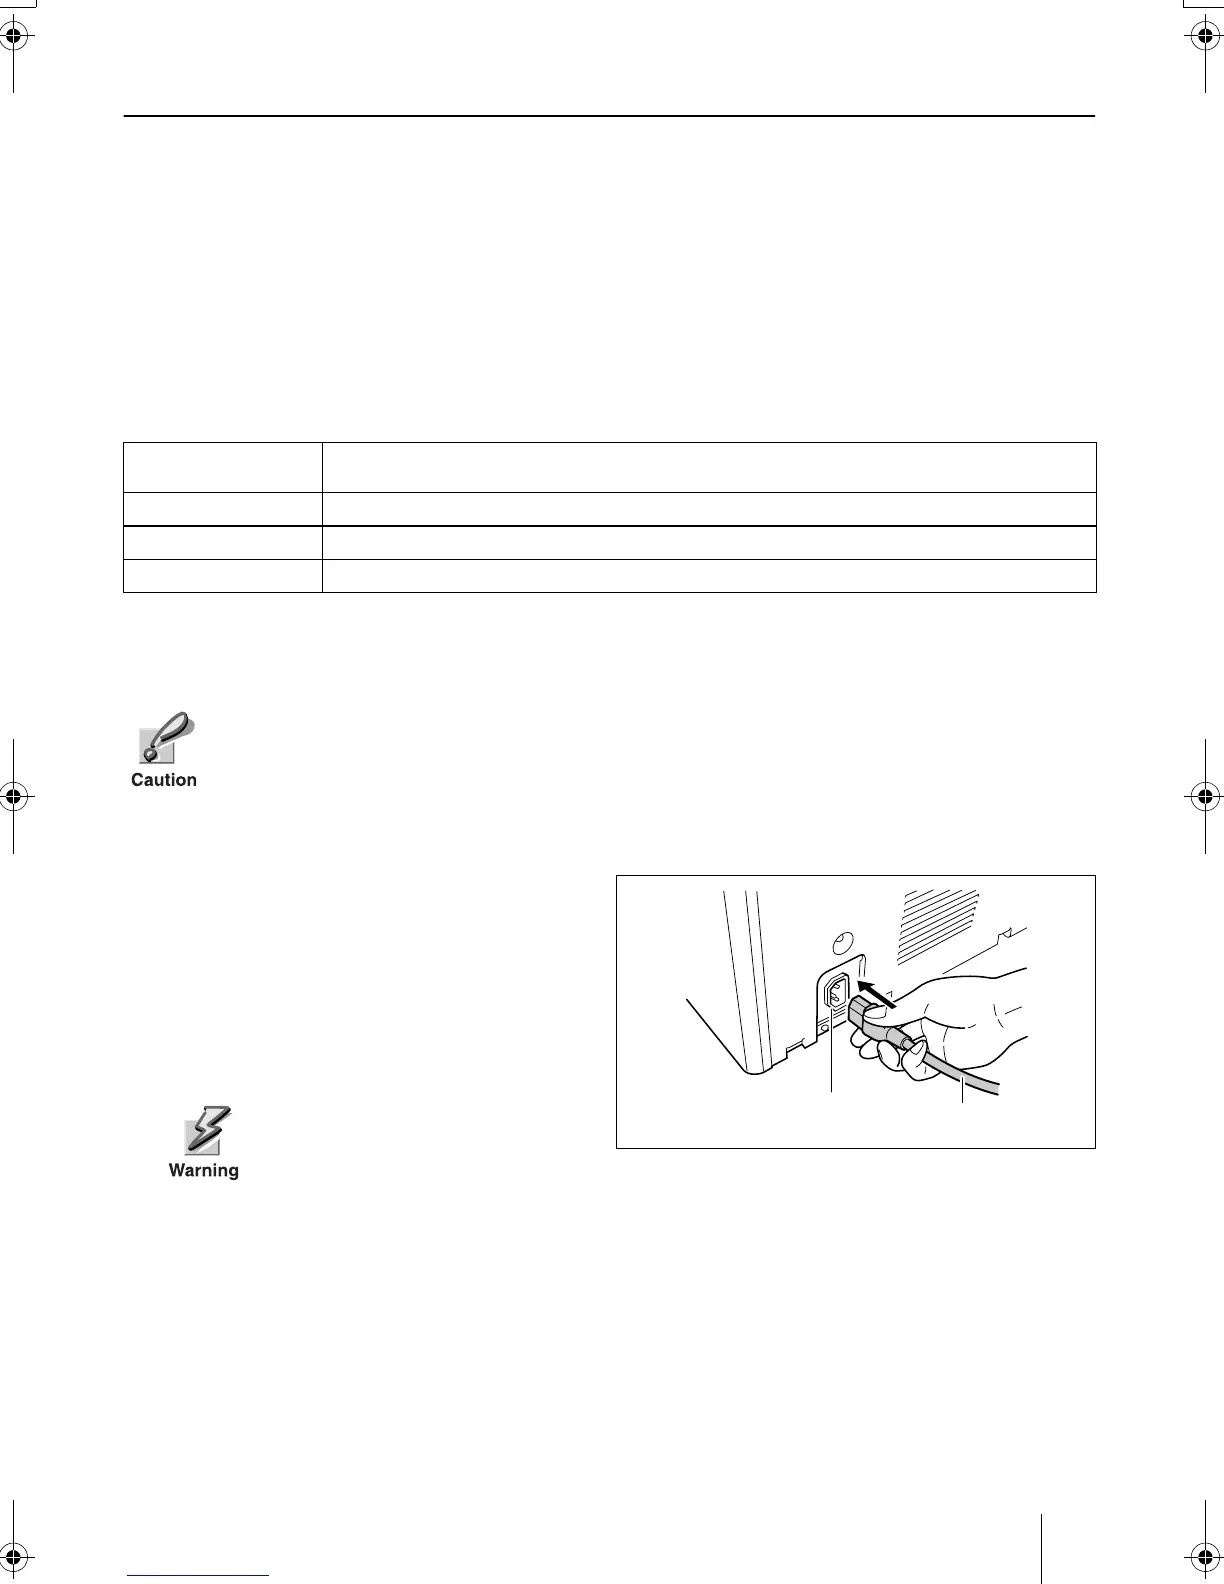
For 220 to 240 V models:
Plug the power cord into the power cord
connector on the rear of the printer.
For 120 V model:
This step is not necessary for 120 V model.
2
Connect the other end of the power cord
into a power outlet.
Voltage
120 V (U.S.A. and Canada), 220 to 240 V (European countries, and the Asia Pacific region),
±10 % at each voltage
Frequency
60 Hz (120 V) ±2 %, 50/60 Hz (220 to 240 V) ±2 %
Current capacity
Max. 10.8 A at 120 V, or max. 5.6 A at 220 to 240 V (FS-9100DN)
Current capacity
Max. 10.9 A at 120 V, or max. 5.7 A at 220 to 240 V (FS-9500DN)
• Be sure the printer’s power switch is turned off.
• Only use the power cord supplied with the printer.
Be sure to connect to a 3-wire
grounded power strip.
Power Cord Connector
(220 to 240 V models only)
Power Cord
 Loading...