2-30
Installing and Setting up the Machine > Network Setup
Network Setup
Configuring the Wired Network
The machine is equipped with network interface, which is compatible with network protocols such as TCP/IP (IPv4),
TCP/IP (IPv6), NetBEUI, and IPSec. It enables network printing on the Windows, Macintosh, UNIX and other platforms.
Set up TCP/IP (IPv4) to connect to the Windows network.
Be sure to connect the network cable before configuring the settings.
Connecting LAN Cable (page 2-7)
For other network settings, refer to the following:
Network (page 8-47)
IPv4 setting
1
Display the screen.
[System Menu/Counter] key > [System/Network] > "Network" [Next] > "Wired Network
Settings" [Next] > "TCP/IP Setting" [Next] > "IPv4" [Change]
2
Configure the settings.
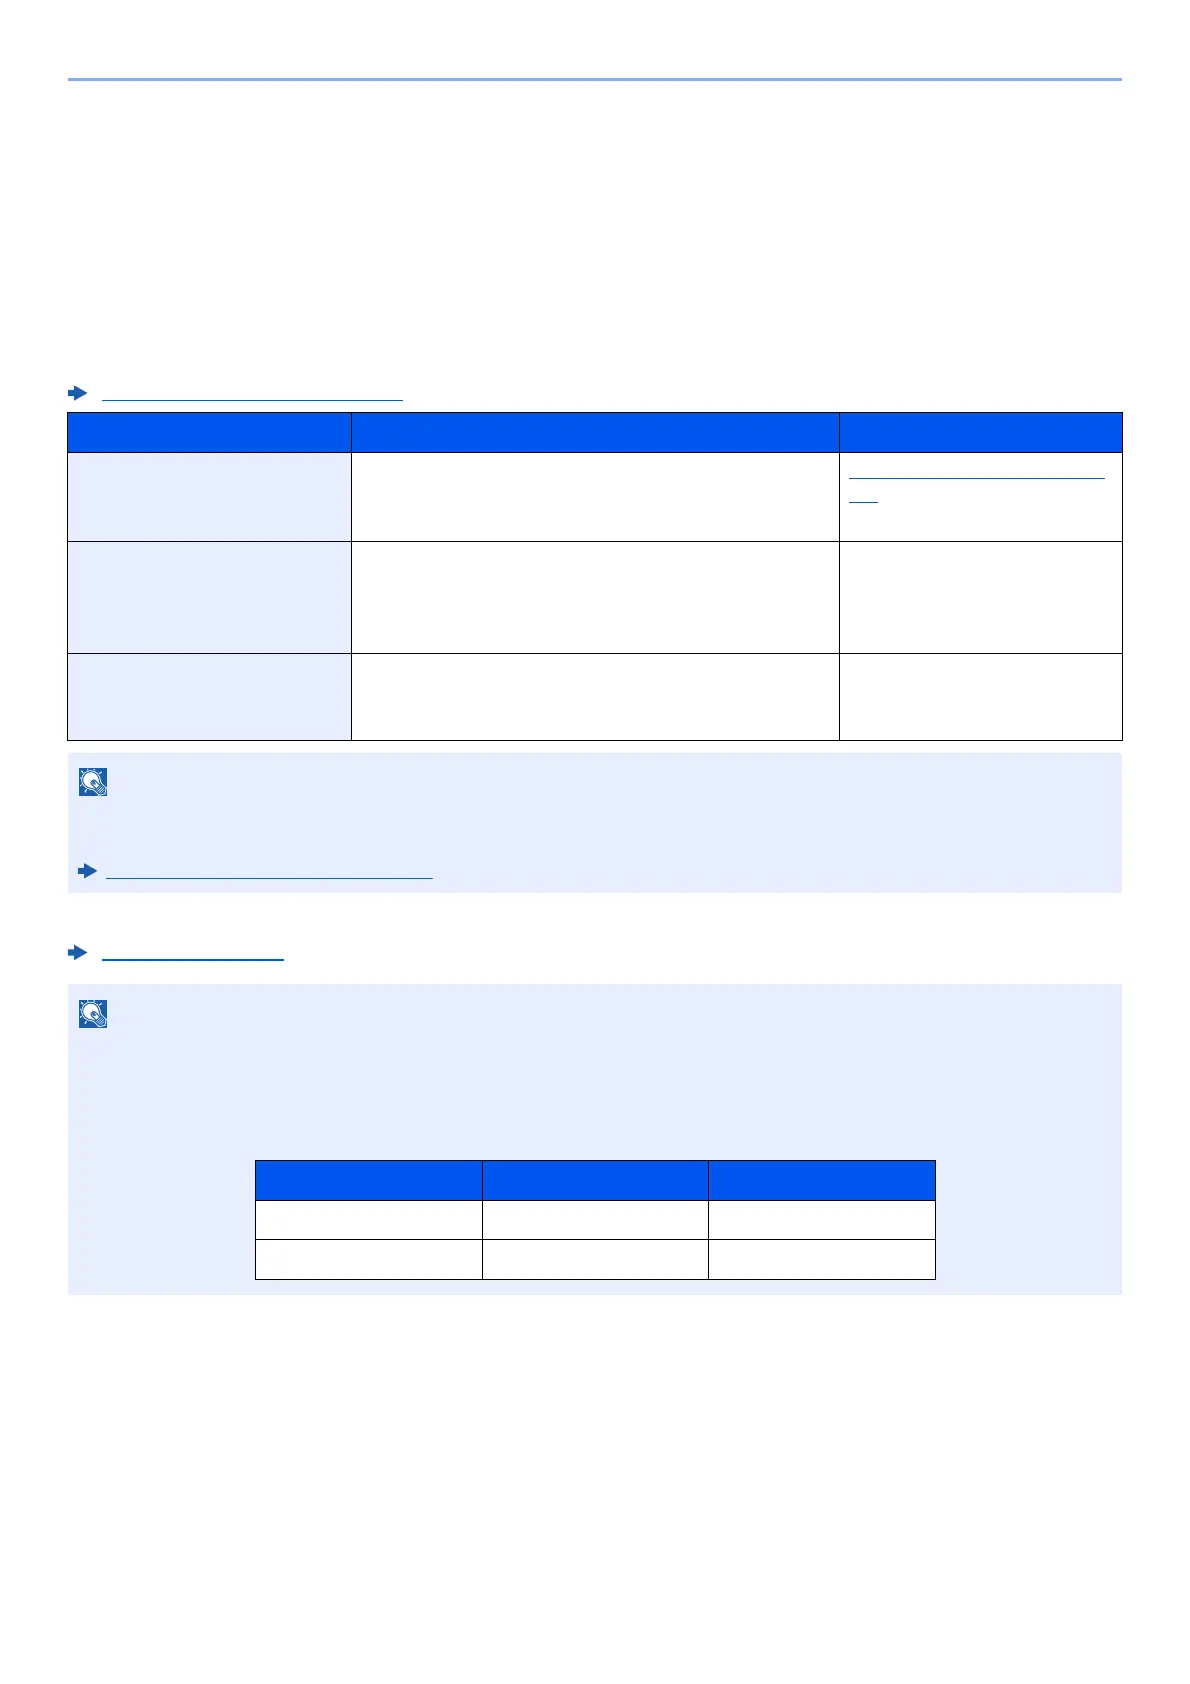
Configuration Method Description Reference Page
Configuring the Connection
from the Operation Panel
on This Machine
Use Quick Setup Wizard when configuring the
network in a wizard-style screen, without setting
individually in System menu.
Quick Setup Wizard (page 2-
42)
Configuring Connections
on the Web Page
For the equipped network interface, the connection
can be set by using Command Center RX. For the
optional IB-50, the connection can be set by using
the dedicated Web page.
Command Center RX User
Guide
IB-50 Operation Guide
Setting the Connection by
Using the Setup Utility of
IB-50
This is the setup tool included in the CD of IB-50. You
can use it on Windows.
IB-50 Operation Guide
When you want to switch to the network interface other than Wired (default), select the desired setting on "Primary
Network (Client)".
Primary Network (Client)
(page 8-61)
If user login administration is enabled, you can only change the settings by logging in with administrator privileges.
If user login administration is disabled, the user authentication screen appears. Enter a login user name and
password, and select [Login].
The factory default login user name and login password are set as shown below.
Model Name Login User Name Login Password
3212i 3200 3200
4012i 4000 4000