Management
10-22
Adding an Account (Accounting List)
This section explains how to add a new account. The following entries are required.
Use the procedure below to register a new account.
1 Press the System Menu key.
2 Press [User Login/Job Accounting].
3 If the user authentication screen appears, enter
your login user name and password and then press
[Login]. For this, you need to login with
administrator privileges. Refer to Adding a User
(Local User List) on page 10-5 for the default login
user name and password.
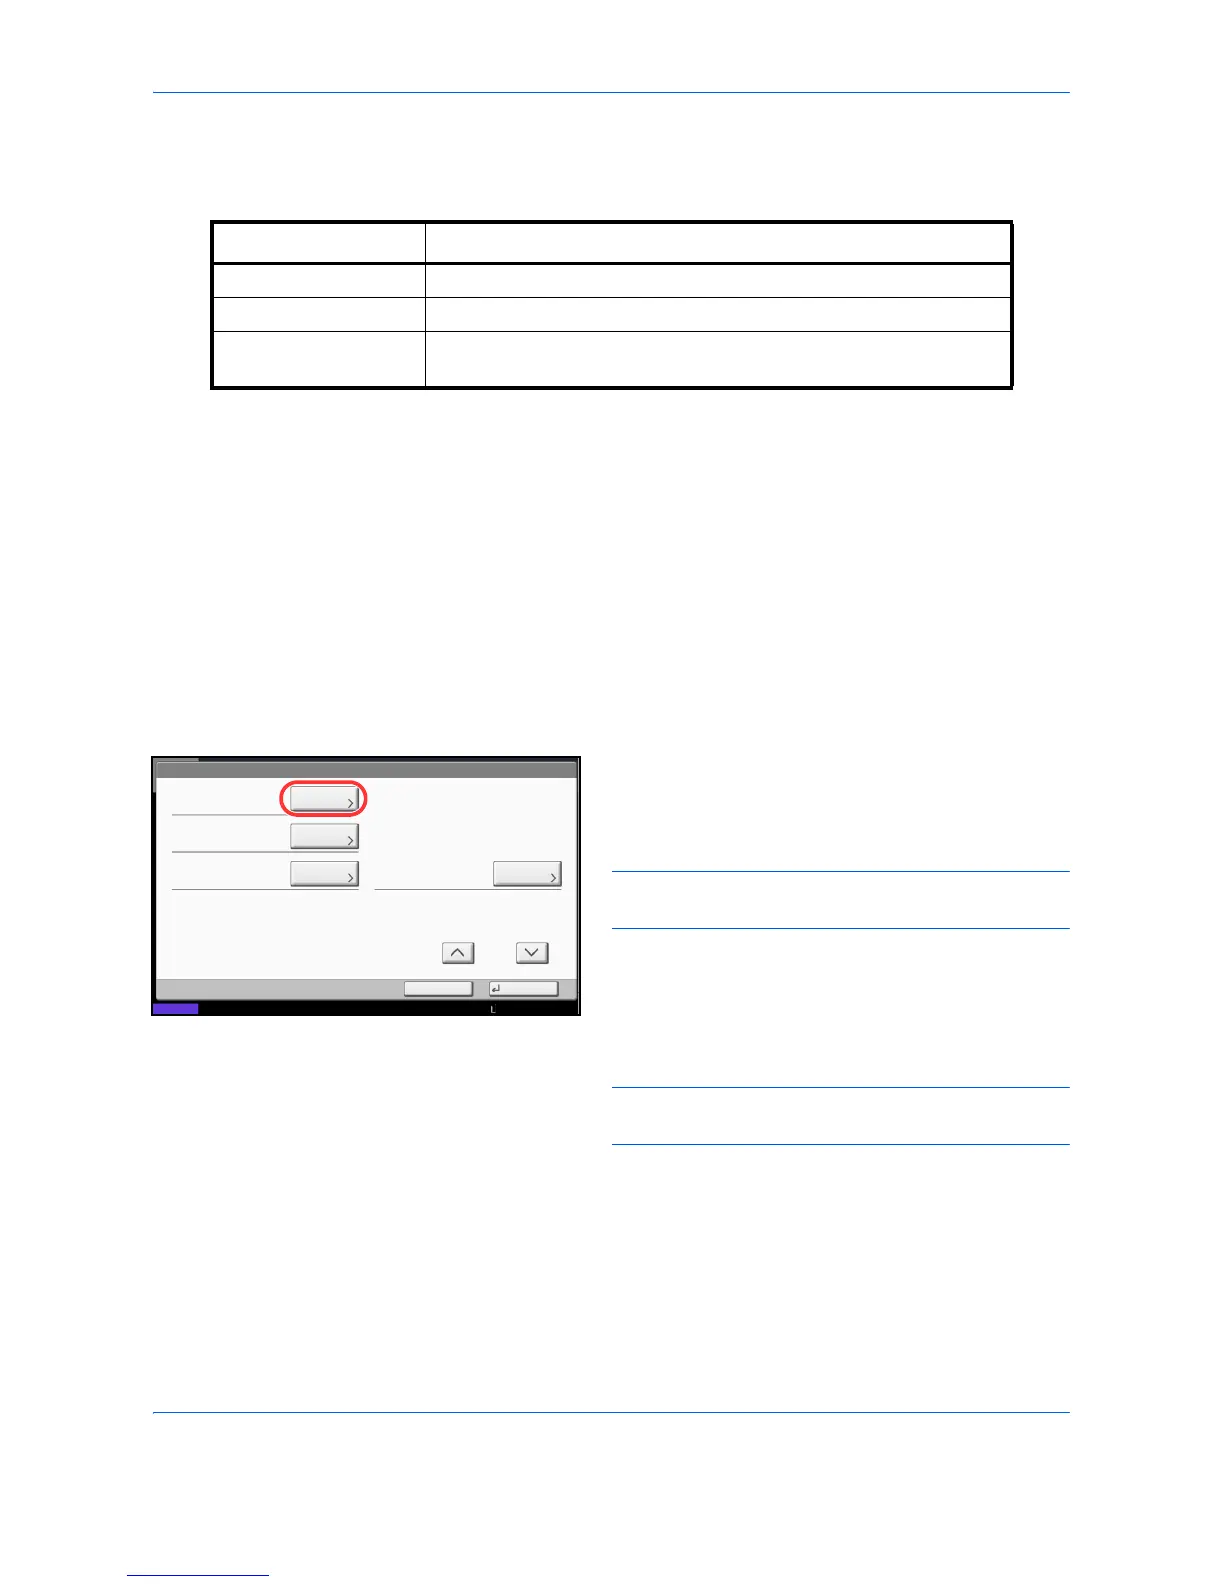
4 Press [Next] of Job Accounting Setting, [Add/Edit]
of Accounting List, and then [Add].
5 Press [Change] of Account Name.
6 Enter the account name and press [OK]. The
Account screen reappears.
NOTE: Refer to the Character Entry Method on
Appendix-9 for details on entering characters.
7 Follow steps 5 and 6 above to enter the Account ID.
NOTE: Any account ID that has already registered
cannot be used. Enter any other account ID.
8 Activate or deactivate restriction. Refer to
Restricting the Use of the Machine on page 10-24.
9 Press [Save] to add a new account on the Account
List.
Item Description
Account Name Enter the account name (up to 32 characters).
Account ID
Enter the account ID as many as eight digits (between 0 and 99999999).
Restriction This Prohibits printing/scanning or restricts the number of sheets to
load. Refer to Restricting the Use of the Machine on page 10-24.

 Loading...


