DVR Settings
Changing the Date & Time Settings
Flashback3 & Flashback HD User’s Guide
L3 Mobile-Vision 6.23.2017 Page 33
For more information, see:
Changing the Date & Time Settings, below
Changing the Record Settings, page 44
Changing the Audio Settings, page 66
Selecting & Configuring Record Triggers, page 90
Changing Display Options, page 116
Entering/Changing the Wireless Options, page 146
Entering/Changing the Ethernet Options, page 158
Entering/Changing the Wireless Security Settings, page 177
Entering/Changing System Settings, page 197
Entering the Officer Name, page 208
Entering the DVR Unit Name, page 210
Viewing/Updating Firmware, page 213
Copying the DVR Configuration File to/from DVR, page 218
Resetting the DVR to its Factory Settings, page 224
Copying the DVR Log Files to a USB Drive, page 226
Formatting an SD card, page 229
Viewing Your Flashback ID, page 231
Viewing Media Access Control Addresses, page 233
Changing the Date & Time Settings
To change the date and/or time settings, proceed to the appropriate section:
Selecting a Time Zone, below
Turning Daylight Savings Time On/Off, page 35
Changing the Date Display Format, page 37
Selecting the Current Date, page 39
Selecting the Current Time, page 42.
Selecting a Time Zone
This section describes how to select the time zone in which you will be recording.
The system defaults to Eastern Standard Time.
1 M
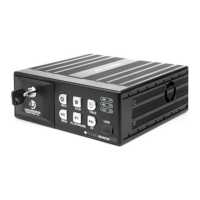
ake sure the door to your DVR is open and Auto mode is off. (If necessary, press
the button until the light turns off.)
2 P
ress . The Main Menu displays.