7
PRE-INSTALLATION CHECKLIST
POST MIX ACCESSORIES:
High Pressure CO
2
Regulator
Low Pressure CO
2
Regulator
Manifold
CO
2
Supply
Chain for CO
2
Tank
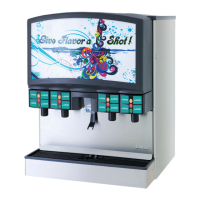
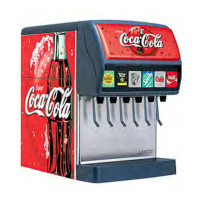
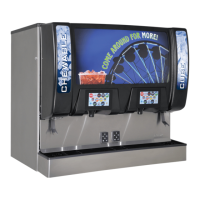
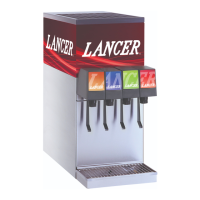
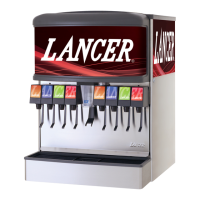
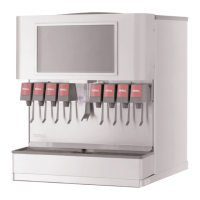
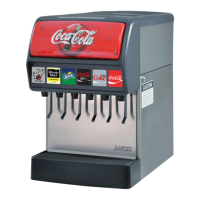
Beverage Dispenser
Beverage Tubing
Oetiker Clamp Fittings
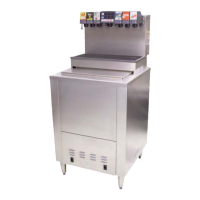
Water Booster (Lancer PN:
82-3401 or MC-163172
Water Regulator (supplied with
unit)
CONSIDER THE FOLLOWING
BEFORE INSTALLATION:
Location of Water Supply Lines
Location of Drain
Location of Electrical Outlet
Location of Heating and Air
Conditioning Ducts
Do you have enough space to
install the dispenser?
Is countertop level?
Can the countertop support the
weight of the dispenser? (Include
the weight of an ice machine plus
weight of ice, if necessary)
Is dispenser located away from
direct sunlight or overhead
lighting?
TOOLS REQUIRED:
Oetiker Pliers
Tubing Cutters
Wrench
Slotted Screwdriver
Phillips Screwdriver
Drill
BIB SYSTEM:
BIB Rack
BIB Syrup Boxes
BIB Regulator Set
BIB Connectors
INSTALLATION
Read This Manual
This manual was developed by Lancer Corporation as a reference guide for the owner/operator and install-
er of this dispenser. Please read this manual before installation and operation of this dispenser. Please see
pages 20-23 for troubleshooting or service assistance. If the service cannot be corrected please call your
Service Agent or Lancer Customer Service. Always have your model and serial number available when you
call.
Unpacking the Dispenser
1. Set shipping carton upright on the oor then cut package
banding straps and remove.
2. Open top of carton and remove interior packaging.
3. Lift carton up and o of the unit.
4. Remove plywood shipping base from unit by moving unit so
that one side is o the counter top or table allowing access
to screws on the bottom of the plywood shipping base.
6. If leg kit has been provided, assemble legs by tilting unit.
If unit is to be transported, it is advisable to leave the
unit secured to the plywood shipping base.
NOTE
Inspect unit for concealed damage. If evident, notify
deliveringcarrierandleaclaimagainstthesame.
NOTE
DO NOT LAY UNIT ON ITS SIDE OR BACK
! ATTENTION
5. Remove accessory kit and loose parts from ice
compartment.