SMQV
LECTROSONICS, INC.
10
Adjusting Audio Level (Gain)
ThecontrolpanelModulationLEDsindicatetheaudio
levelandlimiteractivity.Onceset,thetransmitter’s
audio level setting should not be used to control the
volume of your sound system or recorder levels. This
gain adjustment matches the transmitter gain with the
microphone’soutputlevel,theuser’svoicelevelandthe
position of the microphone. The audio input level (gain)
is adjusted with the unit in the Standby Mode or while
poweredupwhileobservingtheLEDs.
It is desirable to to set the gain so that some limiting
occurs on louder peaks. The limiter is very transparent
and its effect is not audible until the system is close to
overload.Inotherwords,don’tbeshyaboutturningup
the gain. In fact, it is a good idea to turn the gain up to
maximum and listen for distortion or compression to get
a feel for how much headroom the system actually has.
Signal Level -20 LED -10 LED
Lessthan-20dB Off Off
-20dBto-10dB Green Off
-10dBto+0dB Green Green
+0 dB to +10 dB Red Green
Greater than +10 db Red Red
Note: Different voices will usually require different
gain settings, so check this adjustment as each
new person uses the system. If several different
people will be using the transmitter and there
is not time to make the adjustment for each
individual, adjust it for the loudest voice.
1) Withthetransmitterpoweredoff,pluginthemi-
crophone and make sure the connector is firmly
seated.
Warning: If the systems is powered up while
connected to a live sound system, be careful
to turn the sound system level down first or
severe feedback can occur.
2) Place the transmitter in Standby Mode or turn it on
for normal use.
3) Position the microphone in the location where it will
be used in actual operation.
4) ObservetheModulationLEDswhilespeakingor
singing into the microphone at the same voice level
thatwillbeusedduringuse.WhileholdingtheAU-
DIObutton,presstheUPorDOWNarrowbuttons
untiltheboththe-20and-10LEDsglowgreen,
withthe-20LEDoccasionallyickeringred.This
willmaximizethesignaltonoiseratioofthesystem
with full modulation and provide subtle limiting to
prevent overload and audible compression.
5) If the unit was set up in Standby Mode, it will be
necessary to turn the transmitter off, then power it
up again in normal operation so the RF output will
be on. Then the other components in the sound or
recording system can be adjusted.
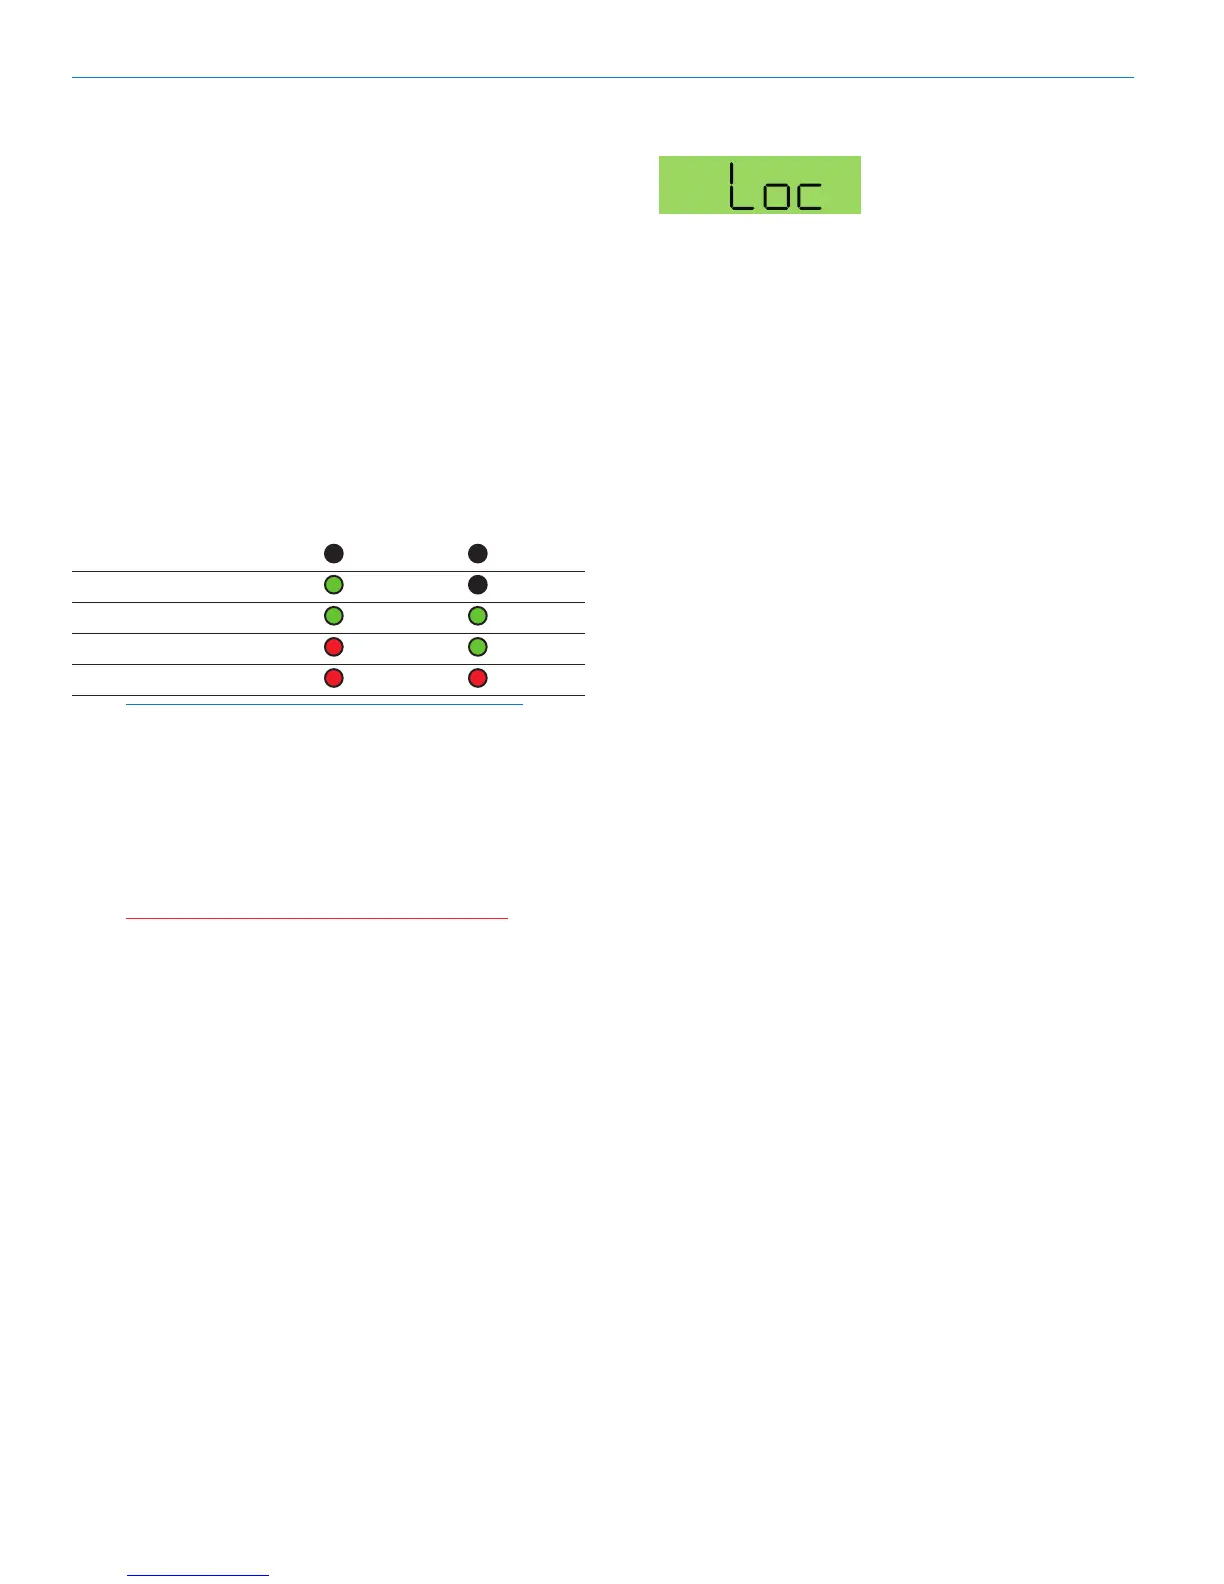
Locking or Unlocking the Controls
Control Panel Locked
The Lock mode protects the
transmitter from accidental
changes to its settings.
Simultaneously press both
the Up and Down arrow
buttonstostartthecountdowntimer.Whenthetimer
reacheszero,“Loc”isdisplayedandthecontrolsare
locked. Settings can be reviewed but not changed.
Oncethetransmitterislocked,itcannotbeunlockedor
powered off using the buttons. The only ways to unlock a
locked transmitter are to remove the battery or unlock it
using the remote control. The remote control will work only
if the transmitter was previously configured to respond
to the remote control. The unit will always power up in
“unlocked” mode.