SRa5P and SRa Dual Receivers
LECTROSONICS, INC.
18
MIXTRIM and MIXMODE
Since this is a dual receiver that can be used with cam-
eras that offer only a single input in the slot, special op-
tions are available to allow the audio from the receivers
to be mixed to either one or both audio output channels.
The MIXMODE setting determines which audio signal
appears at which output channel:
• MIXBOTH mixes the audio and delivers the mix to
both output channels.
• MIXTO 1 mixes the audio and delivers the mix to
output channel 1.
• MIXTO 2 mixes the audio and delivers the mix to
output channel 2.
• DIRECT keeps the audio separated and delivers
receiver 1 audio to output channel 1, and receiver 2
audio to output channel 2.
The MIXTRIMsettingappliesattenuationupto20dBin
1dBstepstoadjusttheratioofthetwoaudiosignalsin
themix.Thisadjustmenttakeseffectonlywhenamix
mode is Selected (it is ignored when the mix mode is
settoDIRECT).
IMPORTANT:TheLEVELsettingintheother
setup screen (see previous page) is hardware-
based and affects the output level regardless
ofwhichmixmodeisselected.MIXTRIMthen
applies attenuation to that level setting resulting in
thenalleveldeliveredtotheoutputchannel.Itis
goodpracticetosettheLEVELofbothreceivers
to the same value when using a mix mode.
WhenaMIXMODEisSelected,eachaudiosignalisau-
tomatically attenuated by 6 dB prior to the mixing. This
is done to avoid overload and potential distortion since
mixing increases the level by 6 dB. The same input gain
on the camera or mixer can generally be used regard-
less of whether or not a mix mode is being used in the
receiver.
TONE
The TONE setup screen enables an audio test tone at
the receiver output for precise level matching with other
equipment. The first screen prompts you to press the
UPorDOWNbuttontoenablethetoneatthereceiver
output.
The first screen prompts you
topresstheUPorDOWN
button to start the tone.
Oncethebuttonispressed,a1kHztoneisenabled,
anditslevelcanbeadjustedwithadditionalpresseson
theUPorDOWNbuttons.
The level set here will be retained in the regular oper-
ating mode (it will supersede the setting made in the
LEVELsetupscreen).Thetesttonehas1%distortion
and is intended for confirmation of output levels only.
To exit the test tone screen and stop the tone press the
BACKbutton.
Front Panel Shortcuts
A convenient shortcut is available from any setup
screen that displays the receiver selection option
(switching diversity mode with two separate receivers).
Oncethevaluehasbeensetononereceiver,thesame
value can be copied to the other receiver with a simple
button push combination.
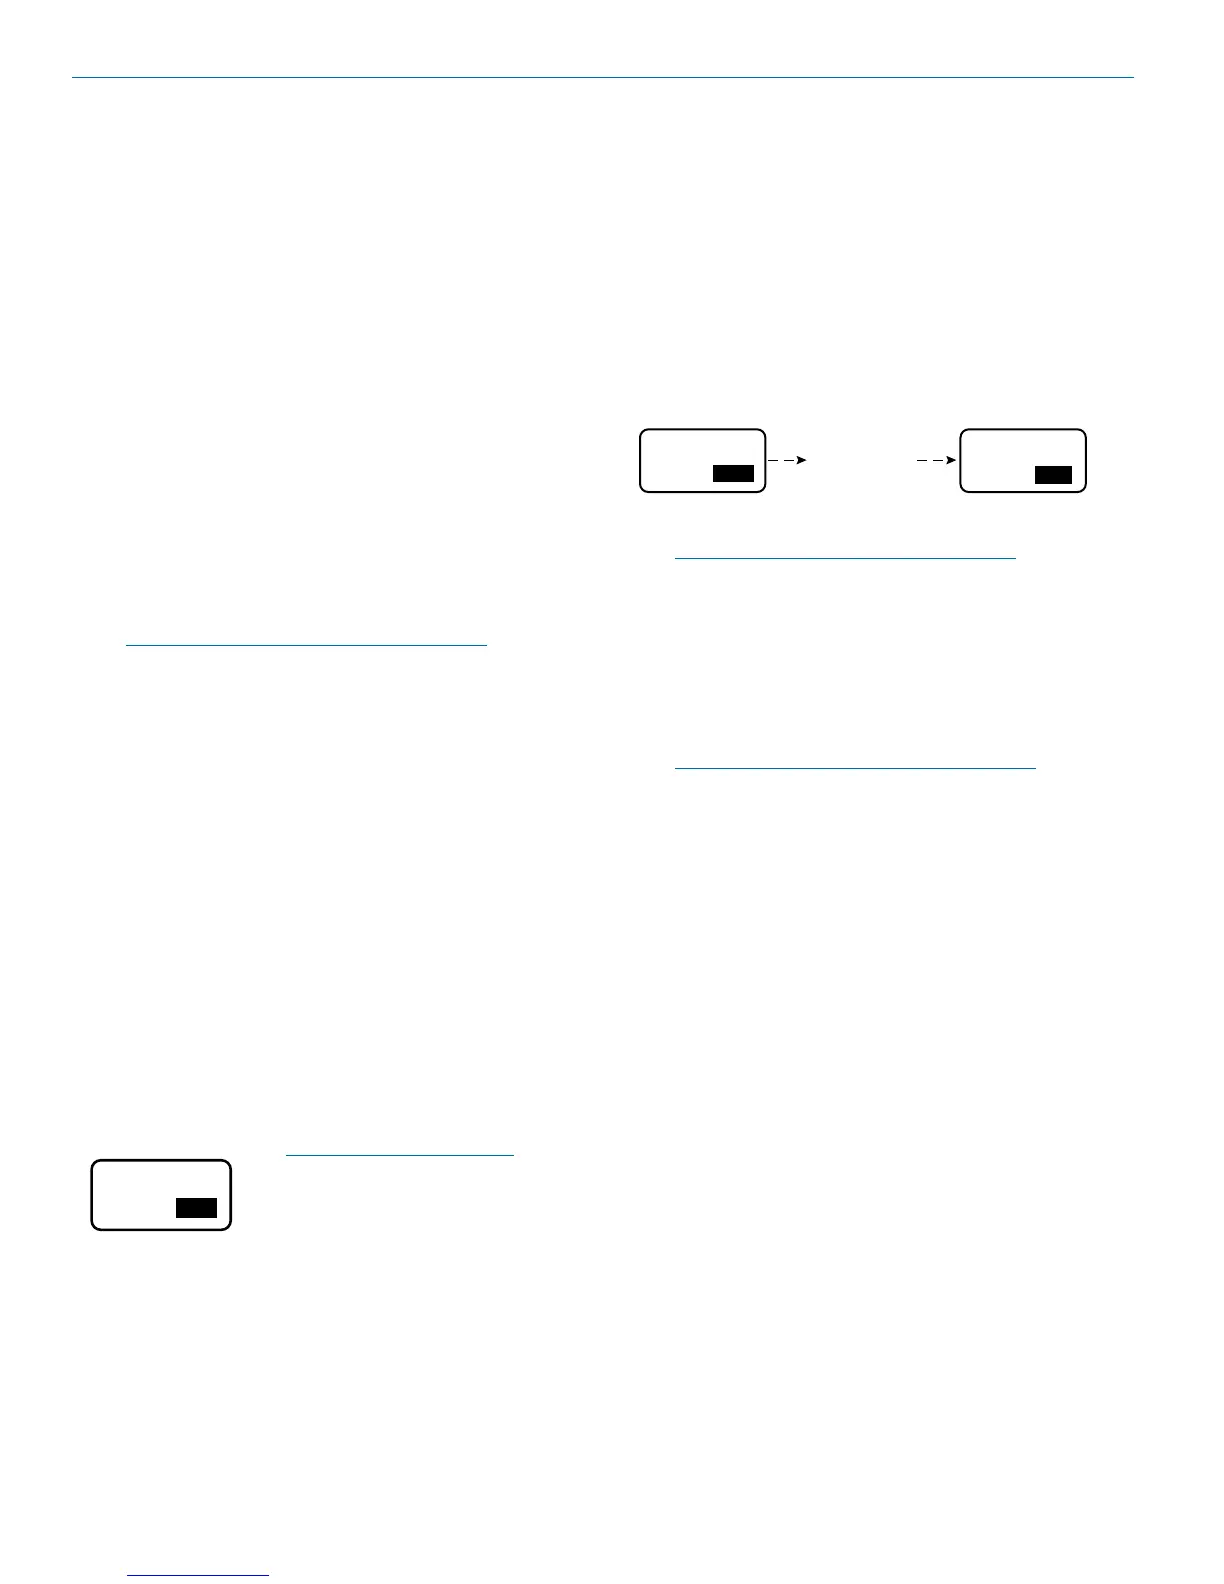
For example, in the Setup Levels screen, holding the
MENUbuttonandpressingtheUParrowwillcopythe
value from Receiver 2 to Receiver 1. The arrow key
determines the “destination” of the value setting. UP
setsthevalueonReceiver1,andDOWNsetsthevalue
on Receiver 2.
+05
00 00
LEVEL LEVEL
00
Hold MENU and
press UP arrow
To copy the value from Receiver 1 to Receiver 2, hold
theMENUbuttonandthenpresstheDOWNarrow.
NOTE:Itdoesnotmatterwhichreceiveris
selected (highlighted).
Locking and Unlocking the
Front Panel Controls
Thefrontpanelcontrolscanbe“LOCKED”toprevent
accidental changes being made during operation and
handling.
Note: Whether locked or unlocked, the setting
persists when the unit is off and even when the
power is turned off.
From the Main Window, press and hold the UP and
DOWNarrowsatthesametimeandobservethe
display.ThecurrentstateisdisplayedasLOCKEDor
UNLOCKED,andnumeralsappearasa“3,2,1”count-
down takes place. When the countdown is complete
the state is reversed and the new state is displayed as
LOCKEDorUNLOCKED.