Confi guring Your Computer
This guide has been created specifi cally for use with
the Apple® Macintosh™ computer running MAC OS10.3
(Panther). Apple® computer has played an important
role in the photographic community as the operating
system is tightly integrated with the hardware itself.
This integration allows us to focus on common settings
that may be applied across many models. While options
specifi ed in this section may translate to the PC plat-
form, keep in mind that each PC computer is shipped
with a dizzying array of software tools, display cards,
and drivers that make it diffi cult to defi ne compatibil-
ity within the scope of this guide.
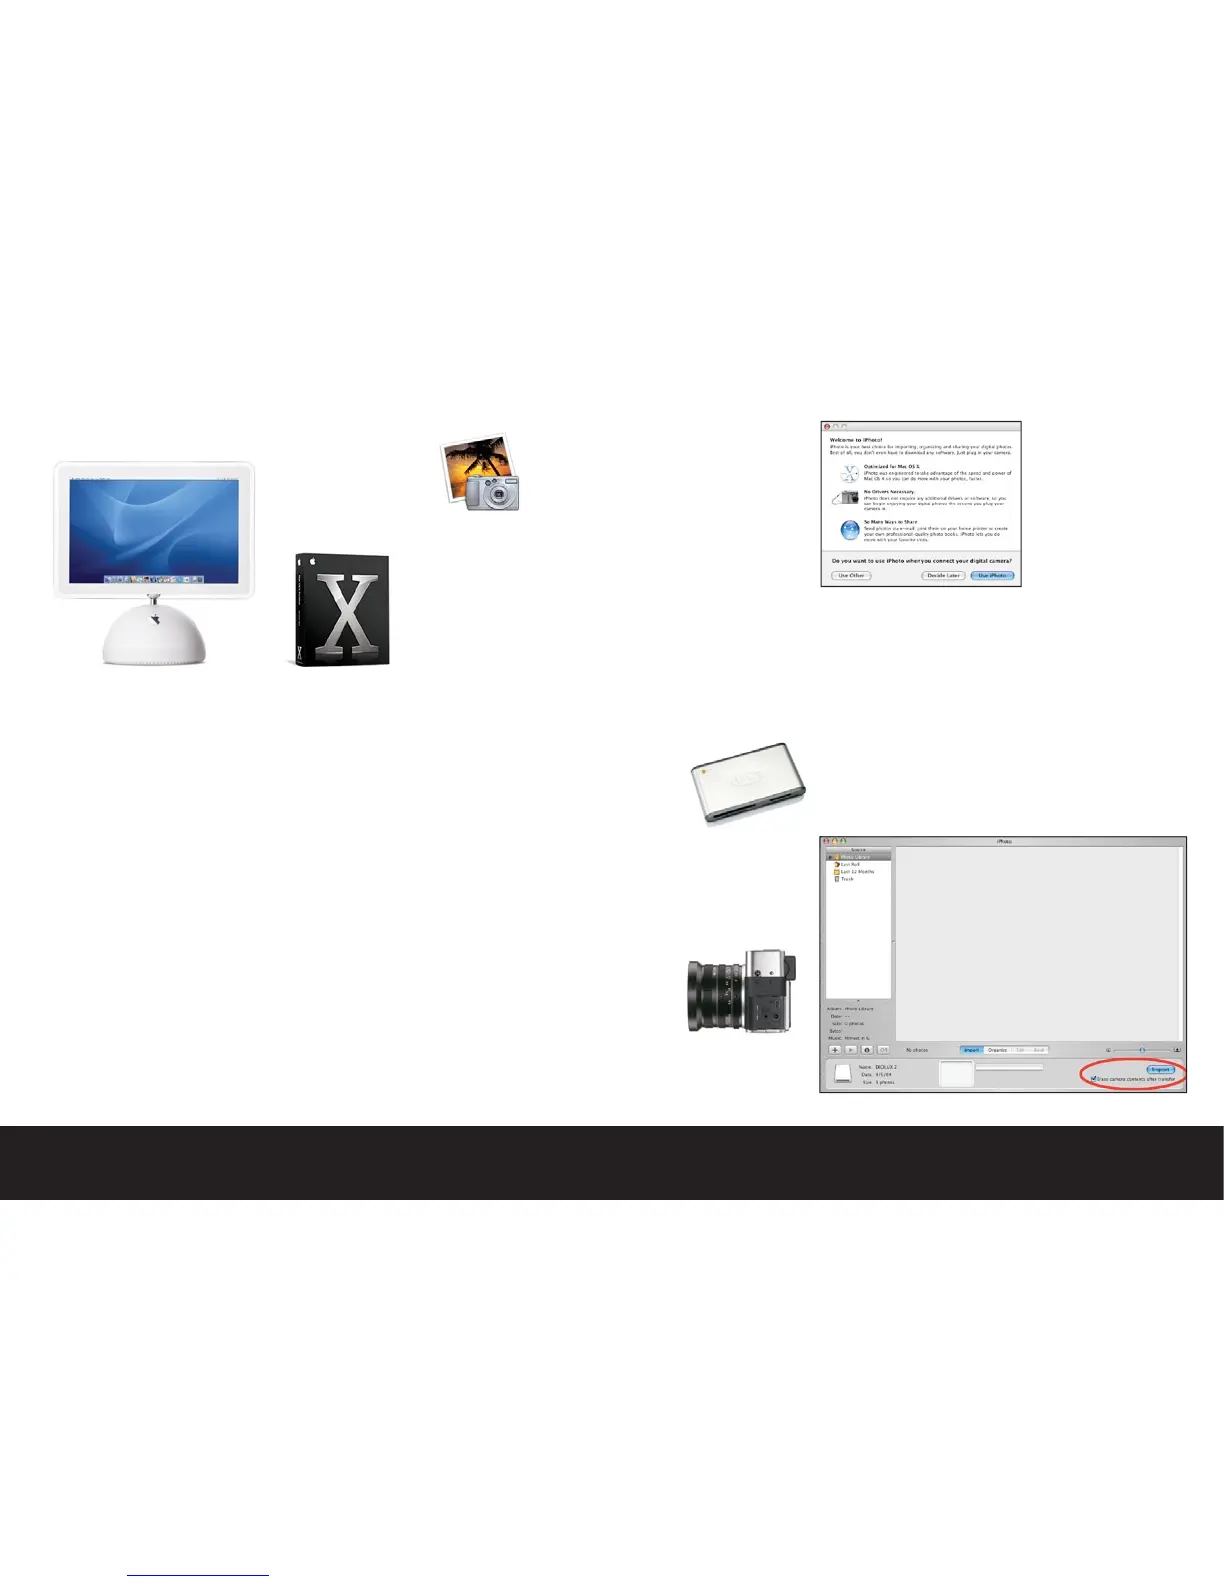
The Digilux 2 and your Macintosh™
When working with the Macintosh™ computer and the
Digilux 2 less is more! This means that as long as your
are using the latest version of the MAC OS (currently
version 10.3) you do not need to install any driver
software to download or view images.
The iPhoto™ software application that
comes bundled with every Macintosh™
computer is a wonderful tool for work-
ing with your digital images, and may
serve as your “home base” for your
collection of digital images.
iPhoto™ is easy to use, and is well documented so you
may take the steps in our guide, and build upon this
basic information at your own pace. iPhoto™ does not
currently recognize the Digilux 2 raw format image
fi les, but we explain how to work with raw fi les later in
this section.
You will need the following items to connect to your
computer:
•The USB to camera cable (supplied)
Note: You may also use a third-party
USB or Firewire External SD card
reader. Laptop users may choose to
use a SD to PCMCIA adapter.
Connecting your Digilux 2 for direct downloading
•Set the Digilux 2 to Playback Mode
•Confi rm that the Digilux is in the “Mass Storage” or
“PTP” USB Mode. This parameter may be found on the
second page of the playback setup menu options.
•Open the cover on the left side of
the camera to expose the USB port,
and insert the cable to your camera,
and an available USB port on your
computer.
•In a few moments, the Macintosh™
will recognize the camera, and will automatically
launch the iPhoto™ application.
Note: The fi rst time
you launch iPhoto™
by a direct camera
connection, the
operating system
will ask you if you
wish to use iPhoto™
when connecting your
camera.
We suggest that you click the “Use iPhoto™” button.
You may always change this preference down the road.
•Once iPhoto™ launches, you will notice an “Import”
button on the lower right of the iPhoto™ window.
Clicking this button will begin importing all of the
images from your camera to the computer. By default,
the software is set to leave the images on your card
untouched. If you click the option to “erase camera
contents after transfer”, the images will be deleted
from your camera upon successful download.

 Loading...


