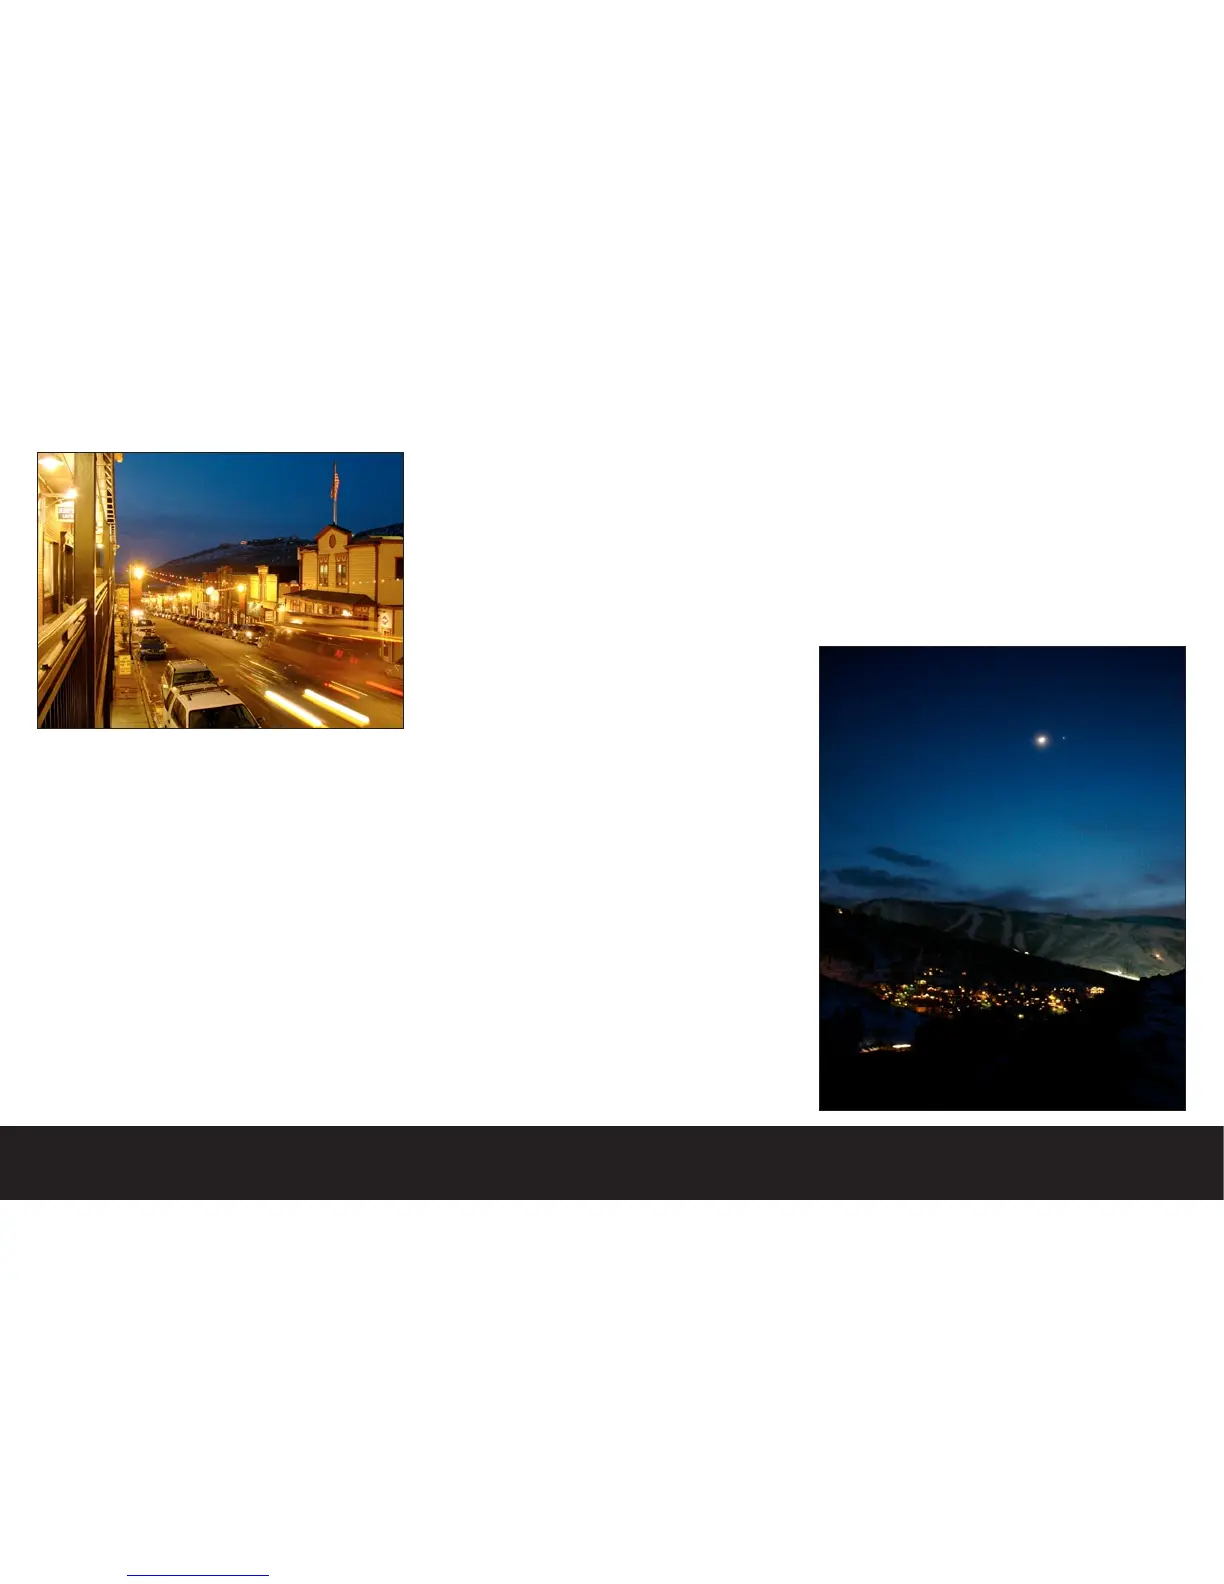
Night/Low Light Photography
Many digital cameras perform poorly in low light situ-
ations. The Digilux 2 performs quite well in low light,
and opens up a wide range of creative opportunities.
Shooting at night presents a number of technical chal-
lenges that require you to plan your approach to ensure
that your efforts are rewarded with the best possible
digital image files.
When photographing in low light, you will get surpris-
ingly decent images using the camera in full automatic
mode, but the real fun begins when you take control of
the camera in manual mode where you may define the
color, exposure time, and aperture. Before you set out
to begin photographing at night, we suggest that you
bring along a few items.
Remote release cable
Lightweight tripod
High capacity memory card (to store raw image files)
Technical Note:
When creating night shots, we suggest that you capture
in the raw format. While this will slow down your cap-
ture process, and consume quite a bit of storage space,
you will benefit from having full access to the captured
image data when you edit your image on the computer.
For example: when you shoot in any of the JPEG image
modes, your image data is processed according to the
color/exposure set at the time of capture. In addition,
color data is constrained to the sRGB color definition
which clips information, and the image degradation
of the JPEG compression will add additional noise and
distortions.
Why raw mode?
While under most circumstances the in-camera conver-
sion to the JPEG file format is more than adequate,
night shots push a digital camera (as well as traditional
film) to the limit. If you open a Jpeg file of a night shot
and make even small adjustments to levels, curves or
color balance, you will quickly see the image degrade.
Any noise (grain) in the shadows will be exaggerated,
and color banding (uneven gradations) will be more
prevalent. The reason for this loss of quality is due to
the fact that while the camera sensor initially captures
12bits per pixel (4096 individual gradations per color),
the in-camera JPEG processing re-maps tones down to
8bits per pixel (just 256 individual gradations). In ad-
dition, JPEG compression creates artifacts that further
degrade the image quality. If you shoot a JPEG image
and decided after the fact to shift the color balance
from daylight to tungsten, you will be throwing away
an additional 25% of your already limited tones. The
raw image file is processed and stored directly from the
image sensor to your memory card. When opening the
image into your editing application, the software has
full access to this original data. Large moves of color
and density may be applied to derive the best possible
image. In practical use, you will learn to carefully
choose the situations where you want to shoot once
and edit many times.
Quick Tip:
Since shooting in raw format is slower and consumes
valuable storage space, You may switch to a JPEG mode
while composing your image, to experiment with set-
tings and composition. Once you arrive at the settings
you wish to use, you may switch back to raw mode for
your final capture using the function button.

 Loading...