When you capture, create, or scan an image into a
computer, you are directly involved with tonal deci-
sions, and your adjustments may make or break an
image with equal ease. When people processed film
they adhered to very exacting processing times, and
temperatures to achieve high quality. With digital im-
aging, the same people will engage in guesswork that
only leads to a frustrating experience. When evaluating
or editing a digital image take a methodical approach.
For example:
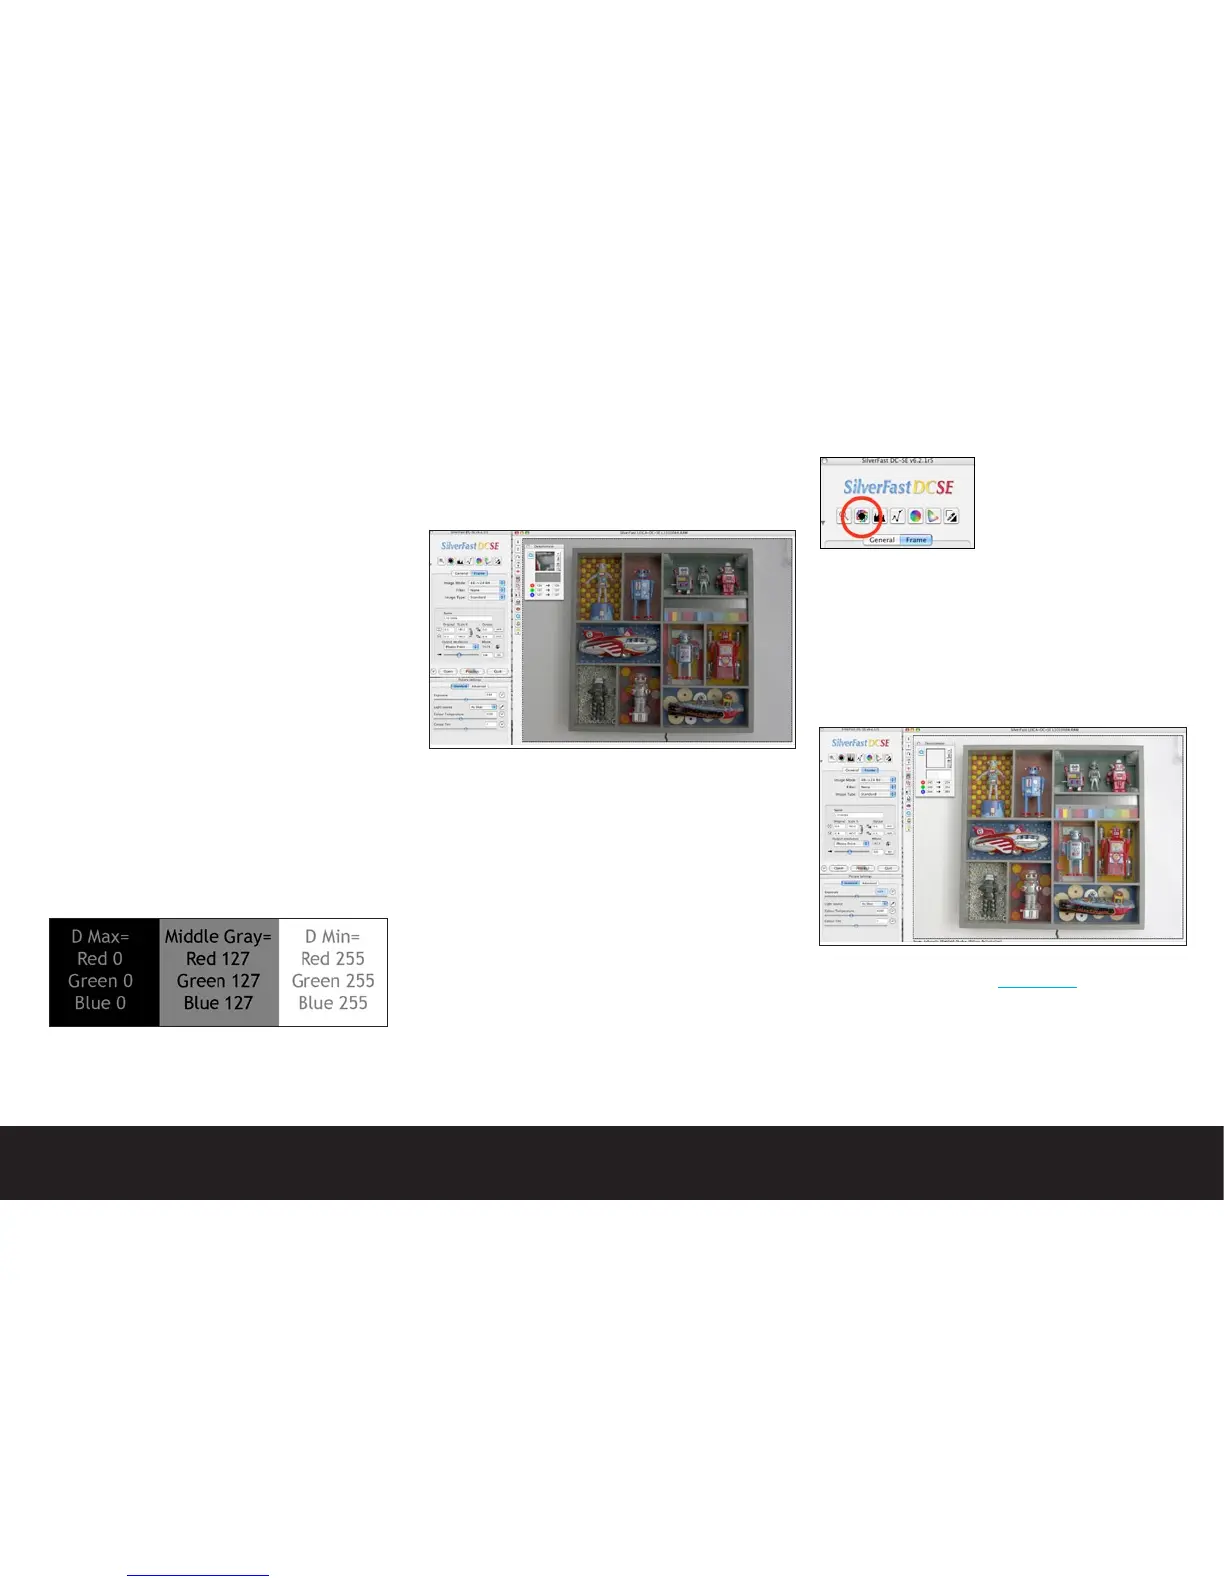
The darkest area of an image has a numeric value (D
Max.) represented as a value of zero (0) The light-
est area of your image has a numeric value (D Min.)
represented as a value of 255. As a general rule, it is
safe to retain some values in the highlight and shadow
of an image such as a value of 5-15 in the shadow, and
a value of 240-245 in the highlight. If you were to pho-
tograph a properly exposed 18% gray card, the value
would be approximately 127 (in a 1.8 Gamma configura-
tion and 110 in a 2.2 Gamma environment)
If you look at the individual red, green, and blue values
of the same 18% gray card, you will note that the
values are equal (red 127, green 127, blue 127). This
indicates that the area has absolutely no color bias,
and is neutral balanced.
With these markers in mind, you may begin to properly
interpret any image. Let’s look at a typical editing
session. Many of these same tasks may be performed in
any image editing software.
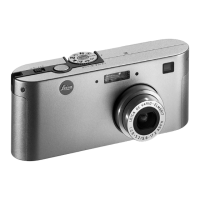
Example Silverfast Editing Session
Open an image in Silverfast
Make note of the numeric values in the densitometer as
you move the cursor through your image.
Evaluate the shadow point
Find the darkest value in the image. Are the values
close to zero? Are the values very different between
the individual RGB readouts? Look for values that are
between 5 and 15. Pressing the Control+Option keys
will find the darkest pixel in the image.
Evaluate the highlight point
Find the lightest value in the image. Are the values
close to 255? Are the values very different between the
individual RGB readouts? Look for values between 240
to 250. Pressing the Shift+Command Keys will find the
lightest pixel in the image.
Note: In this sample image, the gray scale is not valu-
able for density adjustment due to the lighting condi-
tions at capture (outdoor open shade). The scale may
still be used to verify color balance.
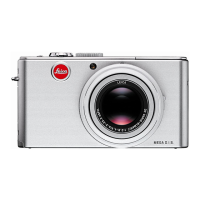
Image auto-adjustment
There are several methods
of adjusting shadows in
Silverfast. The quickest
method is to select the
Automatic Highlight-Shadow-
Midtone adjustment button.
This tool analyzes the image by locating the bright-
est and darkest pixel within the frame selection, then
establishes a proper mid tone value. This adjustment
will also remove any color casts in the image to ensure
that your blacks and whites remain neutral. By crop-
ping into specific areas of an image, you may leverage
this automatic adjustment process to quickly correct
difficult images.
Note: If you wish to adjust density only while retaining
the existing color cast of the image, hold the shift key
while clicking on the Automatic adjustment button.
The tones will be adjusted, but color balance will be
maintained.

 Loading...