28
Operation
Switching on
Mains connection and fuses → p. 9.
Operate mains switch (on the right side of the
microscope base) so that the integrated
coloured pilot lamp lights up.
Brightness
Adjust the brightness with the dial (23.6). The
numbers on the dial are not absolute values, but
are intended to enable reproducible settings.
The maximum value is about 12 V, the marking
point of a colour temperature of approx. 3200 K.
Brightfield, basic setting
Switch the condenser disc* (23.8), if present, to
the BF (= brightfield) position or pull out light
ring slide (7.7).
Move condenser as far as the upper stop (23.3).
Open the field diaphragm (23.10).
If present: Pull out the light trap* (25.5; 31.11).
Set magnification changer* (36.1) at pos. 1.
If you want to use transmitted light, switch
fluorescence illuminator* into empty position or
filter system A (31.10).
Adjustment specimen
For the initial adjustment of the microscope it is
advisable to have a specimen that contains
areas of high and low contrast.
For incident light fluorescence of transparent
specimens, adjust in transmitted light first.
Secure the specimen with object holder (Fig. 13)
or specimen clips. The coverglass must point
upwards.
Attention:
Before shipping, the specimen stage is covered
with a protective film, this should be removed.
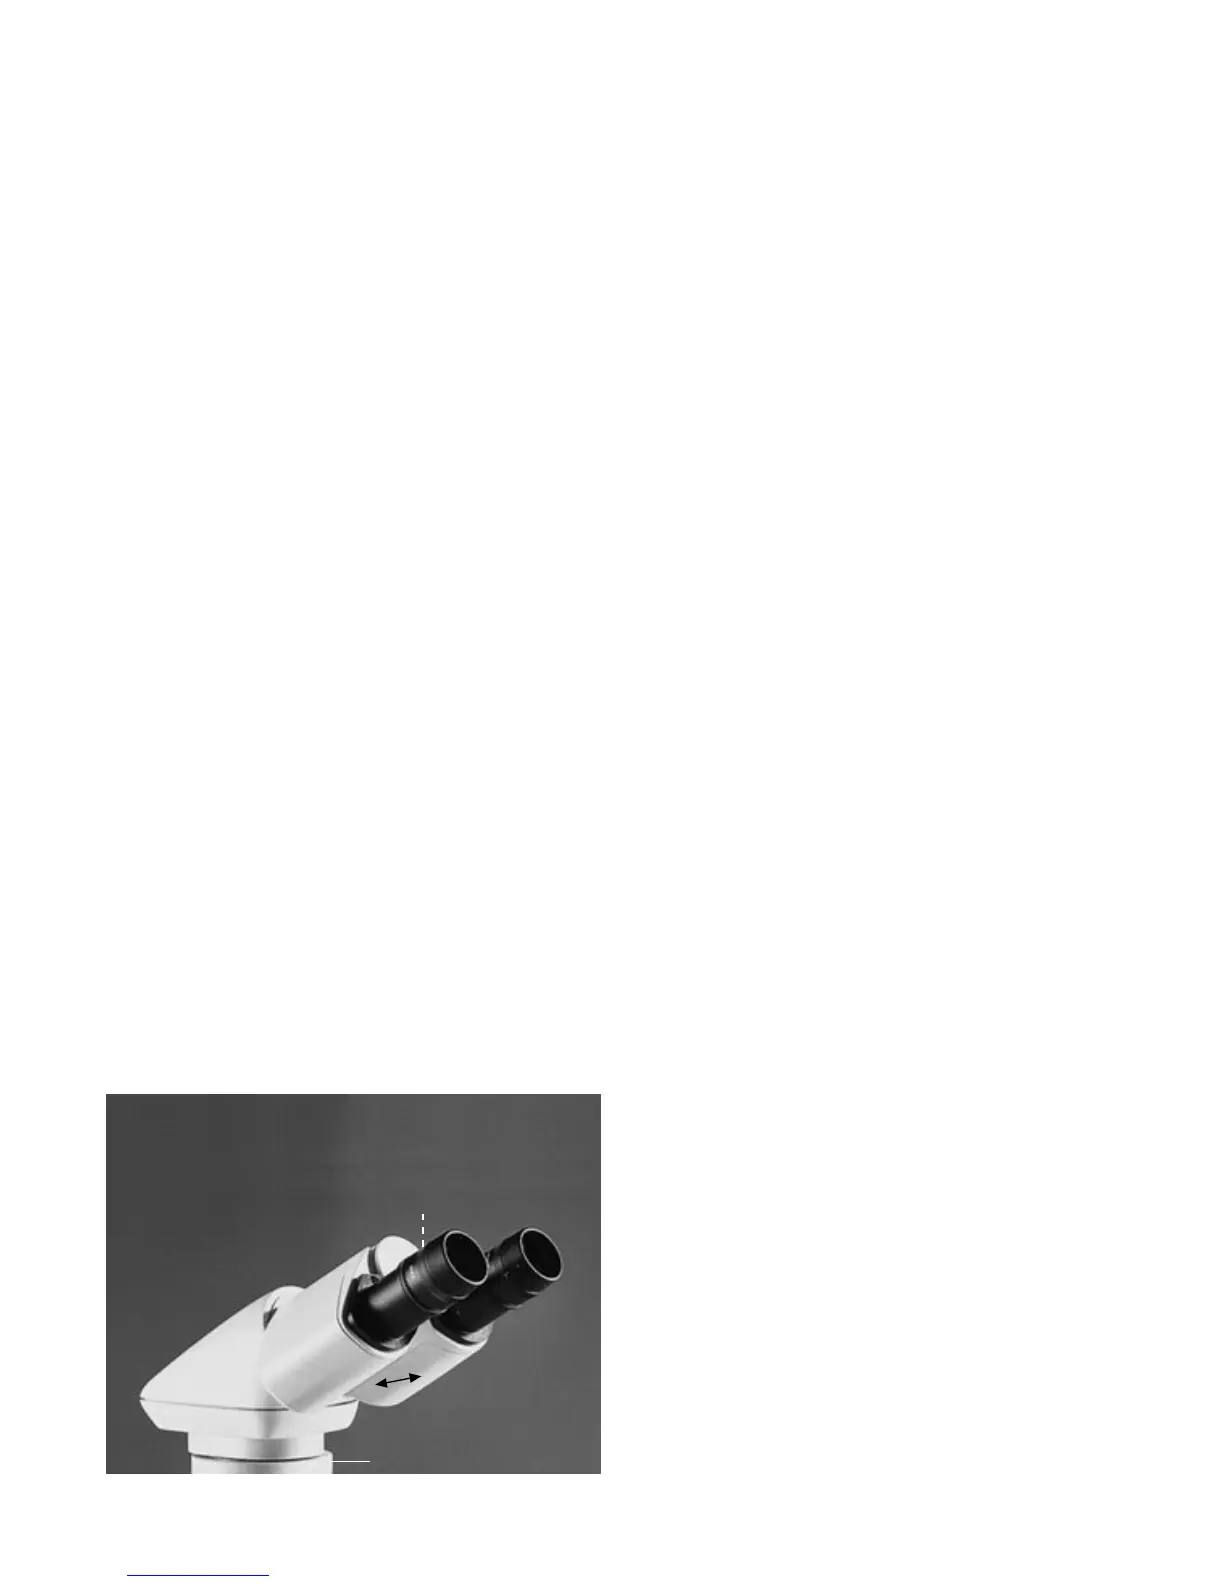
Fig. 22 Tube adjustment
↔ Individual interpupillary distance setting
1 Scale (mm), 2 Intermediate module*, in illustration: Ergo-
module (→ 35.2)
1
2
!