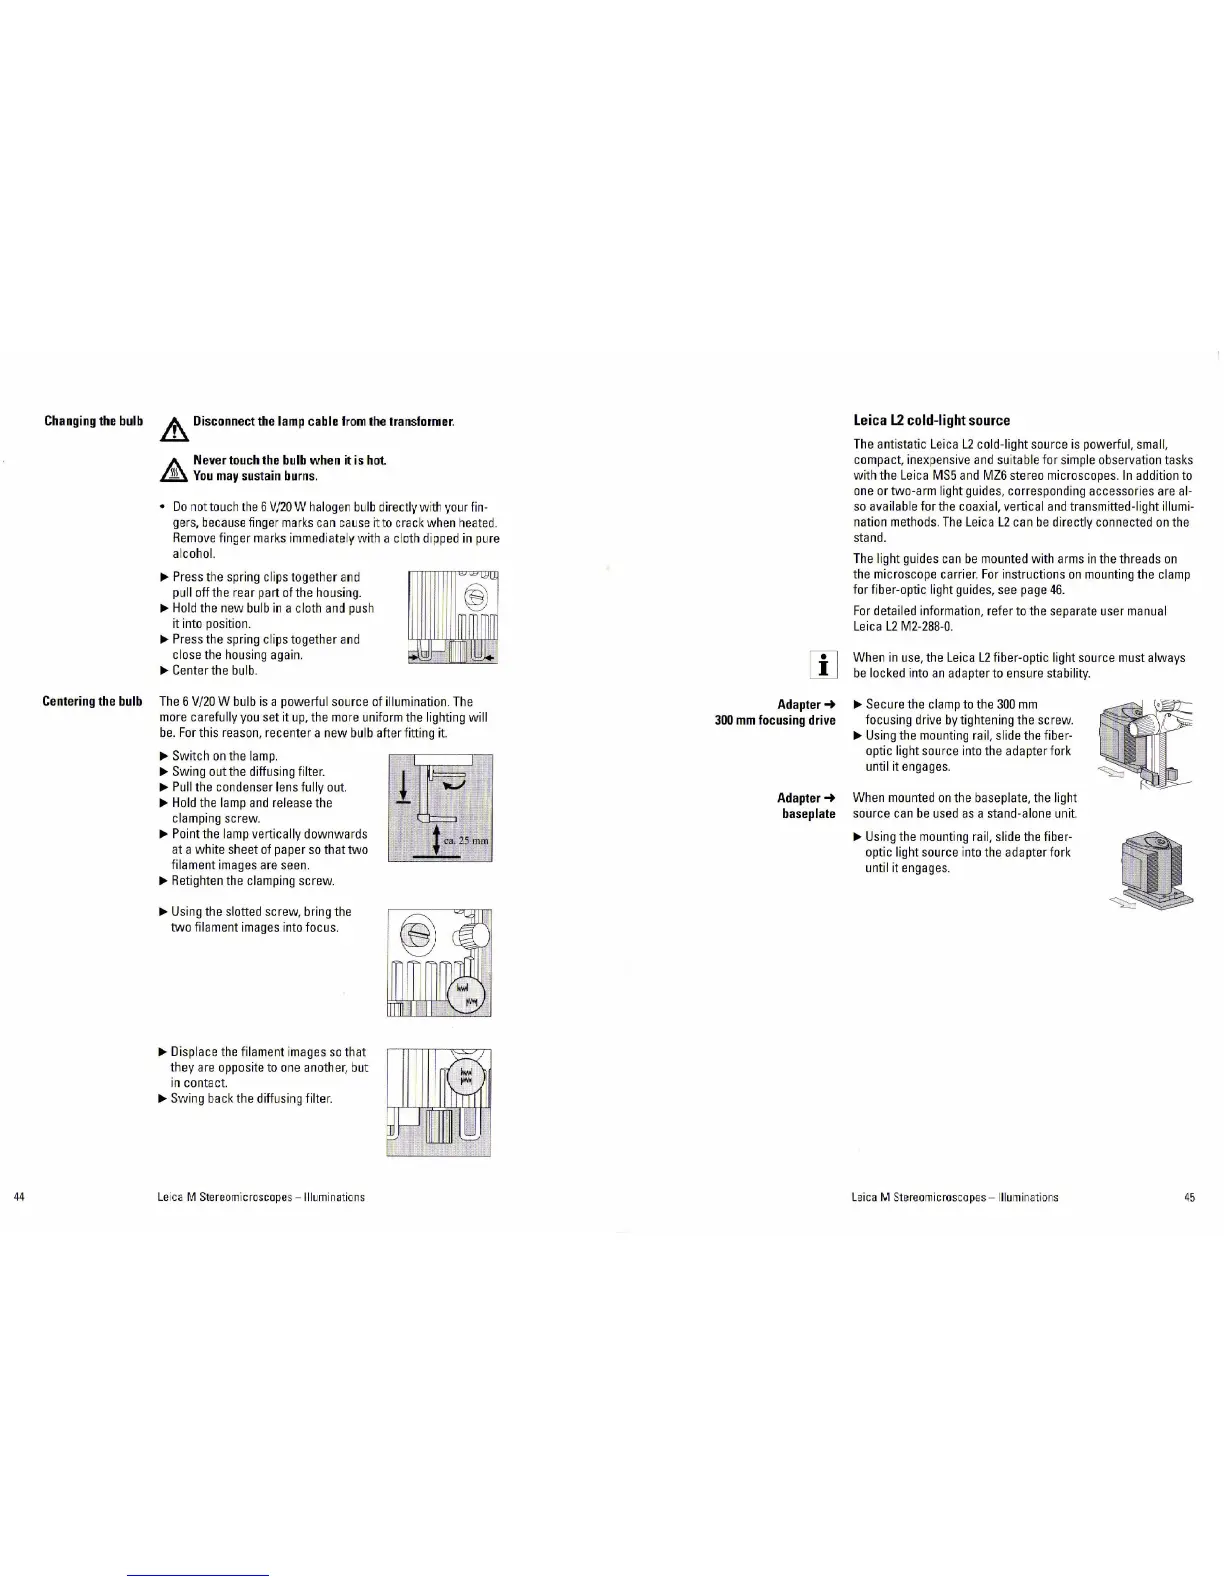
Changing
the
bulb
Centering
the
bulb
44
&,
Disconnect
the
lamp
cable
from
the
tra11sformer
.
A
Never
touch
the
bulb
whe11
it
is
hot
L11r1
You
may
sustain
burns
.
•
Do
not
tou
ch
the
6
V/20
W
halogen
bulb
directly wi
th
your
fi
n-
ge
rs,
because
finge
r
ma
r
ks
can
c:au
se
it to
crac
k
when
h
eated
.
Remove
finger
mar
ks
im
mediately with a cl
ot
h di
pped
in
pu
re
alcohol.
~
Press
the
spring clips together
and
pu
ll
of
f the
rear
p
art
of
the housing.
~
Ho
ld the new
bulb
in
a cloth
and
pus
h
it
into
position.
~
Press
the
spring clips together
and
close
the
housing
again
.
~
Cente
r the
bulb
.
I+
~
~~~J
@
~
~~
1-J
i i
~
'
The
6 V/
20
W
bulb
is
a powerful source
of
illumination.
The
more
carefu l
ly
you
set it
up,
the
mo
re
un
i
form
the lighting will
be
.
For
th
is
reason,
recente r a new blllb after fitting
it.
~
Swi
t
ch
on
the
lamp.
~
Swing
out
the
diffusing filter.
~
Pllll
the
condenser
lens
fully
out.
~
Hold
the
lamp
and
release
the
clamping screw.
~Point
the
lamp
vertically downwards
at
a white sheet
of
paper
so
that two
filament
images
are
seen
.
~
Retighten
the
clamping
screw.
~Using
the slotted screw, bring
the
two filament
images
into
focus.
~Displace
the
filament
images
so
that
they
are
opposite
to
one
another,
bu
t
in
contact.
~Swing
back
the diffusi
ng
filter.
Le
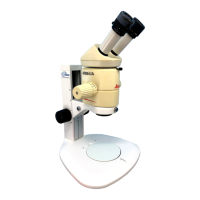
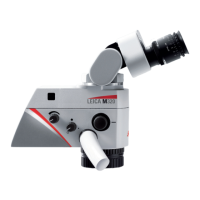
1ca M Stereomicro
sc
ope s - Illuminations
•
•.
• J c
a.
_.
_
2S
mm
:
i;
=
~
'
Adapter_.
300
mm
focusing
drive
Adapter_.
baseplate
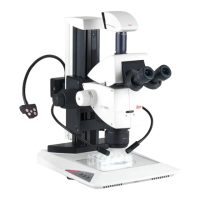
leica
L2
cold-light
source
The
antistatic
Leica
L2
cold-light source is powerful,
small,
compact, inexpensive
and
su
itable f
or
simple
observation tasks
with the
Leica
MS5
and
MZ6
stereo microscopes.
In
addition
to
one
or
two-
arm
light guides, corresponding accessories
are
al-
so
available forthe
coa
xial, verti
cal
and
transmitted-light illumi-
nation
methods.
The
Leica
L2
can
be
directly connected
on
the
stand.
The
light
gu
i
des
can
be
mo
unted with
arms
in
the threads
on
the microscope carrier.
For
instructions
on
mounting the cl
amp
for fiber-optic light guides,
see
page
46
.
For
detailed information, refer
to
the
separate user
manual
Leica
L2
M2-288-0
.
When
in
use,
the
Leica
L2
fiber-optic light source must always
be
locked
into
an
adapter to
ensure
stability.
~Secure
the
clamp
to
the
300
mm
focusing drive
by
tightening the
sc
r
ew
.
~
Using
the
mounting
rail, slide
the
fiber-
optic light soll r
ce
into
the adapter fork
until it
engages
.
When
mounted
on
the baseplate,
the
li
ght
source
can
be
used
as
a stand-alone
unit.
~Using
the
mounting
rail, slide
the
fibe
r-
optic
light source
into
the adapter fork
until it
engages
.
Leica M Stereomicroscopes - Illumi
na
ti
ons
45
 Loading...