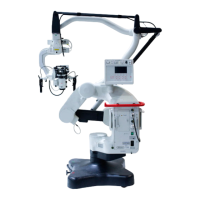
Microscope
carrier~
drive
housing
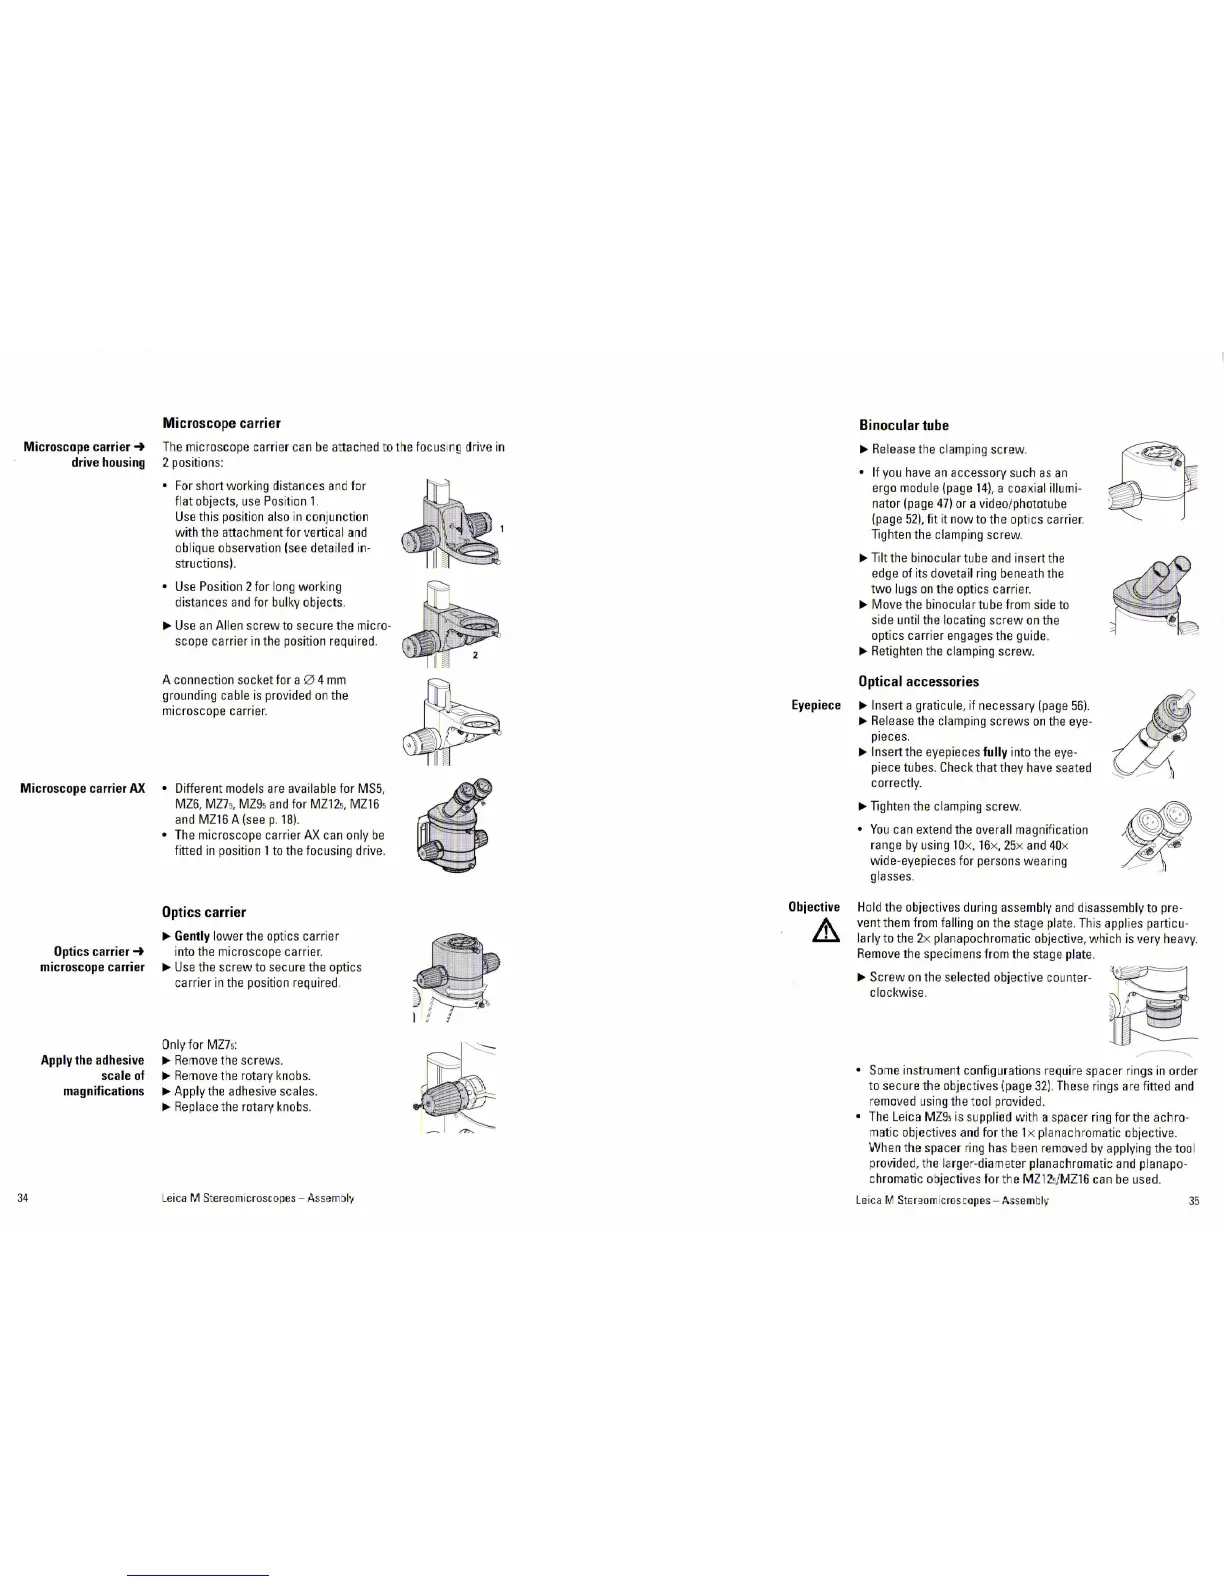
Microscope carrier
The
microscope carri
er
can
be
attached to the
fo
cus
i
ng
drive
in
2 positions:
•
For
short working distances a
nd
for
fl
at
objects,
use
Pos
iti
on
1.
Use
this position
also
in
con
junction
with the attachment for vertical
ar1d
ob
l
ique
observation (
see
deta
i
led
in-
structions
I.
•
Use
Po
si
tion 2 for
long
working
distances
and
for
bulky
objects.
Ill>
U
se
an
Al
i
en
screw
to
secure the micro-
scope carrier
in
the position required .
A connection
socke
t for a 0 4
mm
grounding
cable
is
provided
on
the
microscope carrier.
Microscope
carrier
AX
• Different
models
are
available for
MS5
,
34
Optics
carrier~
microscope
carrier
Apply
the
adhesive
scale
of
magnifications
MZ6,
MZ7
s,
MZ9
s
and
for
MZ12
s,
MZ16
and
MZ16
A (seep.
181
.
•
The
microscope carrier
AX
can
only
be
fitted in posit
ion
1
to
the focusing drive.
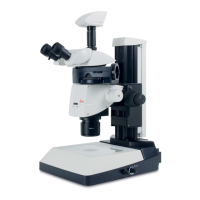
Optics
carrier
Ill>
Gently
lower the
opt
i
cs
carrier
into
the
microscope carri
er.
....
Use
the screw to
secu
re
the
optics
carrier in the
pos
ition required.
Only
for
MZ75:
....
Remove
the
sc
rews.
Ill>
Remove
the
rot
ary
k
nob
s.
....
Apply
the
adhesive scales.
....
Replace
the rotary
knobs
.
Leica M Stereo microscopes - Assemllly
&r
l
::
1
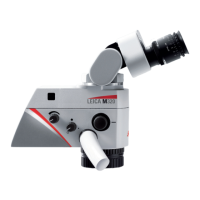
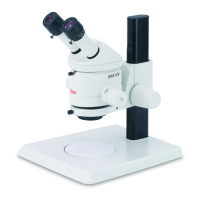
Binocular
tube
Ill>
Release
the
clamp
i
r1g
screw.
• If
you
have
an
accessory such
as
an
ergo
module
(pa
ge
14).
a
coaxia
l illumi-
nator
(page
471
or
a video/phototube
(page
521,
fit it now
to
the
opt
i
cs
carrier.
Tighten
the
clamping screw.
Ill>
Tilt the binocular tube
and
insert
the
edge
of
its dovetail
ring
beneath
the
two
lugs
on
the opti
cs
carrier.
....
Move
the
binocular tube
from
side
to
side
until
the
locating
sc
rew
on
the
opt
i
cs
carrier
engages
the guide.
Ill>
Retighten
the
clamping screw.
Optical
accessories
Eyepiece
....
Insert a graticule, if necessary
(page
56).
Objective
&
....
Release
t
he
clamping
screws
on
the
eye-
pieces.
Ill>
Insert
the
eyepieces
fully
into the
eye-
piece tubes.
Check
that they
have
seate
d
correctly.
Ill>
Tighten
the cl
amping
screw.
•
You
can
extend
the overall magnification
range
by
using
1D
x.
16
x,
25
x
and
40
x
wide-eyepieces for persons wearing
gl
asses.
Hold
the objectives
dur
i
ng
assembly
and
disassembly to pre-
ven
t t
hem
from
fa
lling
on
the
stage
plate.
This
applies parti
cu-
larly to
the
2x planapochromatic
ob
jective, which
is
very
heavy.
Remove
the
specimens
from
the
stage
plate.
Ill>
Screw
on
the
se
lected objecti
ve
counter-
clockwise.
~
•
Some
in
st
rumen
t configurations r
equ
ire spacer ri
ngs
in
order
to secure the objectives
(page
32)
.
These
ri
ngs
are
fitted
and
re
moved
us
i
ng
the t
ool
prov
ided
.
•
The
Leica
MZ9
s is supplied with a spacer
ri
ng
for
the
achro-
mat
ic objectives
and
for t
he
1 x p
lana
ch
r
omatic
objective.
When t
he
spacer r
ing
has
been
removed
by
applying the
too
l
prov
ide
d,
th
e larger-
dia
meter planacllromatic
and
planapo-
chromatic objectives for
th
e
MZ125/MZ16
can
be
used
.
Lei
ca
M S
te
r
eom
ic
ro
sc
opes - Assembly
35