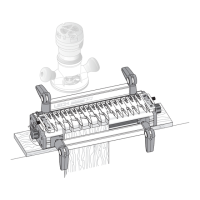
BOX JOINTS
60
Chapter 14 Super Jig-12-18-24 User Guide
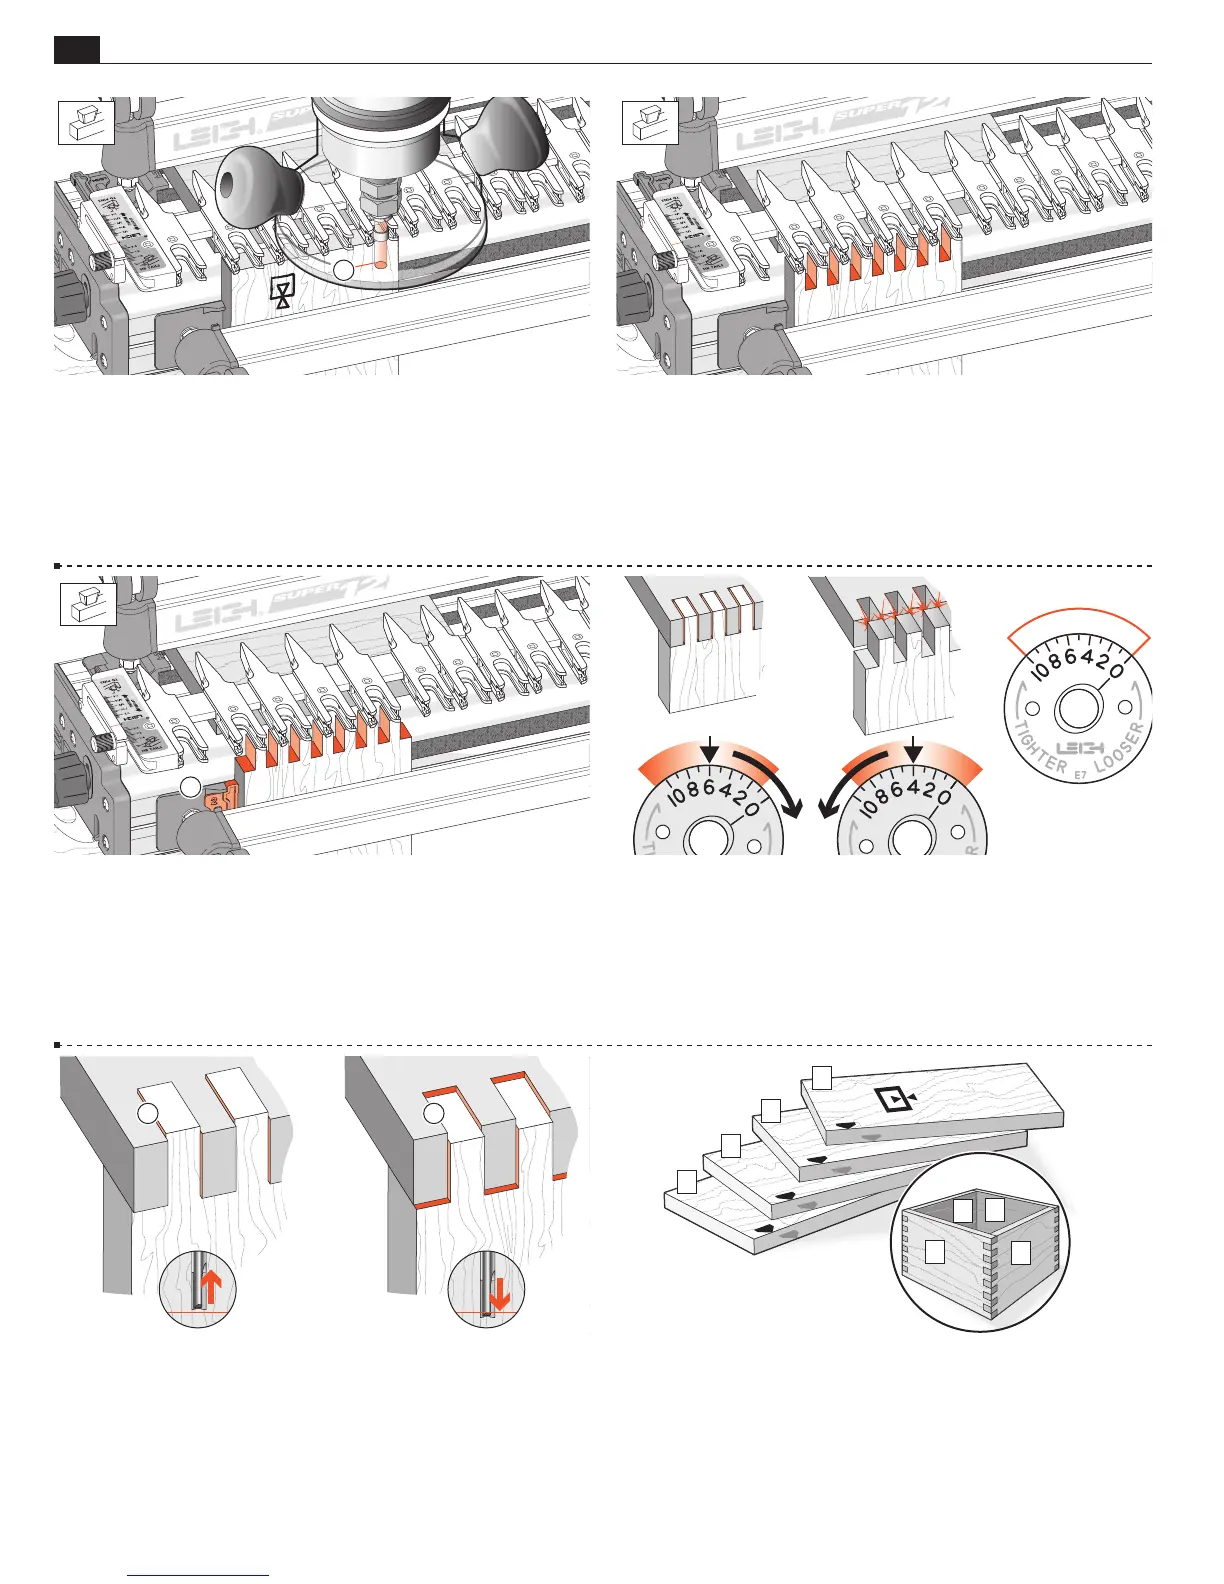
14-7 Lower the finger assembly onto the spacer board and double-
check that the bit depth is down to the center of the pencil line
.
Make sure the collet does not rub on the guidebush.
1
14-8 Rout one end of the scrap board. Rout into each finger
opening and between each finger. Make sure to run the guidebush
on both sides of each opening.
14-9 Remove the board and fit the Spacer to the front side stop
with the number 2 showing
. Make sure it is fully home.
Clamp the second test board with its side edge against the Spacer
and its top edge touching the guidefingers. Rout this board.
Note: Square ended boards are essential to achieve flush joint alignment.
1
14-10 Test the two boards for fit and flushness. If the joint is
loose, turn the e7-Bush to a higher number, say “6” and rout two
more board ends. If the joint is too tight, turn the e7-Bush to a
lower number, say “4”. Trial and error establish the best e7-Bush
setting and record this in the space provided here, and/or on the
pull-out. Next time this setting will get a good first-time result
14-11 If the joint is over-flush
, raise the bit slightly. If it is
under-flush
, lower the bit.
1 2
14-12 Let’s make a box.
Prepare four boards and number them 1 to 4. Then select the grain
alignment and mark the common top (or bottom) edge. Don’t
worry about face side selection; this can be done after routing.
4
3
2
3
2
1
4
1