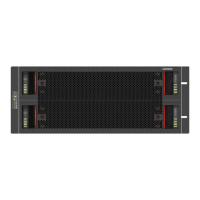
Figure 72. Removing a PCM (2)
Installing a Power Cooling Module
Important: Handle the PCM carefully and avoid damaging the connector pins. Do not install the PCM if any
pins appear to be bent.
1. Check for damage, especially to all connectors.
2. With the PCM handle in the open position, slide the module into the enclosure, taking care to support
the base and weight of the module with both hands.
3. Cam the module home by manually closing the PCM handle. A click should be heard as the handle latch
engages.
4. Connect the power cables to the power source and to the PCM.
5. Secure the strain relief bales.
Replacing Drive Carrier Modules
Note: 2U enclosures only.
Important: Observe all conventional ESD precautions when handling modules and components. Avoid
contact with midplane components and module connectors, etc.
Removing a 3.5-inch Drive Carrier Module
Important: Damage can occur to a drive if it is removed while it still spins. If possible use the operating
system to spin down the drives prior to removal. If this is not possible we recommend that you perform all
steps of the following procedure to make sure that the drive has stopped prior to removal.
To remove a 3.5-inch drive carrier module, do the following:
Chapter 6. Module Removal and Replacement 77

 Loading...