Figure36.Installingthescrewtosecurethebracketonthebottomoftheopticaldrivebay
12.Connectoneendofthesignalcabletothebottomofthenewsolid-statedriveandtheotherendto
anavailableSATAconnectoronthesystemboard.See“Locatingpartsonthesystemboard”on
page13.Then,locateanavailablefour-wirepowerconnectorandconnectittothebottomofthe
newsolid-statedrive.
Whattodonext:
•Toworkwithanotherpieceofhardware,gototheappropriatesection.
•Tocompletetheinstallationorreplacement,goto“Completingthepartsreplacement”onpage78
.
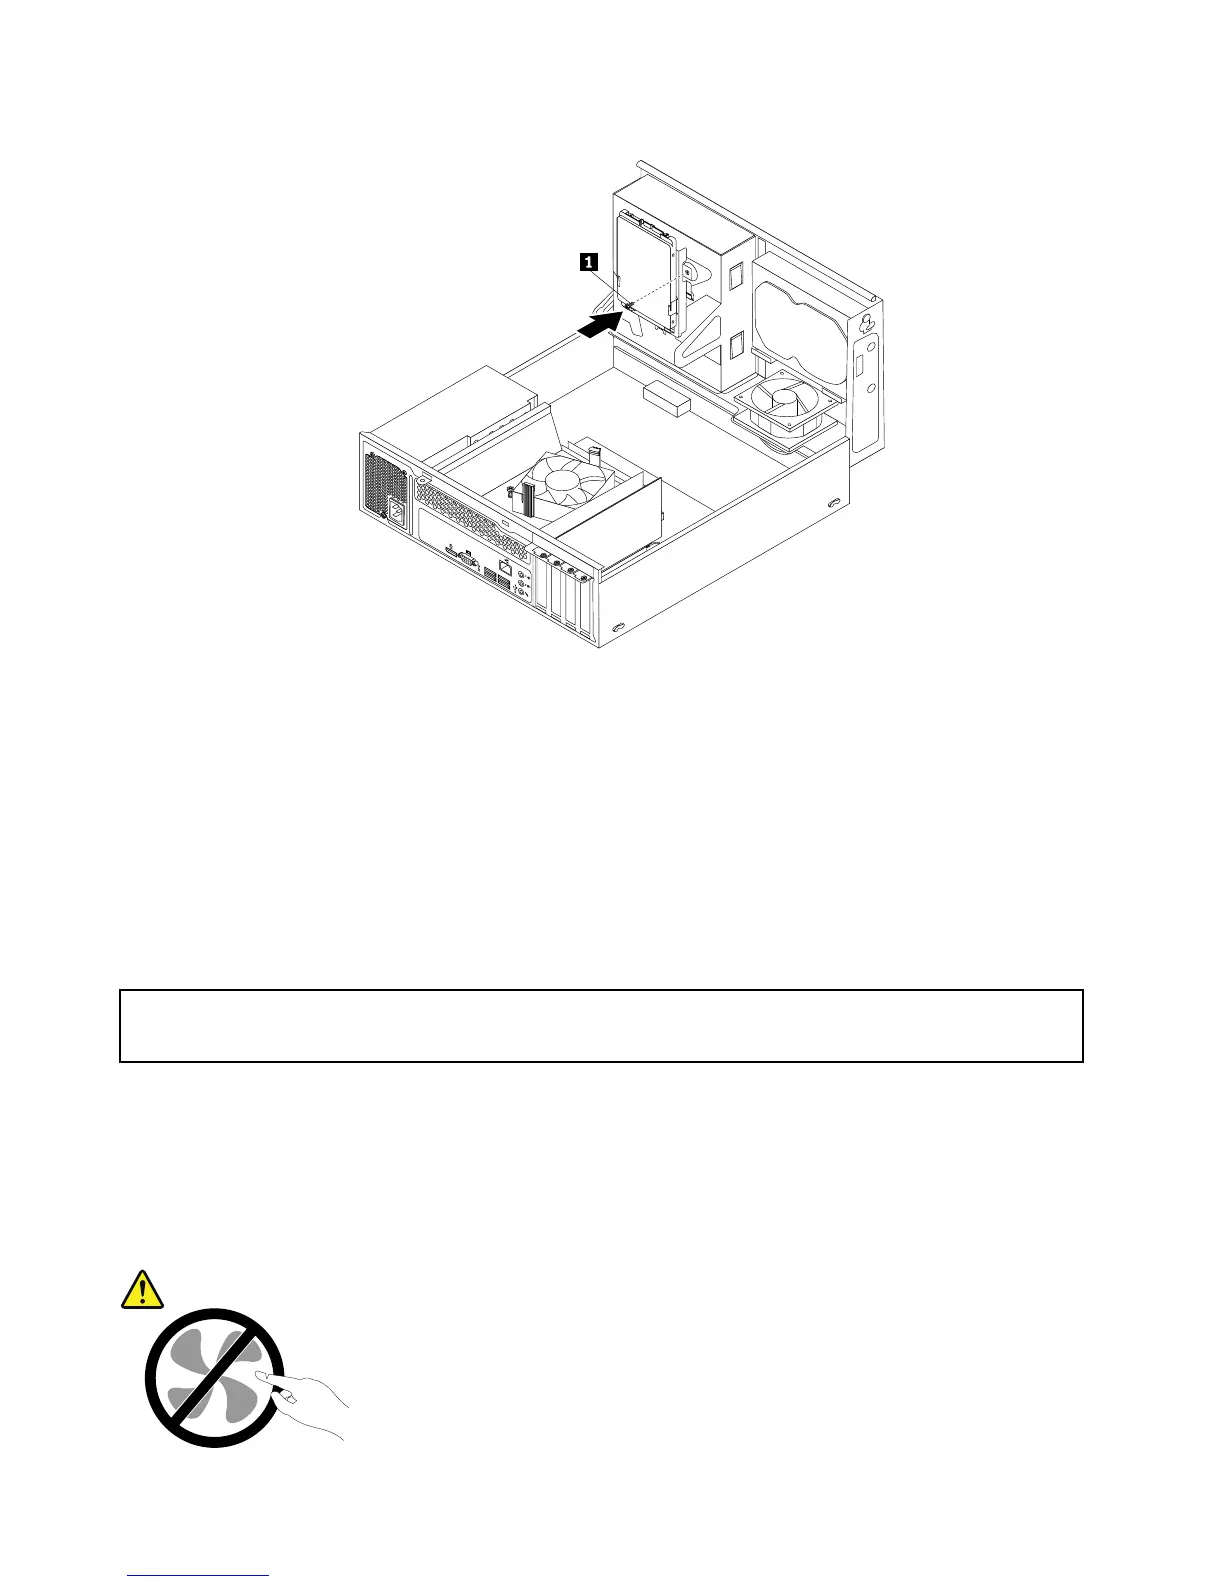
Replacingthepowersupplyassembly
Attention:
Donotopenyourcomputerorattemptanyrepairbeforereadingandunderstandingthe“Importantsafetyinformation”
onpagev.
Thissectionprovidesinstructionsonhowtoreplacethepowersupplyassembly.
Althoughtherearenomovingpartsinyourcomputerafterthepowercordhasbeendisconnected,the
followingwarningsarerequiredforyoursafetyandproperUnderwritersLaboratories(UL)certication.
CAUTION:
56ThinkCentreE73UserGuide