•Dependingonthemodel,yourservermightcomewith3.5-inchharddiskdrives,2.5-inchharddisk
drives,or2.5-inchsolid-statedrives.
•Dependingonthemodel,yourservermightlookslightlydifferentfromtheillustrationsinthistopic.
•Useanydocumentationthatcomeswiththeharddiskdriveandfollowthoseinstructionsinadditionto
theinstructionsinthistopic.
Toreplacea2.5-inchharddiskdrive,dothefollowing:
1.Removeallmediafromthedrivesandturnoffallattacheddevicesandtheserver.Then,disconnectall
powercordsfromelectricaloutletsanddisconnectallcablesthatareconnectedtotheserver.
2.Iftheserverisinstalledinarackcabinet,removetheserverfromtherackcabinetandplaceitonaflat,
clean,andstatic-protectivesurface.
3.Removetheservercover.See“Removingtheservercover”onpage55.
4.Locatetheappropriate2.5-inchharddiskdrivethatyouwanttoreplace.See“Servercomponents”
onpage17.
Note:Ifyouwanttoremovethe2.5-inchharddiskdrivesthatareinstalledundertheslim-optical-drive
bracket,removetheslim-optical-drivebracketfirst.See“Removingandreinstallingtheslim-optical-drive
bracket”onpage82
.
5.DisconnecttheSATAcomboconnectorfromthe2.5-inchharddiskdrivethatyouwanttoreplace.
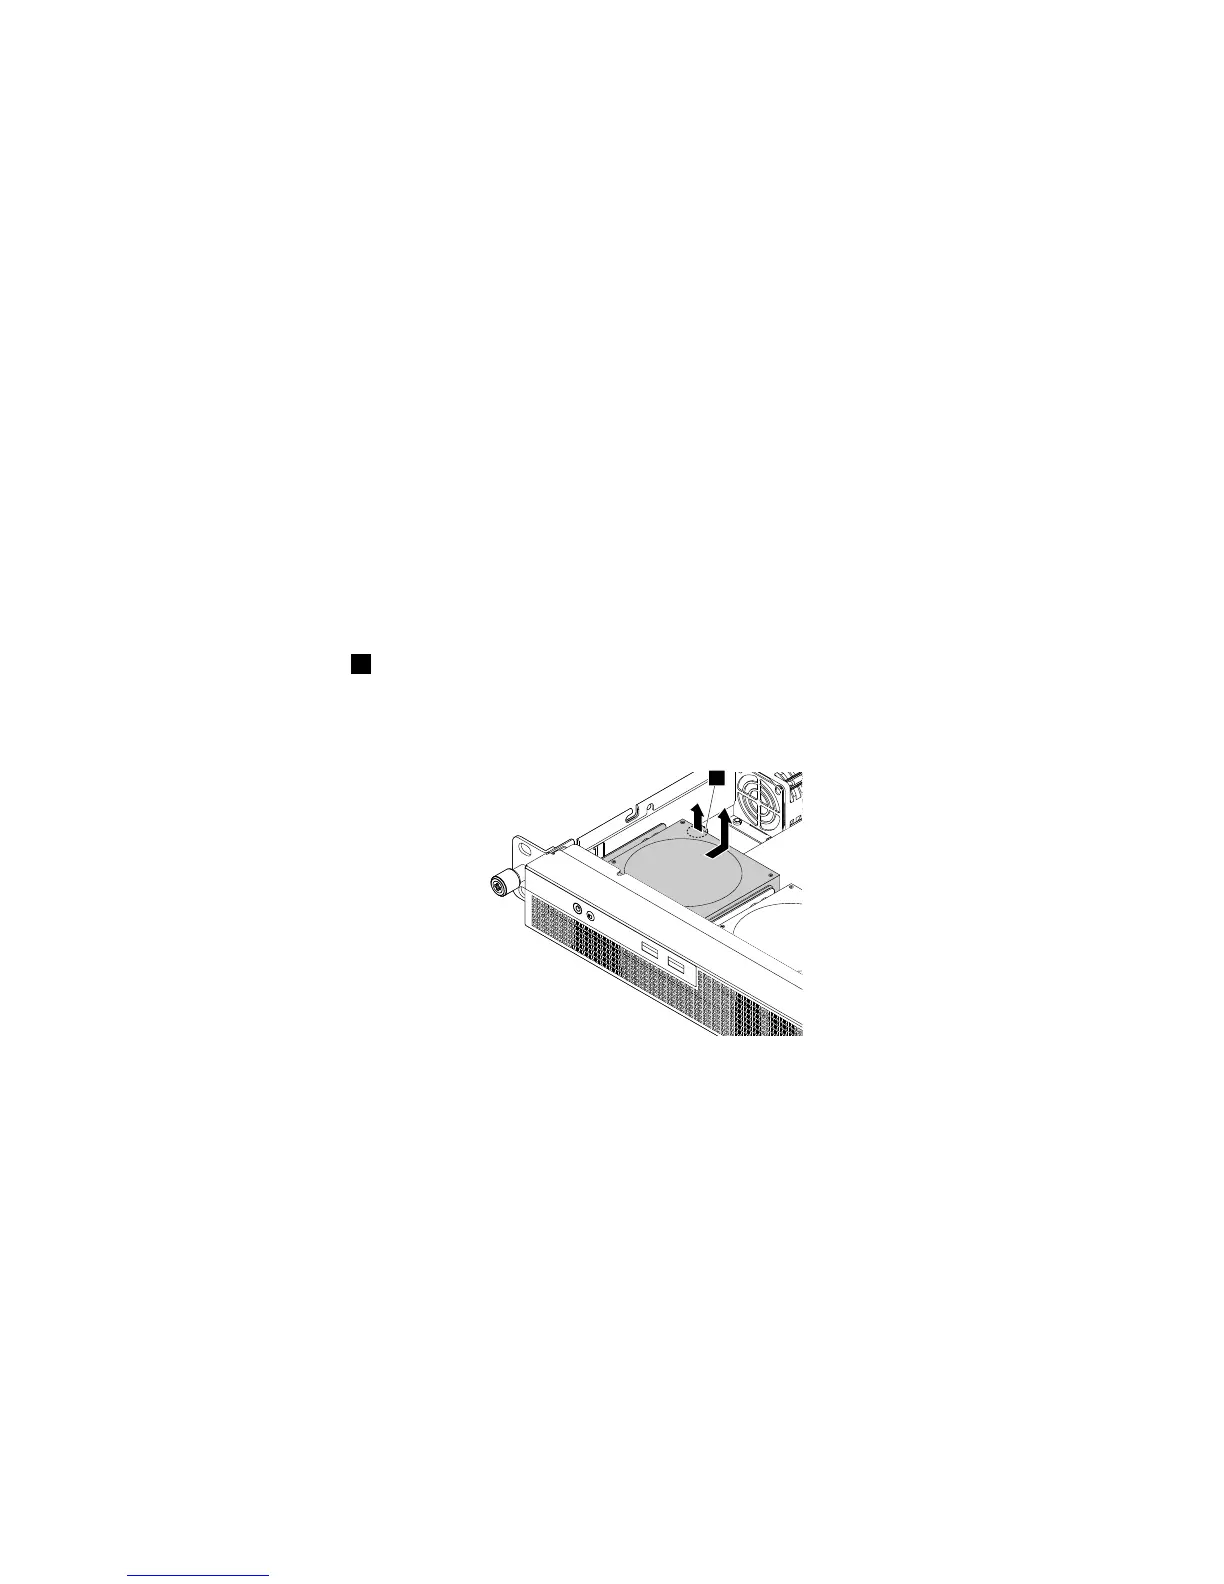
6.Liftthereleasepin1ofthehard-disk-drivebracket.Then,slidethe2.5-inchharddiskdrivewiththe
brackettotherearoftheservertoreleasethebracketfromtheserver.Liftthe2.5-inchharddisk
drivetogetherwiththebracketoutofthechassis.

 Loading...


