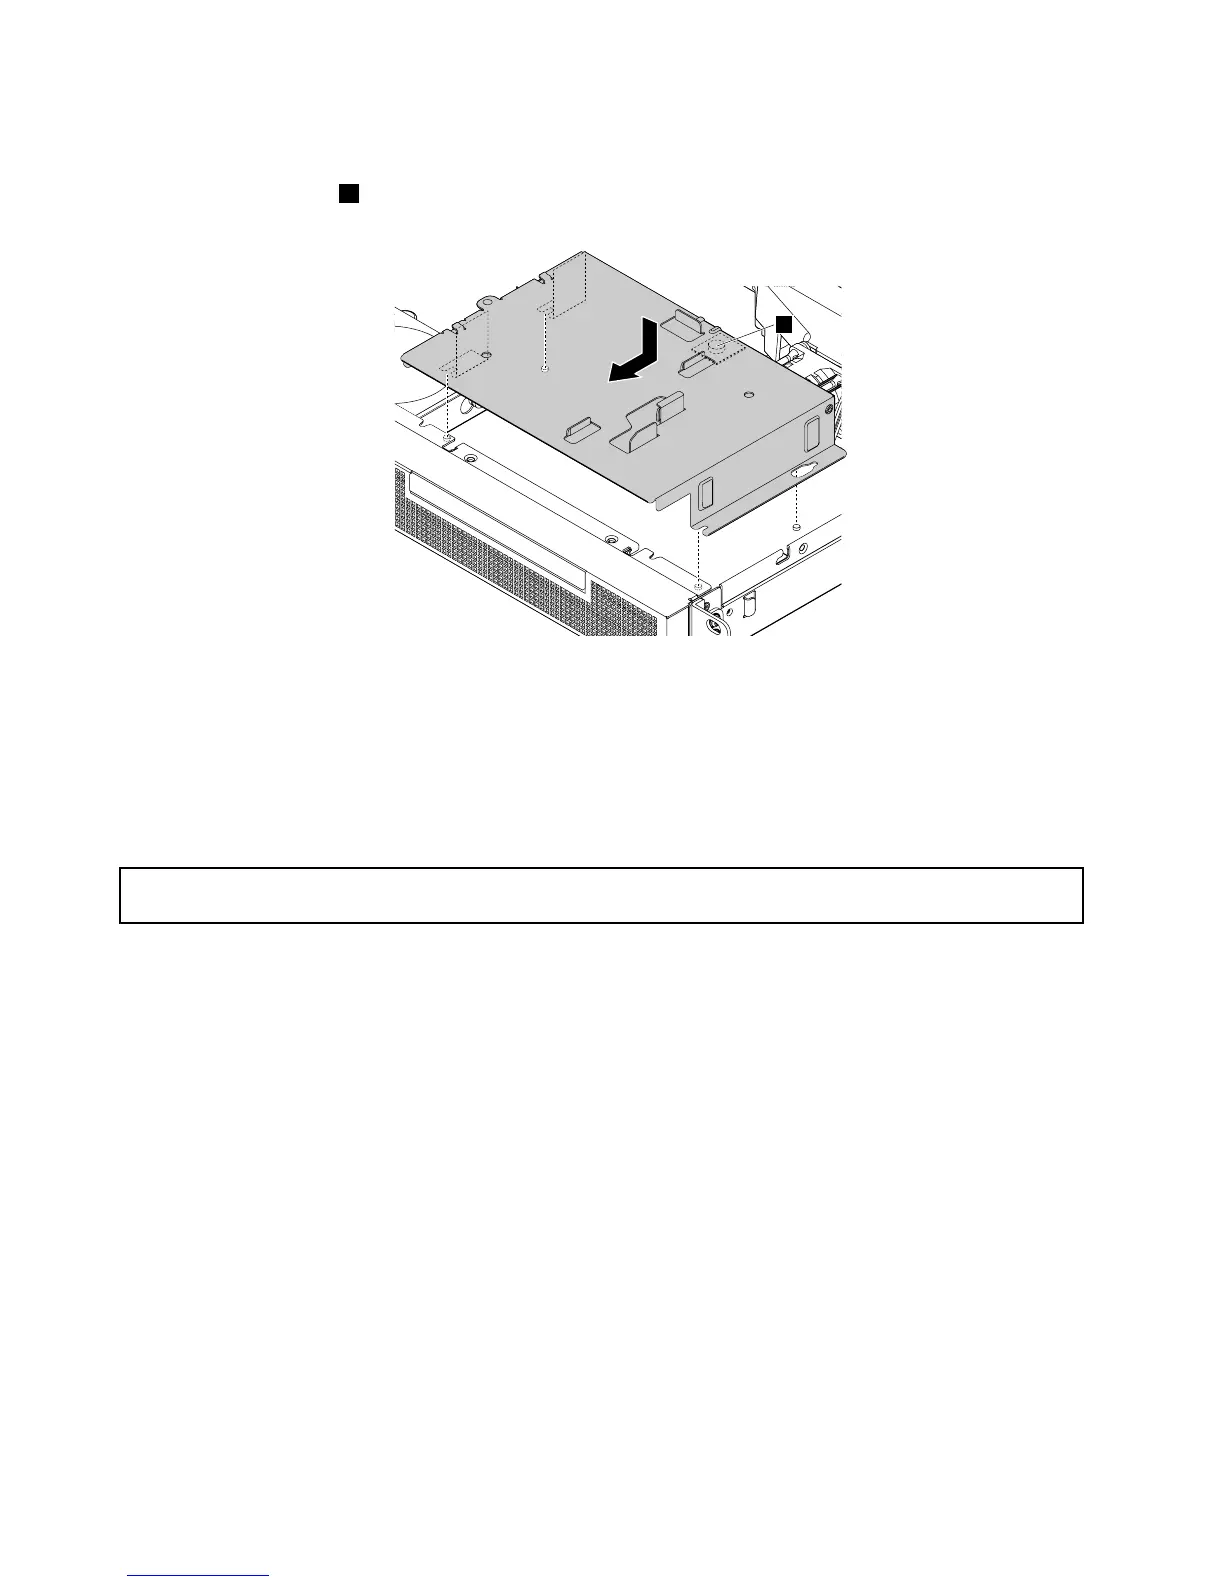
Figure56.Reinstallingtheslim-optical-drivebracket
Whattodonext:
•Toworkwithanotherpieceofhardware,gototheappropriatesection.
•Tocompletetheinstallationorreplacement,goto“Completingthepartsreplacement”onpage106.
Replacinga2.5-inchharddiskdrive
Attention:Donotopenyourserverorattemptanyrepairbeforereadingandunderstanding“Safetyinformation”
onpageiii
and“Guidelines”onpage53.
Thistopicprovidesinstructionsonhowtoreplacea2.5-inchharddiskdrive.Ifyouarereplacinga2.5-inch
solid-statedrive,theprocedureisthesame.
Note:ThisproceduremustbeperformedonlybytrainedservicepersonnelofLenovo.
ForalistofThinkServerharddiskdriveoptions,goto:
http://www.lenovo.com/thinkserver
Beforeyoubegin,reviewthefollowinghard-disk-driveinstallationrules:
•Followtheorderofthehard-disk-drivebayswheninstallingaharddiskdrive.See“Servercomponents”
onpage17
tolocatethehard-disk-drivebaysinyourserver.
•ForRAIDconfiguration,theharddiskdrivesmustbethesametypewiththesamecapacityiftheyare
withinasingleRAIDarray.Formoreinformation,see“UsingtheSetupUtilityprogram”onpage37.
•Forharddiskdriveswithdifferentcapacities,installtheharddiskdrivebyfollowingtheorderofthe
hard-disk-drivebaysaswellastheorderfromthelowestcapacitytothehighestcapacity.
Beforeyoubegin,printalltherelatedinstructionsorensurethatyoucanviewthePDFversiononanother
computerforreference.
Notes:
84ThinkServerRS140UserGuideandHardwareMaintenanceManual

 Loading...


