Replacing the print cartridge
77
Maintenance
Installing the new print cartridge
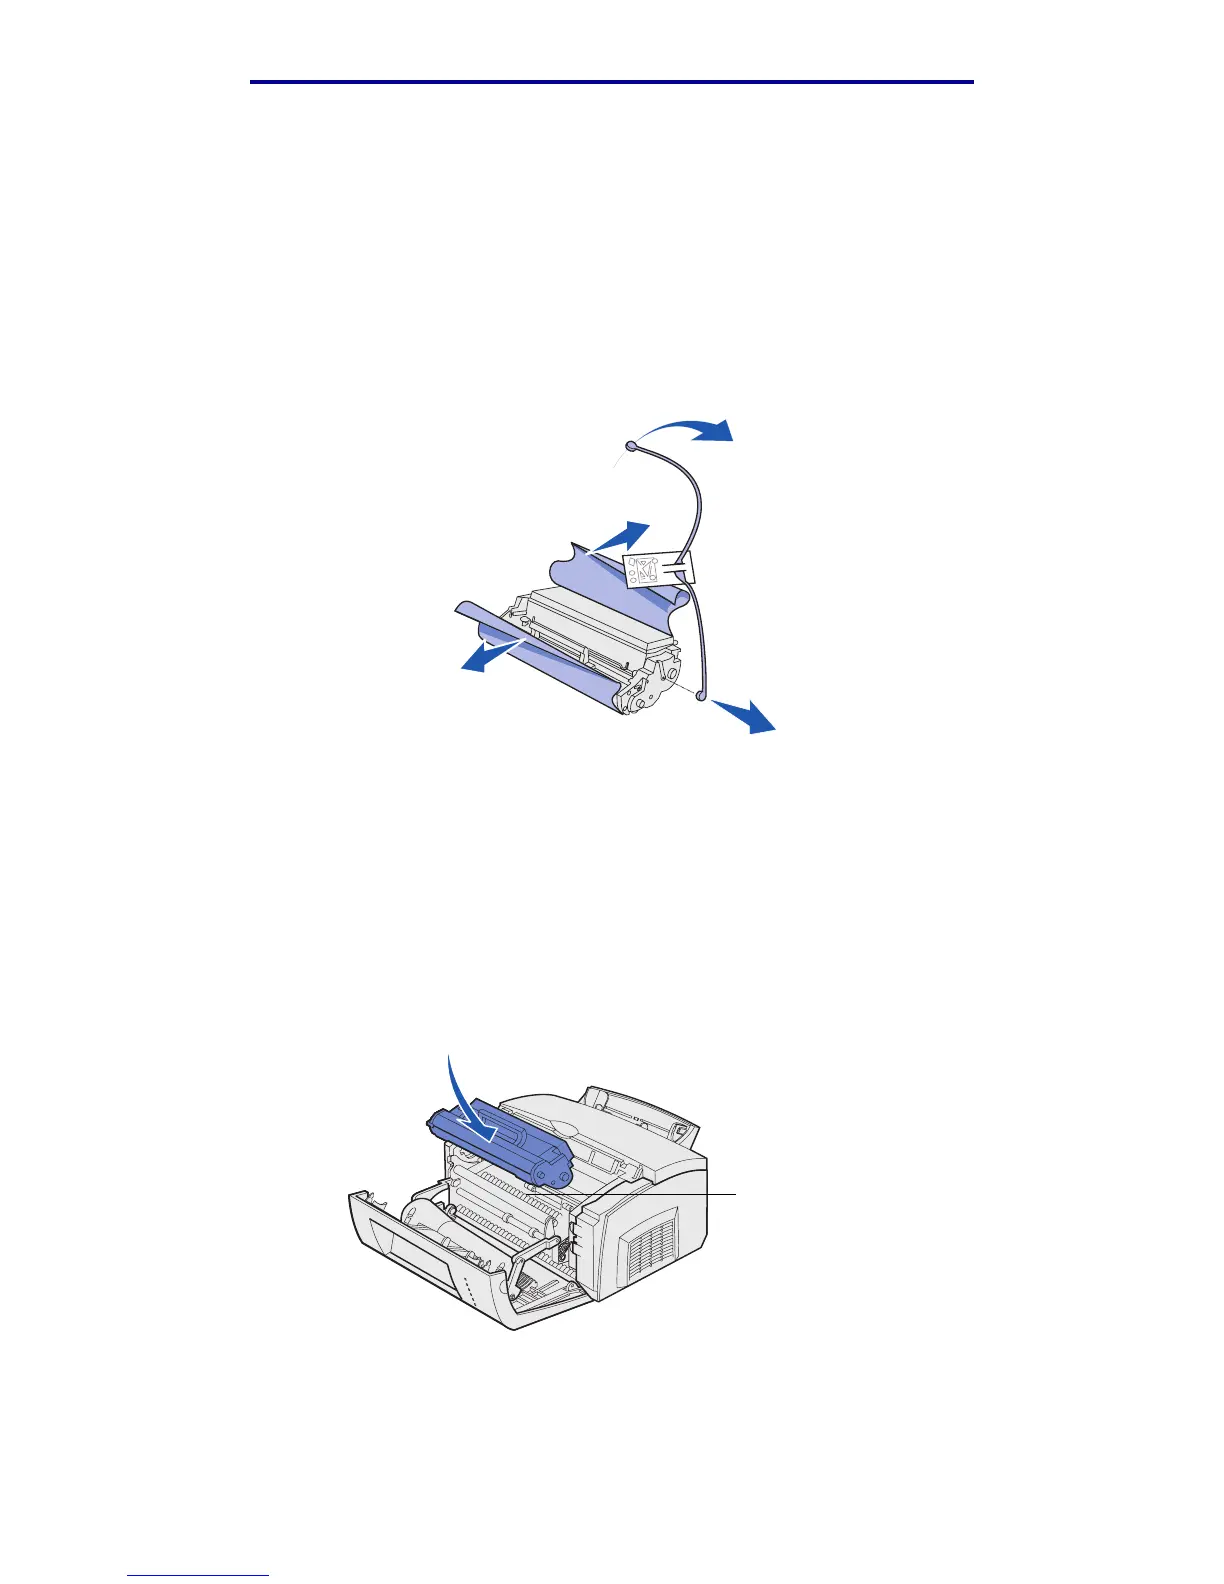
1 Take the new print cartridge out of the bag.
2 Pull off the plastic piece attached to the ends of the print cartridge and remove the foam
protective liner.
Note: If you recycle the old print cartridge, wrap the used cartridge with the protective
foam liner and place the used cartridge in the bag. Follow the instructions inside
the new print cartridge box to send the used cartridge back to Lexmark.
Warning: Do not touch the photoconductor drum on the bottom of the print cartridge.
3 Shake the cartridge to distribute the toner evenly.
4 Insert the print cartridge.
1 Align the colored arrows on either side of the print cartridge with the corresponding
arrows in the printer.
2 Holding the handle, tilt the cartridge down and guide it between the print cartridge
grooves.
CAUTION: Avoid touching the fuser; it may be hot!
Fuser