E-mailing
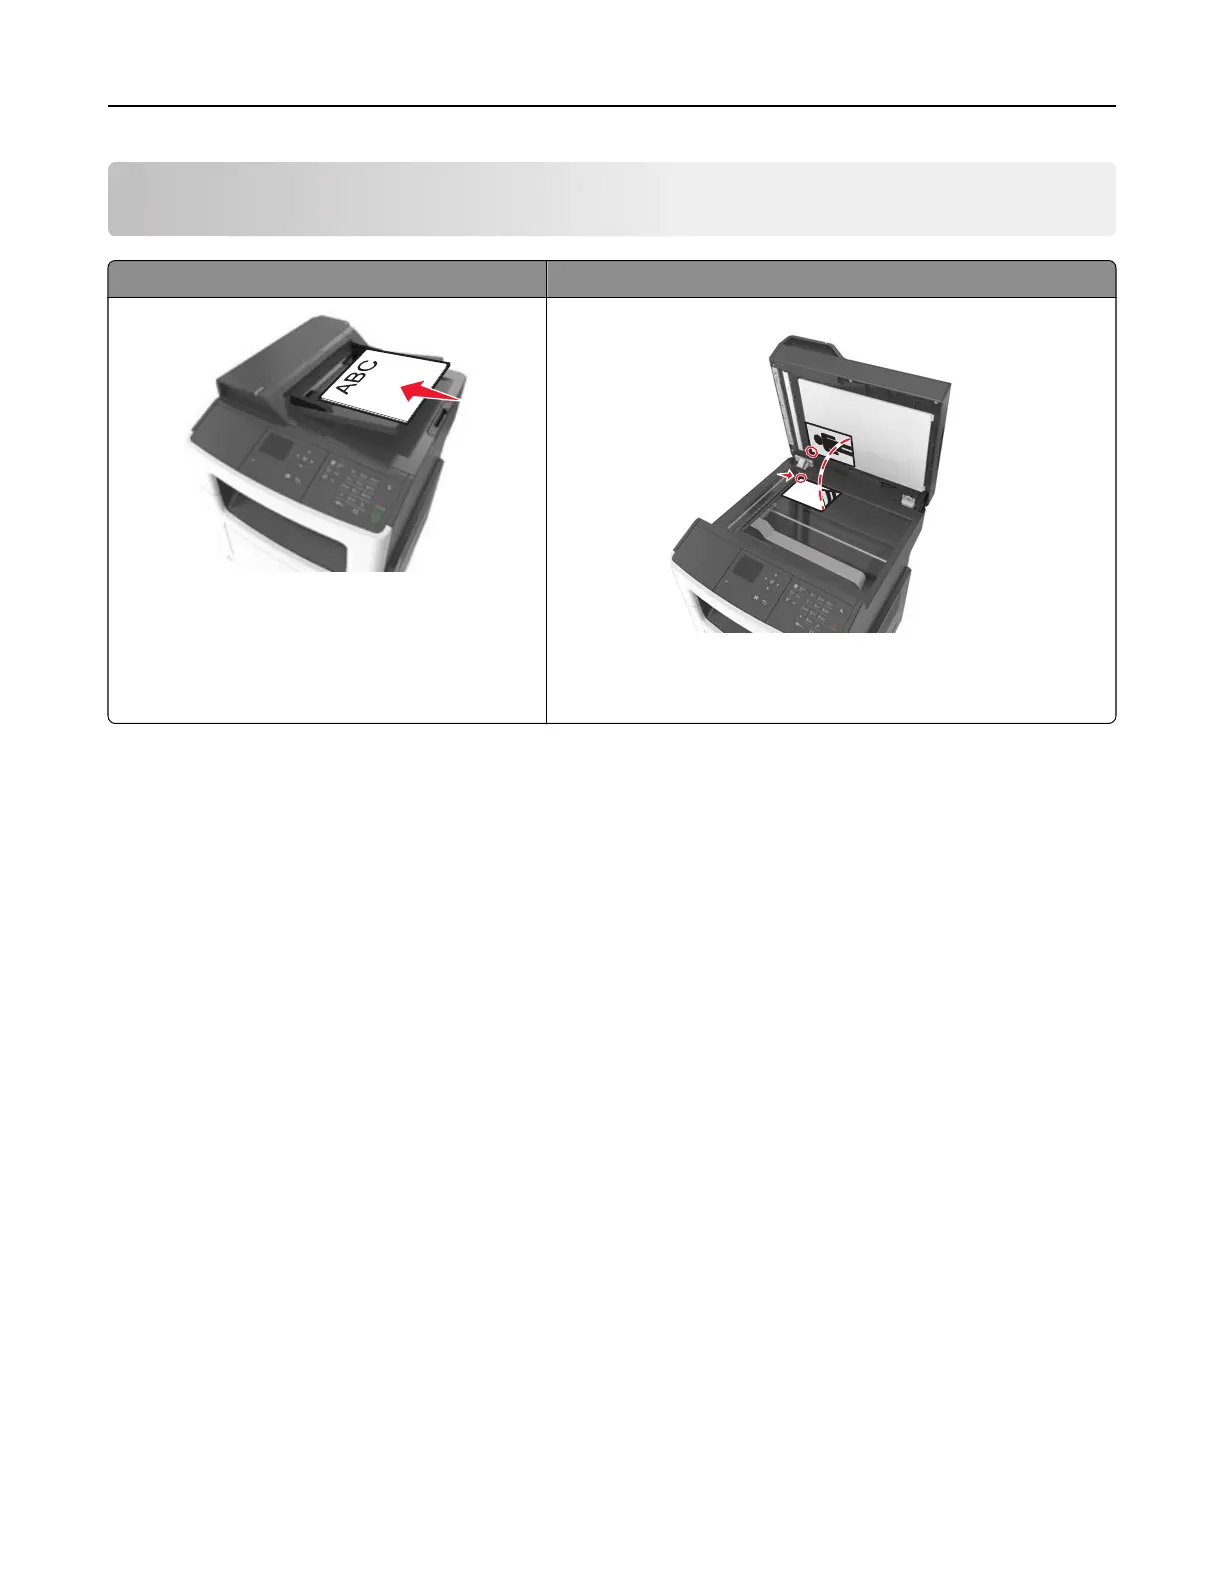
Automatic document feeder (ADF) Scanner glass
Use the ADF for multiple‑page documents.
Note: The ADF scans only one side of the sheet.
Use the scanner glass for single-page documents, book pages,
small items (such as postcards or photos), transparencies, photo
paper, or thin media (such as magazine clippings).
Setting up the printer to e-mail
Setting up the e-mail function
1 Open a Web browser, and then type the printer IP address in the address
field.
Notes:
• View the printer IP address in the TCP/IP section in the Network/Ports menu. The IP address appears
as four sets of numbers separated by periods, such as 123.123.123.123.
• If you are using a proxy server, then temporarily disable it to load the Web page correctly.
2 Click Settings > E-mail/FTP Settings > E-mail Settings.
3 Enter the appropriate information, and then click Submit.
Configuring
e‑mail settings
1 Open a Web browser, and then type the printer IP address in the address
field.
Notes:
• View the printer IP address in the TCP/IP section in the Network/Ports menu. The IP address appears
as four sets of numbers separated by periods, such as 123.123.123.123.
• If you are using a proxy server, then temporarily disable it to load the Web page correctly.
2 Click Settings > E-mail/FTP Settings > E-mail Settings.
3 Enter the appropriate information, and then click Submit.
E-mailing 67