LifeSize Icon Video System Guide 3
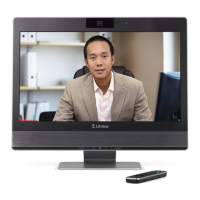
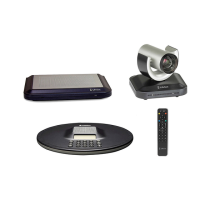
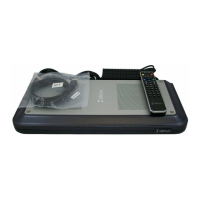
Section 1: Deploying Your LifeSize Icon Video
System
At installation, configure your video system by opening a web browser and navigating to the system IP
address that appears in on the main screen of the video system’s display.
NOTE Read more about configuration preferences in the online help available when
you access your video system from a browser.
• Manage administrator passwords. Read more at System Access and Passwords.
• Configure your video system for firewall traversal. Read more at Configuring Your Firewall.
• Set the location and time zone.
• Define the system name.
• From your video system’s display, select > to set the safe area.
• Select the language for onscreen text. You can also select > to select a language from your
video system’s display.
• By default, DHCP is enabled on LifeSize systems. If you disable DHCP, you must specify the system’s
IP address, subnet mask, and default gateway.
• If you are using H.323 gatekeepers in your environment and want to place calls using a name or
extension with the H.323 protocol, configure your LifeSize system to use H.323.
• If you are using Session Initiation Protocol (SIP) servers, configure your LifeSize system to use SIP.
• Configure call, audio, and video preferences.
• Integrate your LifeSize video system with LifeSize Bridge, LifeSize UVC Manager, LifeSize UVC Video
Center, or LifeSize UVC Transit. Read more at Configuring Integrations.