Appendix C: Windows 95, 98, ME
Client for Windows Domain Server
If you are installing the EtherFast
®
10/100 Card in a Windows 95, 98 or ME PC
that you plan on logging into a Windows NT or 2000 domain server, follow the
directions below.
1. Start up Windows. Click on Start, Settings, then Control Panel. Double-
click on Network. The Network window appears with several tabs. Among
these are tabs labeled Configuration and Access Control.
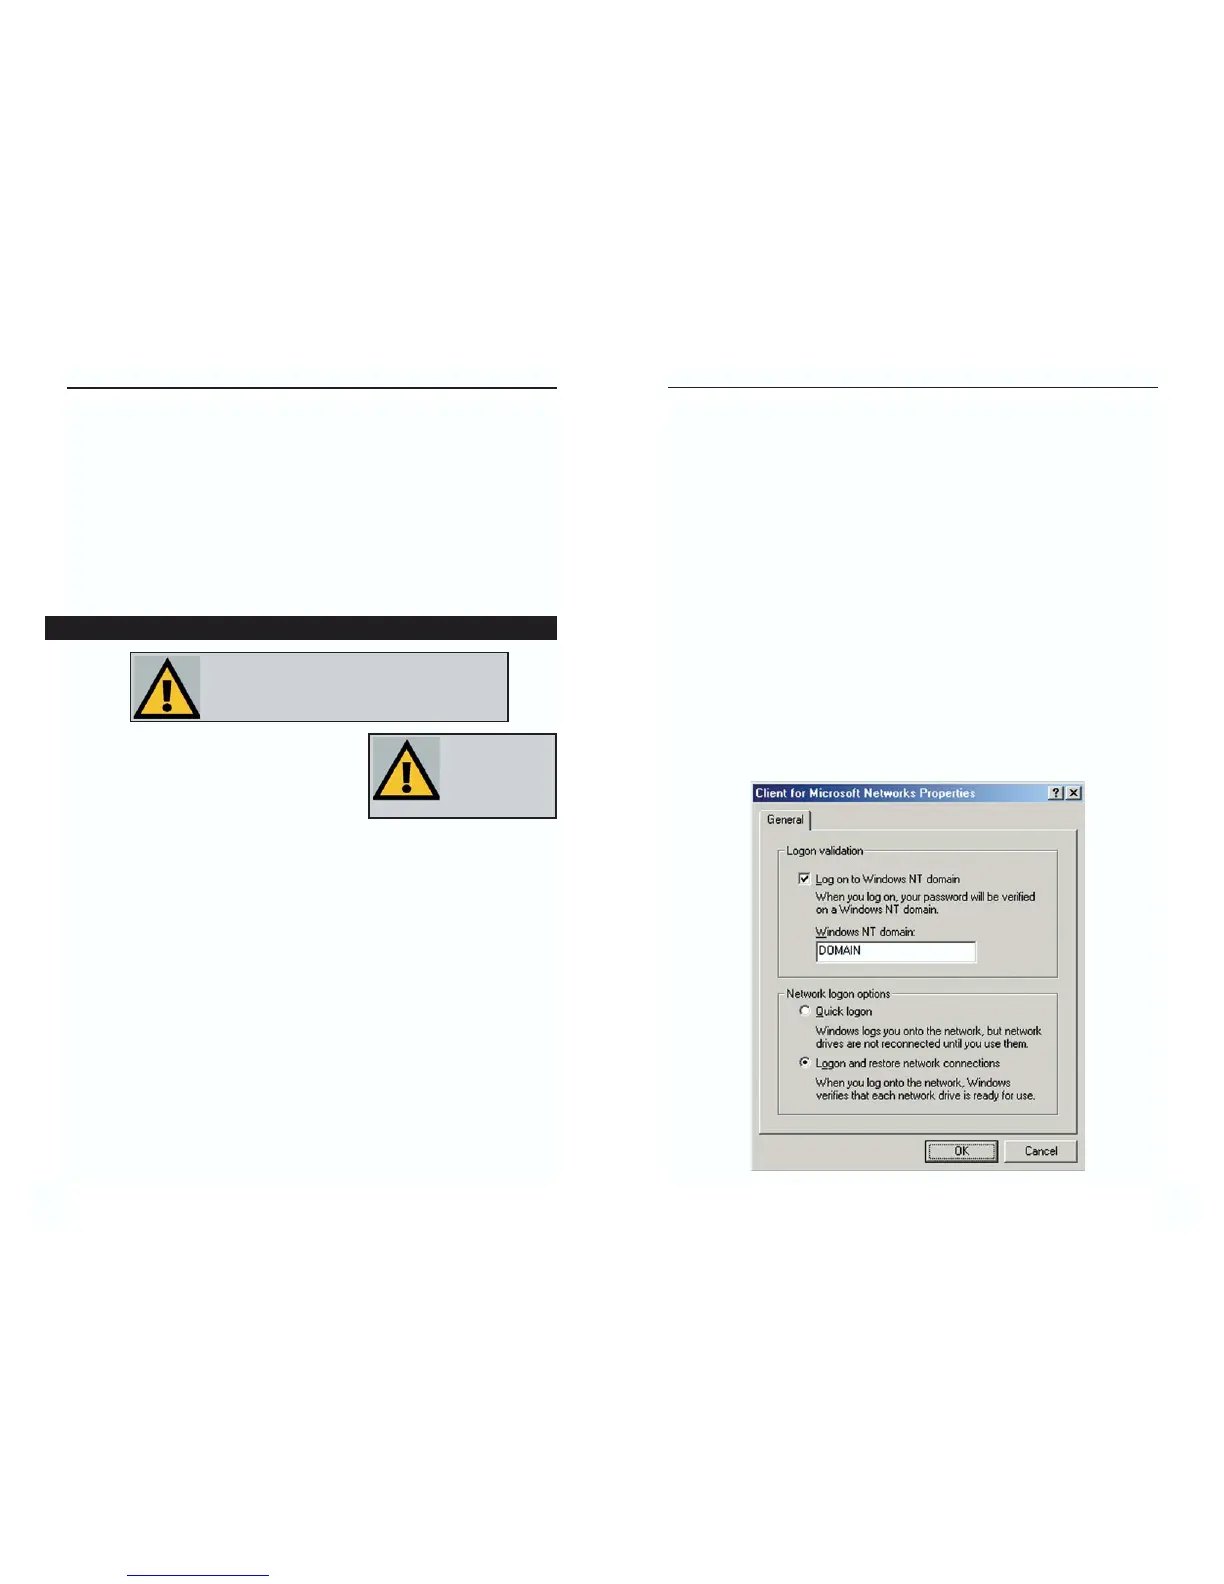
2. Click on the Configuration tab. Select Client for Microsoft Networks in
the Installed Components box and click the Properties button. Verify that
Log on to Windows NT domain is selected in the Logon Validation box.
For the Windows NT domain, enter the proper domain name (in the exam-
ple below, DOMAIN is entered). Under Network logon options, select
Logon and restore network connection. Click OK.
62
6. If you want to assign access passwords, type the passwords into the Password
boxes.
7. When you're done, click on the Apply button, followed by the OK button.
Repeat steps 1-7 for any drive or folder you desire to share on the network.
You have successfully enabled File Sharing on your PC. Your selected
drives or folders can now be accessed by other network users. If a user tries
to access one of your password-protected drives or folders, he or she will
be asked for the appropriate Read-Only or Full-Access password.
Continue on if you wish to share your PC’s printer over the network.
1. Double-click on the My Computer icon.
2. Double-click the Printers folder. A window
of available printers will appear.
3. Using your right mouse button, click once on the printer that you want to
share with other users. Click on Sharing, followed by the Sharing tab.
4. Click on Share As. In the Share Name box, give a name to the printer you
want to share. If you want to assign a password to the printer so that only cer-
tain users can access it, type a password in the Password box.
5. Click on the Apply button, followed by the OK button. Your printer(s) are
now shared.
The Printer Sharing setup and installation is complete. Your printer can
now be accessed by other network users. The printer’s driver may have to
be installed on other PCs. Consult your printer’s documentation.
1RWH1RWDOOSULQWHUVPD\ EH VKDUHG RQWKHQHWZRUN
2WKHUVPD\UHTXLUHVSHFLDOLQVWUXFWLRQV5HIHUWR\RXU
SULQWHU¶VXVHUJXLGHRUFRQWDFW\RXUSULQWHUPDQXIDFWXU
HULI\RXWKLQNWKLVPD\EHWKHFDVHZLWK\RXUSULQWHU
1RWH $Q\ SULQWHU
\RX ZLVK WR VKDUH
IURP\RXU3&PXVW
EH SK\VLFDOO\ FRQ
QHFWHGWR\RXU3&
Enabling Printer Sharing
61
Instant EtherFast
®
Series
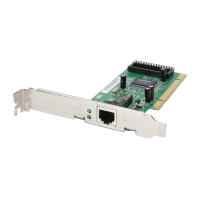
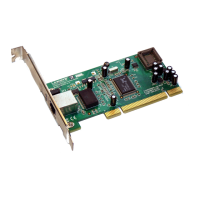
EtherFast
®
10/100 LAN Card
 Loading...