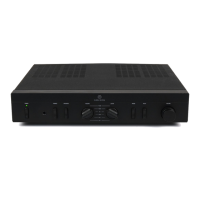
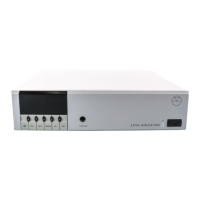
8 AKURATE KONTROL
CALIBRATION
Accesses the SPEAKER CALIBRATION sub-menu.
SPEAKER CALIBRATION
You can use the speaker calibration feature to ensure that the
volume level that reaches your seating position is the same for
each loudspeaker (speaker calibration is not required for two-
channel systems). Calibration can be done by ear or by using an
SPL (Sound Pressure Level) meter.
To perform speaker calibration:
• Switch on your power amplifier(s) and subwoofer, if one is
connected.
• Select
CALIBRATION LEVEL
. Adjust the reference
calibration level so that the signal you hear is at a
comfortable listening level (or reaches a preset level on an
SPL meter).
• Select
START
. The signal will move round the loudspeakers
in your system in a clockwise direction and will be indicated
on the display.
• When the signal reaches a loudspeaker which is louder or
quieter than the other loudspeakers, use the / keys on
the handset to trim the volume as required. A few seconds
after the or key has been released the signal will
continue its clockwise direction.
• To stop loudspeaker calibration, press
SETUP
on the
handset.
Range:
-15 dB to 15 dB
(in 0.5 steps)
Default setting:
: 0 dB
Select
SAVE
to save your changes and return to the SPEAKER
SETUP menu.
Select
BACK
to return to the SPEAKER SETUP menu without
saving changes.
Select
EXIT
to leave setup (if changes have been made and SAVE
has not been selected, you will be prompted to save or not save
the changes).
Select
BACK
to return to the MAIN MENU.
Select
EXIT
to leave setup.
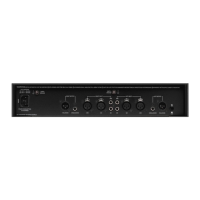
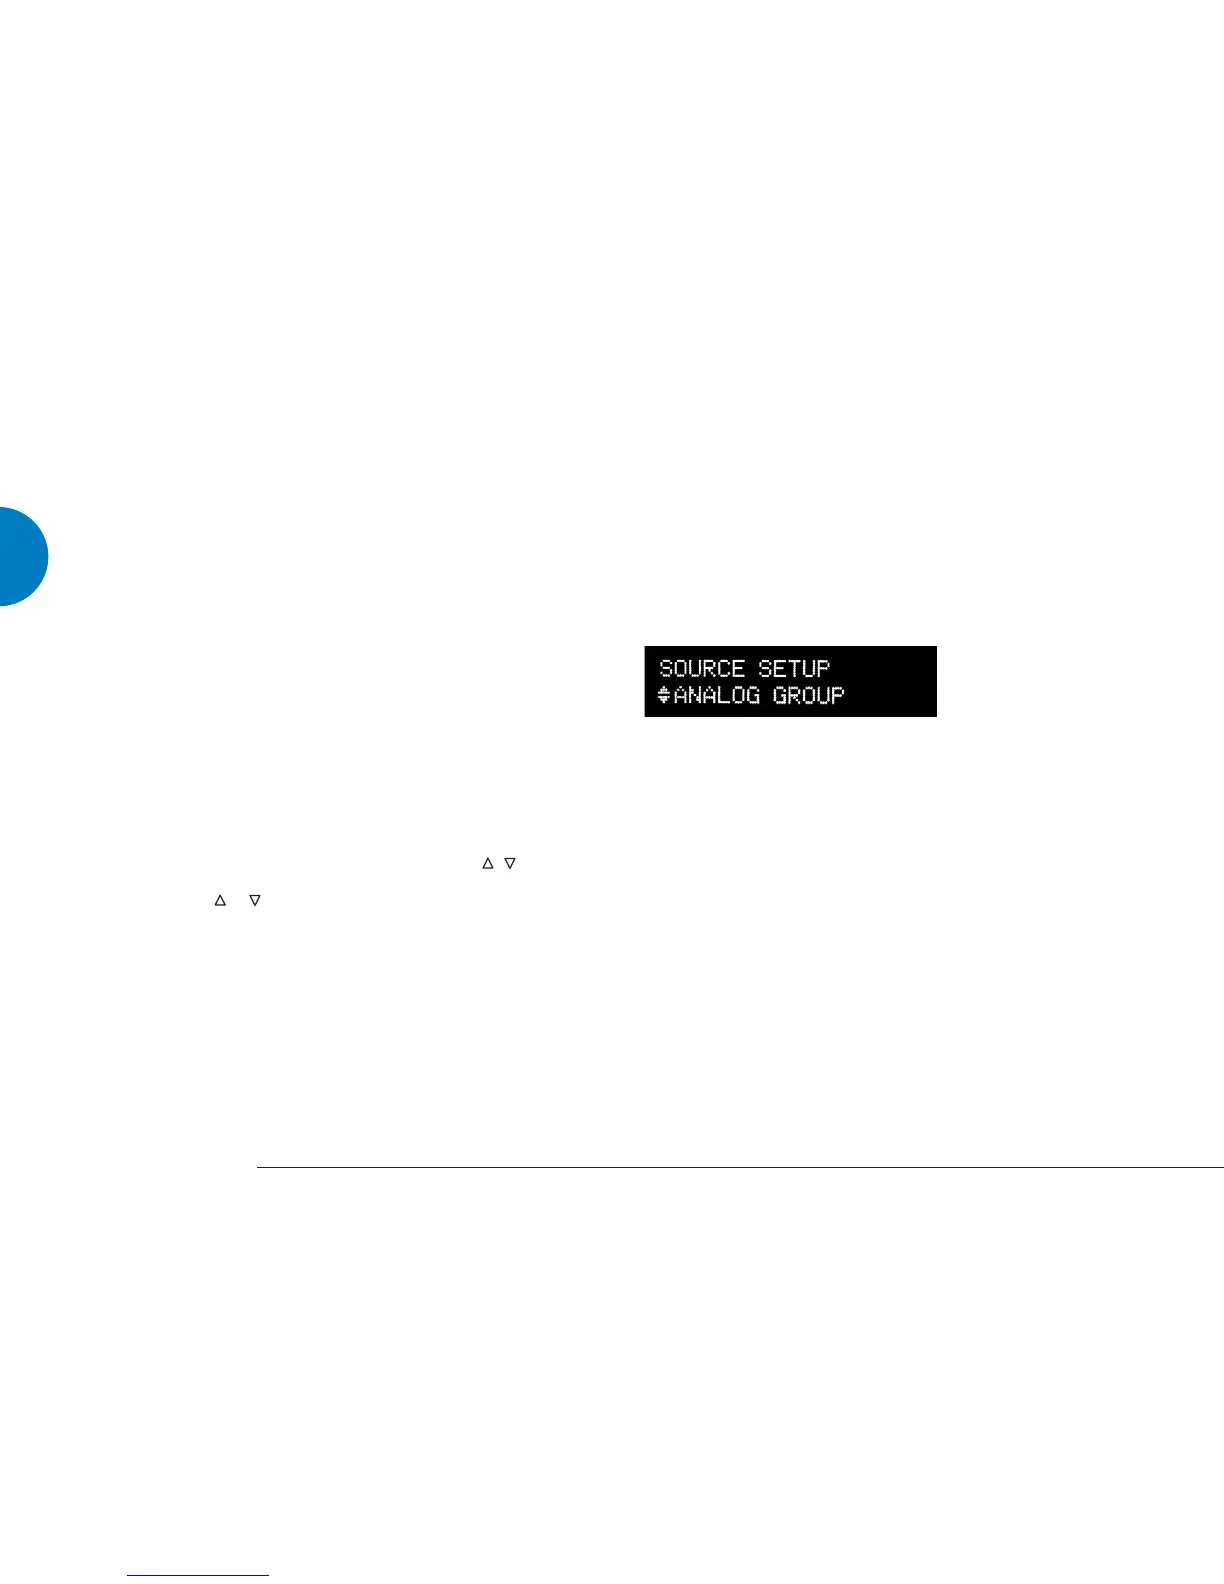
Source setup
Please complete the following setup procedure for each source
component you are connecting to your AKURATE KONTROL.
Select the back panel input you have connected to your source
component.
Options:
SPDIF 1 to 3, TOS (TOSLINK) 1 to 3, ANALOG 1 to 6,
ANALOG GROUP, KNEKT
Notes:
By default, ANALOG 1 is assigned to an AKURATE CD player, and
ANALOG 6 to a turntable.
The ANALOG GROUP uses the ANALOG 1, 2 and 3 inputs, therefore
if a source is assigned to ANALOG GROUP you cannot also assign a
source to ANALOG 1, 2 or 3. Conversely, if a source is assigned to
ANALOG 1, 2 or 3, you cannot assign a source to ANALOG GROUP.
The KNEKT option will not be available unless the KNEKT item in
General setup has been set to
LOCAL ROOM
(see KNEKT, page 12).
For back panel inputs that you do not wish to use, set Type to
NONNE
(see next page). This will mean that when you are selecting a source,
inputs set to
NONE
will not be seen.
ENGLISH
 Loading...