35
Terminal # Voltage
J3 #19 0VDC
J3 #18 2VDC (or higher)
J3 #17 12VDC (or higher)
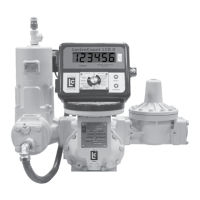
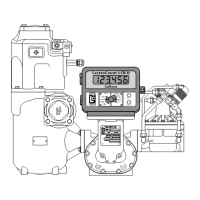
Select a product code corresponding to the suspect meter. Insert a ticket into the EPSON printer ,
and begin a delivery. With product flowing through the meter, measure the following DC voltages
on the REC board (part # 81268)
Terminal # Voltage
J3 #19 +12.6VDC
J3 #18 +3VDC± .5VDC
J3 #17 +3VDC± .5VDC
If the following voltages are observed, ensure that the pulser shaft is rotating. Look for any
mechanical problems which may cause either the meter or pulser shaft to lock-up.
Terminal # Voltage
J3 #19 +12.6VDC
J3 #18 +6VDC±.5 or 0VDC
J3 #17 +6VDC±.5 or 0VDC
If the Lap-Pad continues to indicate a pulser failure, replace the pulser board (part # 811521 or
81159 for POD pulsers)
PROBLEM: Valve will not open (single-stage)
PROBABLE CAUSE: Solenoids Inactive / Inoperative
SOLUTION:
1) In Mode # 1, select a product code, insert a delivery ticket into the EPSON printer and start a
delivery.
1) Move the selector switch from ‘RUN’ to the ‘EMERGENCY STOP’ and back to the ‘RUN’
position, listening for an audible ‘clicking’ from the solenoid.
If the solenoid clicks:
This may indicate a mechanical problem with the valve or its associated components. Refer the
problem to a qualified Liquid Controls Service Center.
If the solenoid does not click:
1) Remove the (12) 7/16” bolts securing the REC cover. Lift the cover and remove the coiled
phone cable. Set the cover to the side, taking care not to damage the phone-type cable
connector.
2) Using a reliable voltmeter, measure the following DC voltages on the REC board (part #
81268)
Terminal # Voltage
J4 # 20 1.0VDC ± .5VDC
J4 # 21 12.0VDC ± 1.5VDC
J4 # 22 1.0VDC ± .5VDC
J4 # 23 12.0VDC ± 1.5VDC