35
● Remove the product bottle and insert a contai-
ner with approx. 0.5 liter of cleaning agent.
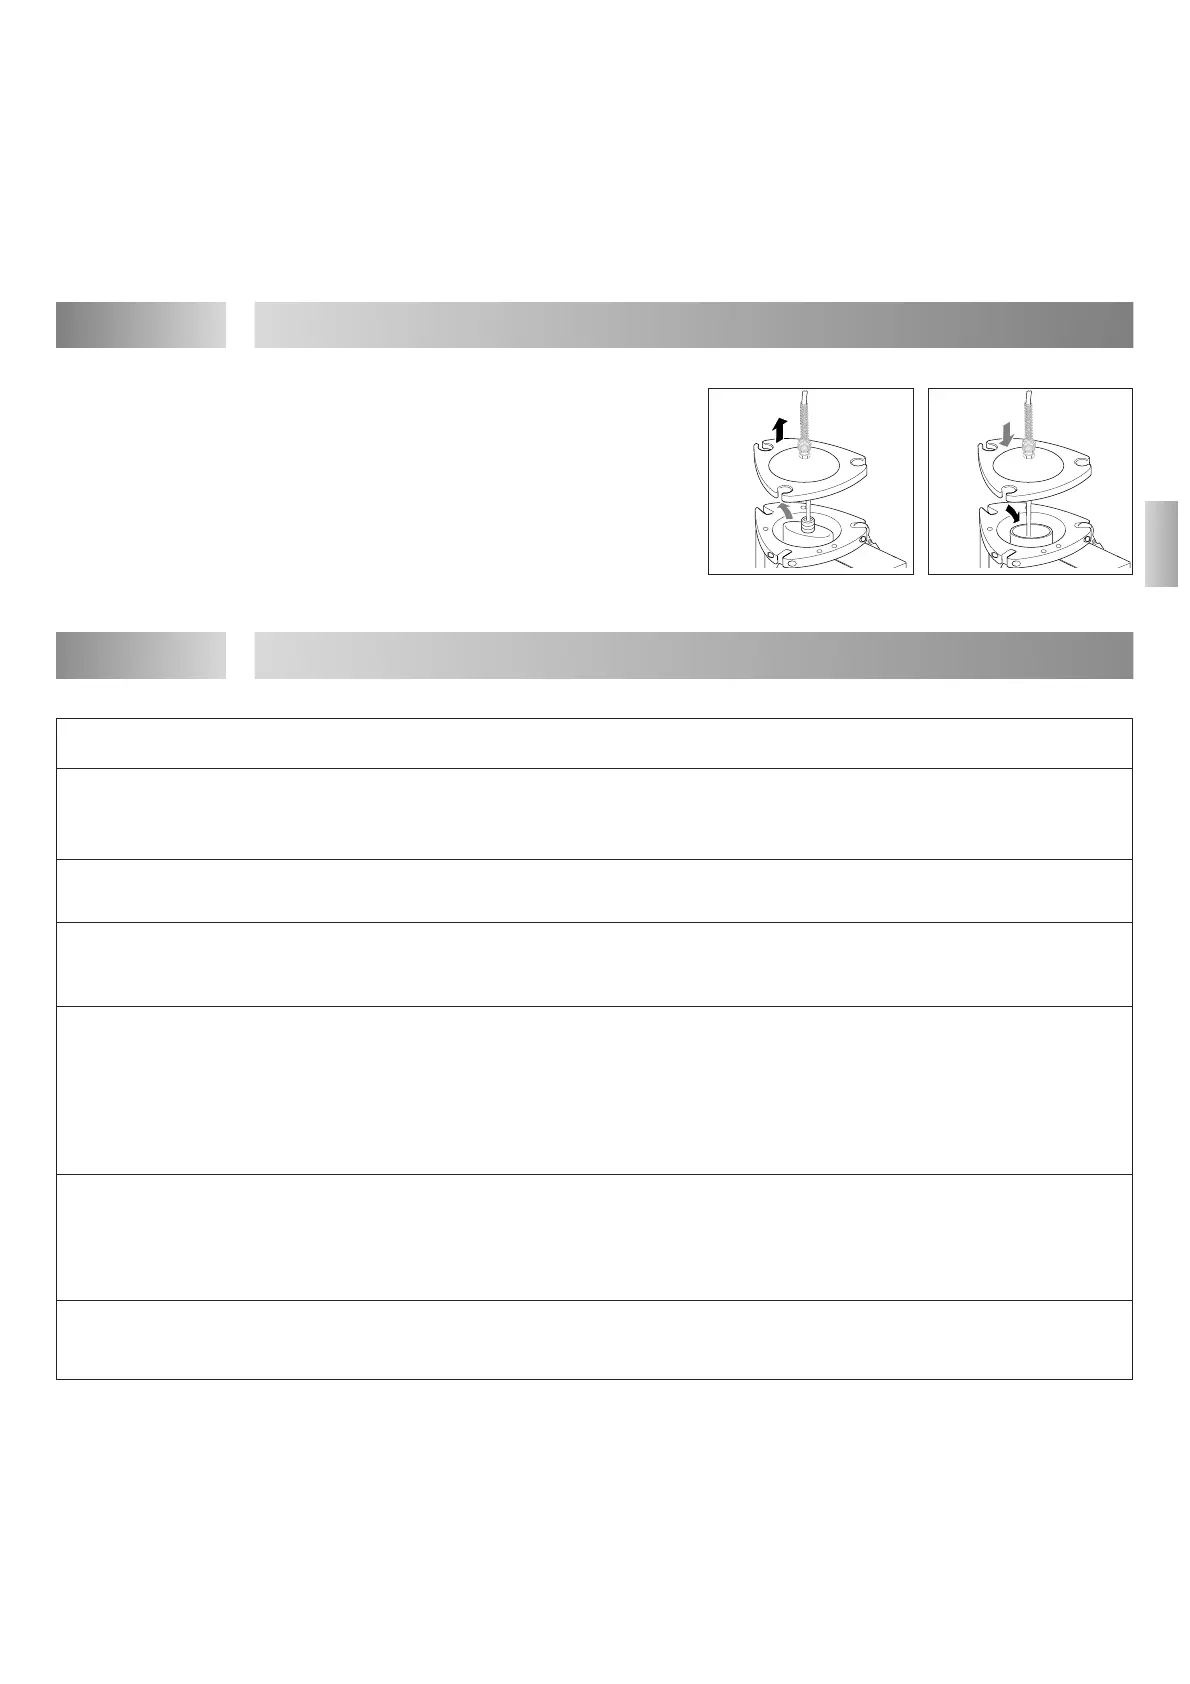
● Put on the cover 1 and uniformly tighten the
cover screw fasteners 2.
● Operate the dispenser continuously until dry air
streams out of the dispensing valve (see
operating instructions for the dispensing valve).
● Remove the empty cleaning agent container.
Care, Cleaning and Maintenance6
Type of malfunction Possible causes Correction
Pressurized air escapes
between reservoir housing
and cover.
Pressurized air escapes at the
product connection 3.
Pressurized air escapes in the
reservoir housing.
LED indicator 4 does not light.
(automatic reservoir only!)
Too little product.
Bundled exhaust air is
blowing or at the co-axial
thread joint it is blowing.
– Cover screw fasteners not tightened.
– O-ring leaky.
– Union nut on the product connection 3
not tightened.
– Punctured rupture disc.
– Depressurizing valve 5 open or defect.
– Loose plug or socket of the tank cord on
the product reservoir.
– Tank cord defect.
– LED indicator 4 defect.
– Reservoir electronics defect.
– Dispensing pressure inadequate.
– Air supply pressure inadequate.
– Malfunction of the dispensing valve.
– Co-axial air hose not correct connected
or not cutted in a straight and clean way.
● Tighten the cover screw fasteners.
● Grease or renew the O-ring.
● Carefully tighten the union nut.
● Replace the rupture disc (see below).
● Close the depressurizing valve 5.
Loctite service.
● Switch the power switch (controller) to
the O (OFF) Position. Tighten the plug or
socket of the tank cord. Switch the
power switch to the I (ON) position.
● Replace the tank cord.
● Loctite service.
● Loctite service.
● Increase the dispensing pressure on the
controller.
● Increase the air supply pressure.
● Check the dispensing valve (see opera-
ting instructions of the dispensing valve).
● Check co-axial air hose
(see Section 2.1).
Troubleshooting7