Piccolo 72 from 82
www.lt-light.com
3. – Edit the IP
4.- Accept the changes.
In Capture:
1. Start Capture Polar program.
2. Open a project, or to create a new project.
3. Do the patch of all fixtures to the project Universes.
4. Assign to the project Fixtures a channel number.
Capture fixtures, to control with Piccolo conventional channels, must have channel numbers, in
Capture, from 1 to the Piccolo maximum channels number (this number depends of the Piccolo
model, 24, 48, etc.)
Capture fixtures, to control with Piccolo fixtures, must have channel numbers, in Capture, from the
Piccolo channels number +1 (in example 25, 49, etc.)
In Piccolo:
1. Edit Patchs, channels patch & fixtures patch, copying the Capture Patch (Universes) in
the project. Capture universe must be equal that the console universe.
2. Active the Ethernet port, and set a Net number. At this moment, you can “see” Capture
Polar listed in “Others” window (you can see it on the monitor or on the display
pressing [OPTIONS])
3. Set the console IP with a direction in the range used by the computer. In example:
2.1.0.#. Where # is a number from 0 to 255
Note. If Capture & Wole are in the same computer, this step isn’t needed.
4. Set Dmx output to be transmitted by ArtNet universe. At this moment, you can see the
universe in the Capture list of external universes.
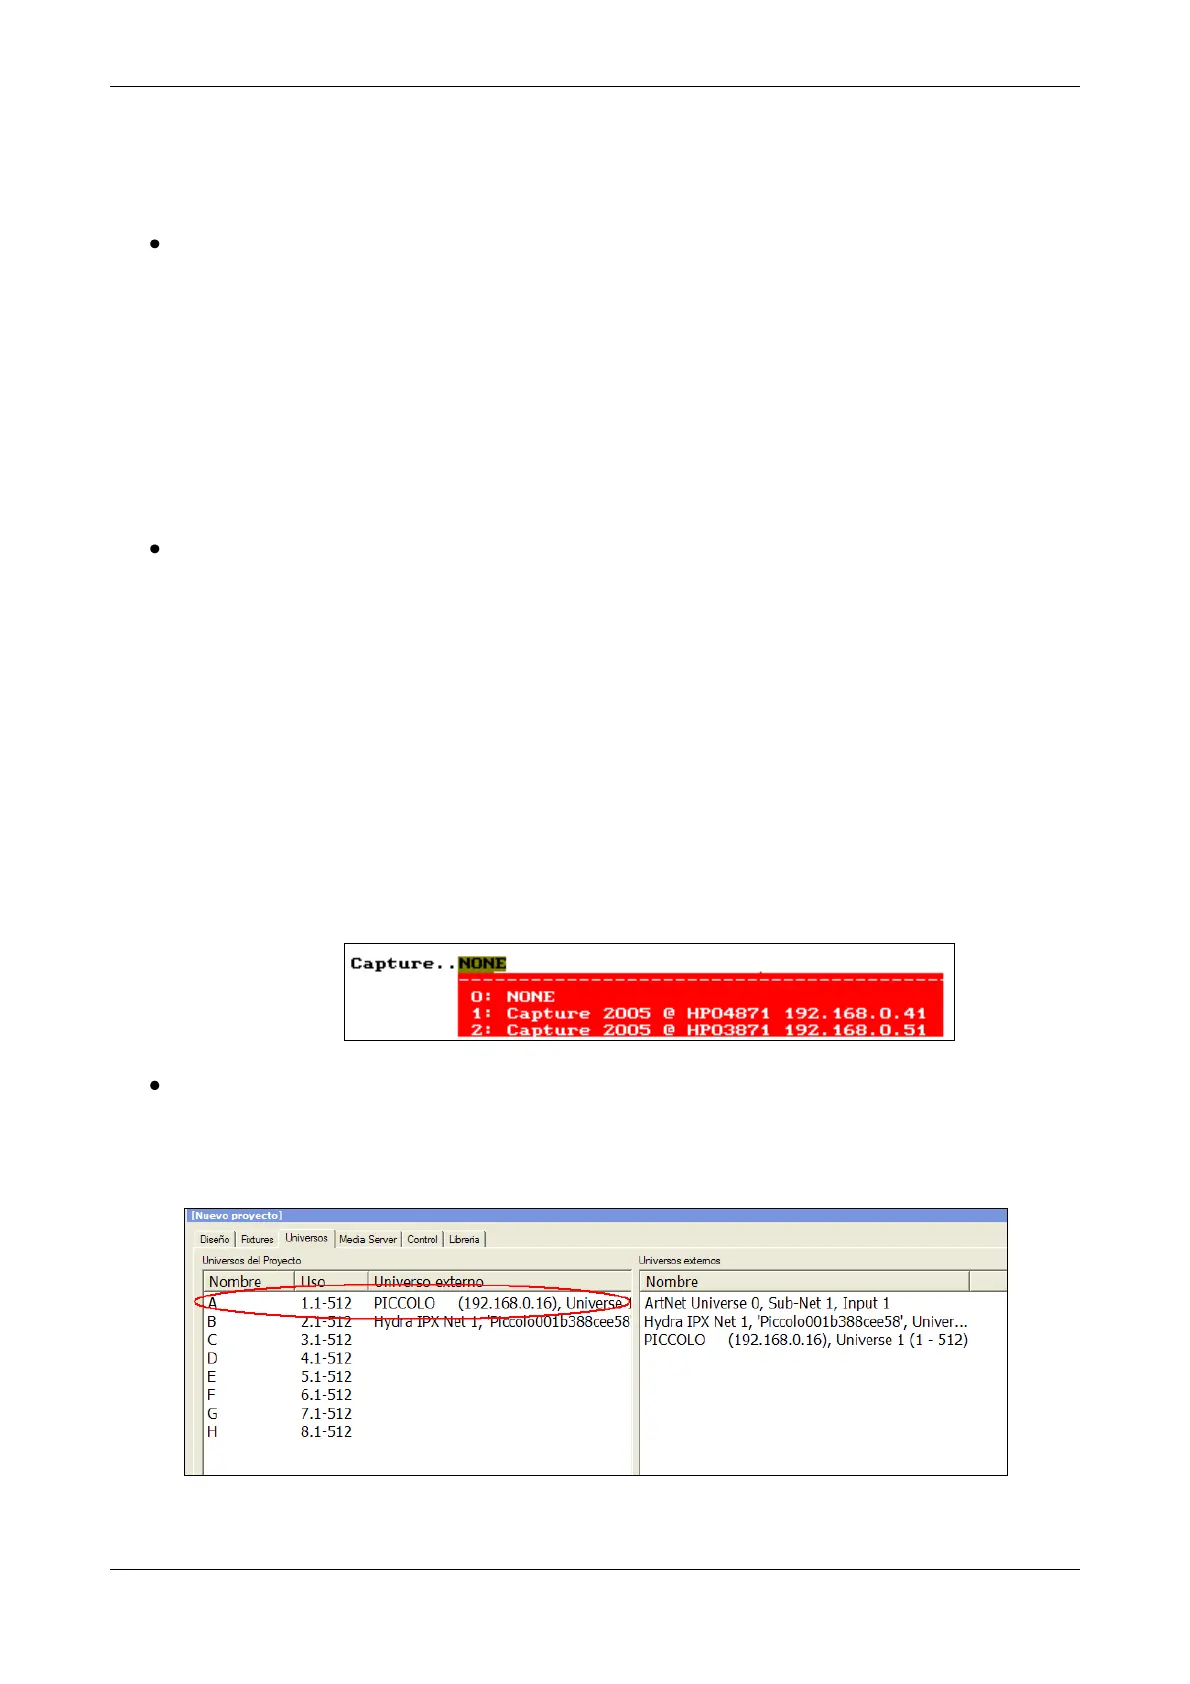
5. Connect Piccolo, using CITP, with Capture, editing the cell Capture with the index
number of one of the available.
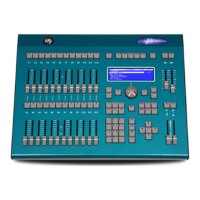
At the end, in Capture:
Check, if needed, or set manually, the assignation done amongst Project Universe and External
Universe: