lumenstudio
™
software user manual
lumenstudio
™
software user manual
36
37
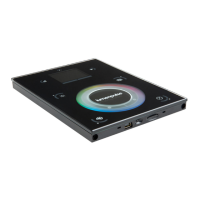
You will see in the middle, an interactive Lumentouch image. Currently there is no scene assigned. To assign scenes you can
drag and drop from the left hand side into the display screen in the center of the device. As soon as you have assigned
one scene the image will now show the scene name and the area assigned.
Use the buttons below the display to toggle through the zones (if applicable). Use the left and right arrows to toggle though
the assigned scenes.
If multiple zones have been established (10 Max) each must be assigned to an individual page.
Alternately right clicking in the display shows options for assigning/removing scenes, including assign al or remove all .
Deleting or removing a scene here will not delete it from the program, just remove it from the device until it has been as-
signed again.
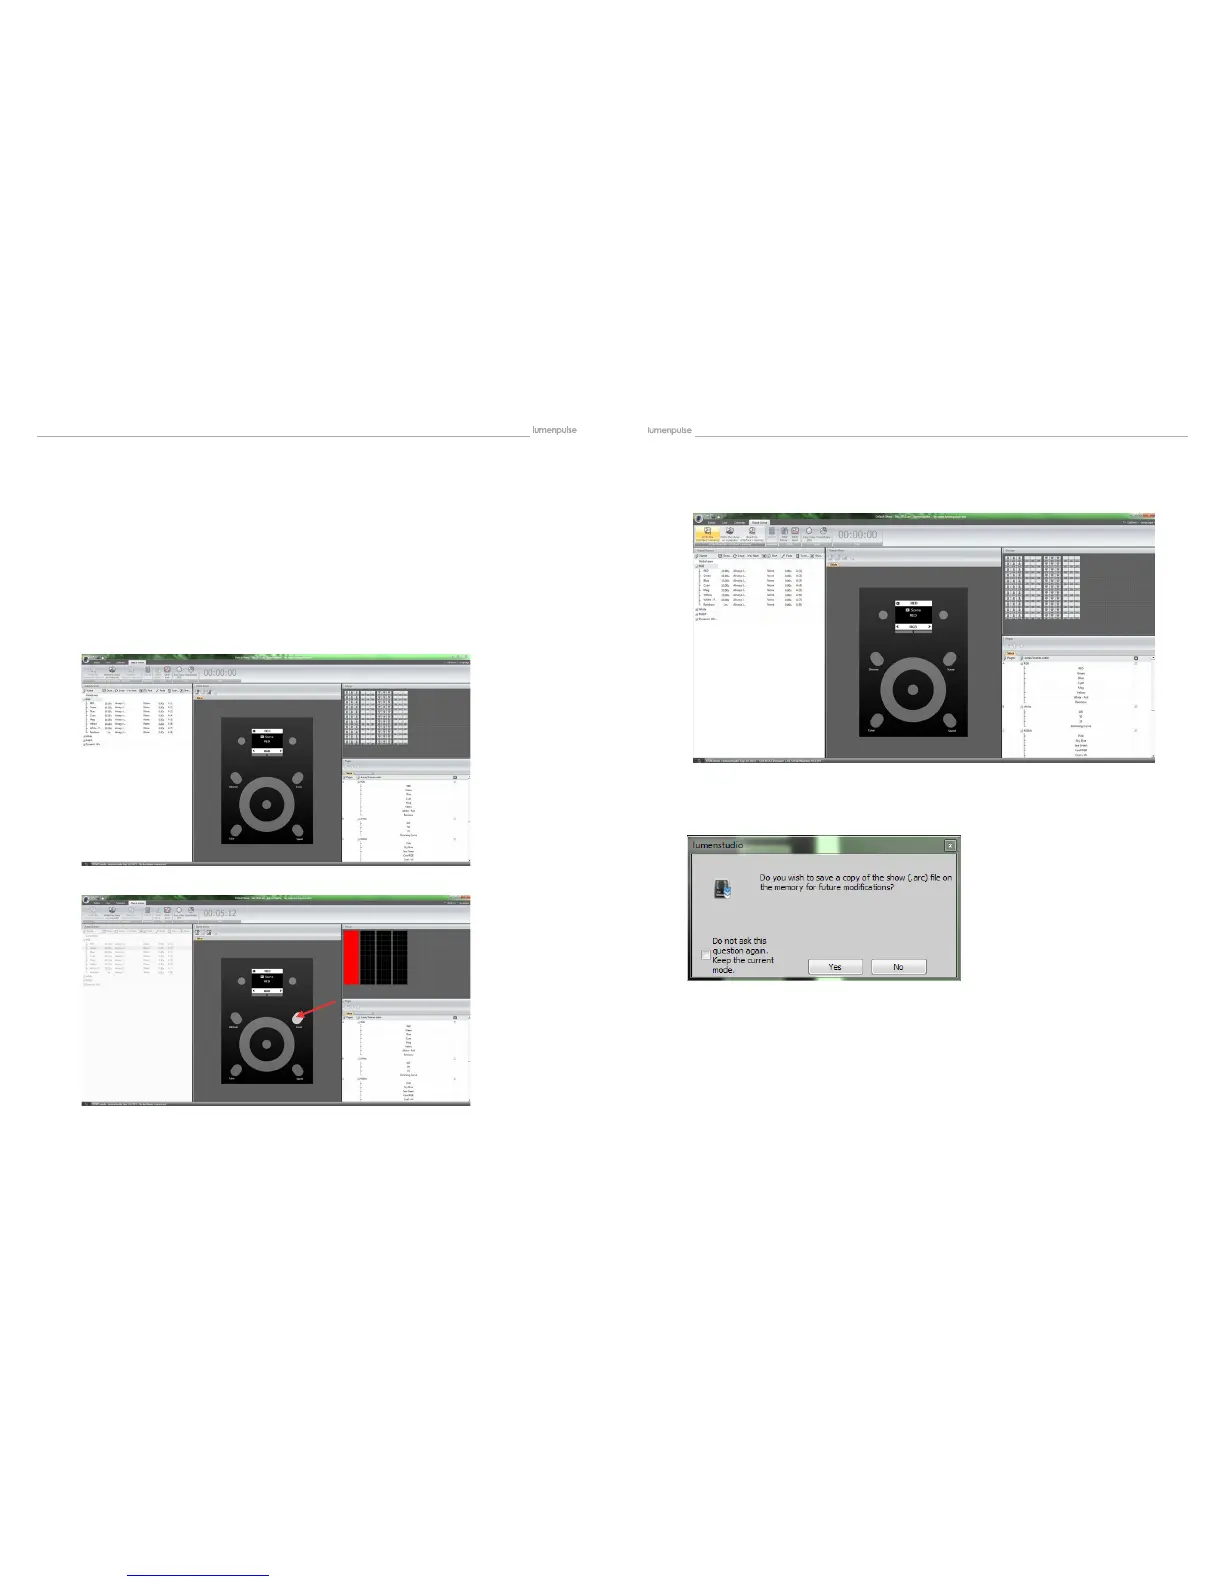
A scene needs to be assigned to the device to function. Once you have assigned all the scenes to the device, you will
want to write the show to your Lumentouch.
Choose the Scene button on the interface, and cycle through the Zones and Scenes to see a simulation on the right.
Follow the dialogues as they pop up.
The rst will ask if you wish to save a copy of the show le to the memory. This will allow you to have a copy of the show
on the card, in case you do not have access to it on your computer if you ever want to edit it. Recommended!!
Once you have assigned all the scenes to the buttons, you will want to write the show to your Lumentouch.
Select ‘Write the Interface Memory’