Luminex 200 Installation Manual
7
Under NO circumstances should you remove the Luminex 200
analyzer cover! When performing routine maintenance, turn power
to the Luminex 200 analyzer OFF and the disconnect the power cord.
All laser apertures are located within the Luminex 200 analyzer and
are contained within a protective housing.
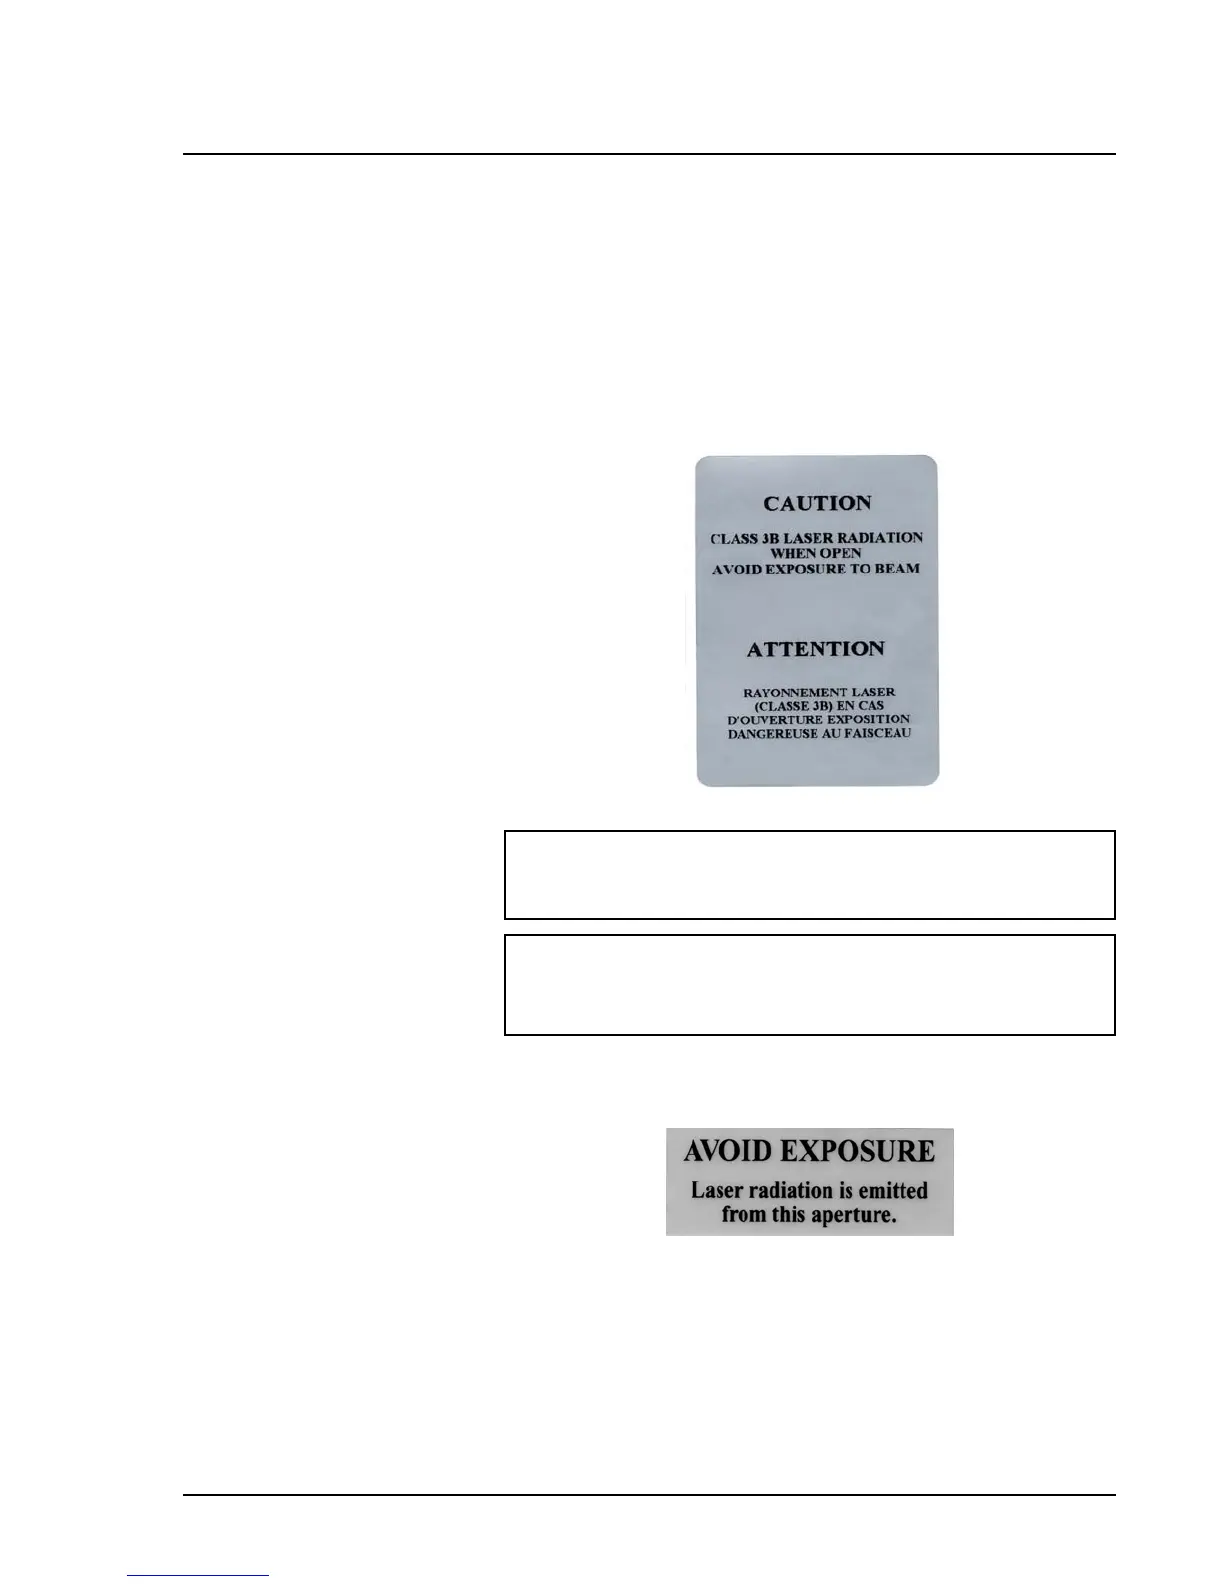
This label appears on the optics cover within the Luminex 200
analyzer.
Figure 8. Laser Class Label
This label appears above the laser apertures located inside the optics
enclosure inside the Luminex 200 analyzer.
Figure 9. Avoid Exposure Label
Barcode Reader Laser Do not stare into the beam or shine it into other people’s eyes. This
label is attached to the barcode reader.
Warning: Use of controls or adjustments or performance of proce-
dures other than those specified herein may result in hazardous
radiation exposure.
Attention — L’utilisation des commandes ou réglages ou
l’exécution des procédures autres que celles spécifiées dans les
présentes prescriptions peuvent entraîner d’une exposition à un
rayonnement dangereux.

 Loading...