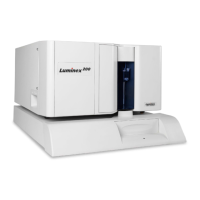
Luminex 200 Installation Manual
12
11. Plug the Luminex XYP instrument, Luminex 200 analyzer, PC,
and monitor power cords into approved outlets. We strongly
recommend using an uninterruptible power supply (UPS) to
protect the system from power variations. Choose one that can
provide 1050 Watts for at least 45 minutes. The UPS should be
UL listed, CSA certified, and CE marked when used
internationally.
Connect Sheath and
Waste Containers
To connect the sheath and waste containers
1. Connect the color-coded tubing connectors to the Luminex 200
analyzer. Blue = sheath, green = air, orange = waste.
2. Fill the sheath bottle with sheath fluid to just below the air intake
fitting.
3. Place the sheath and waste containers to the left side of the
analyzer, on the same surface as the Luminex XYP instrument.
4. Connect the blue connector to the sheath (bottom) fitting on the
sheath bottle. Connect the green connector to the air (top) fitting
on the sheath bottle. Connect the orange connector (middle) to
the waste fitting on the waste bottle. Verify that the waste tubing
is not elevated more than 12 inches above the Luminex 200. To
maintain a stable flow rate, do not move the waste container or
waste line during system operation.
Install the Luminex XYP
Instrument Sample Probe
To install the Luminex XYP instrument sample probe:
1. Verify that the Luminex 200 analyzer and Luminex XYP
instrument power switches are off.
2. Remove the light housing directly above the sample arm by
grasping and firmly pulling out. It remains attached by a wire
harness. Place it on top of the analyzer.
3. Unscrew the cap from the Cheminert fitting. See Figure 13.
Note: Do not touch the Gore-
Tex
TM
seal in the waste bottle
cap or allow it to become wet,
as venting may become
impaired

 Loading...