9
7 SETTING THE DATE AND TIME
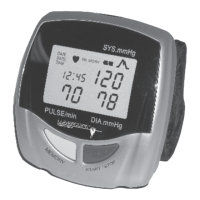
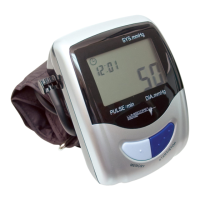
The Date and Time function creates the ability to document the date and time each measurement
istaken.Thisdevicehasa12-hourtimeformat.Theicon“AM”indicatesthetimeofAnteMeridiem
andtheicon“PM”indicatesthetimeofPostMeridiem.Todisplayaccuratedateandtime,theuser
should set the date and time correctly before the first use of this device.
The procedure for setting Date and Time is as follows:
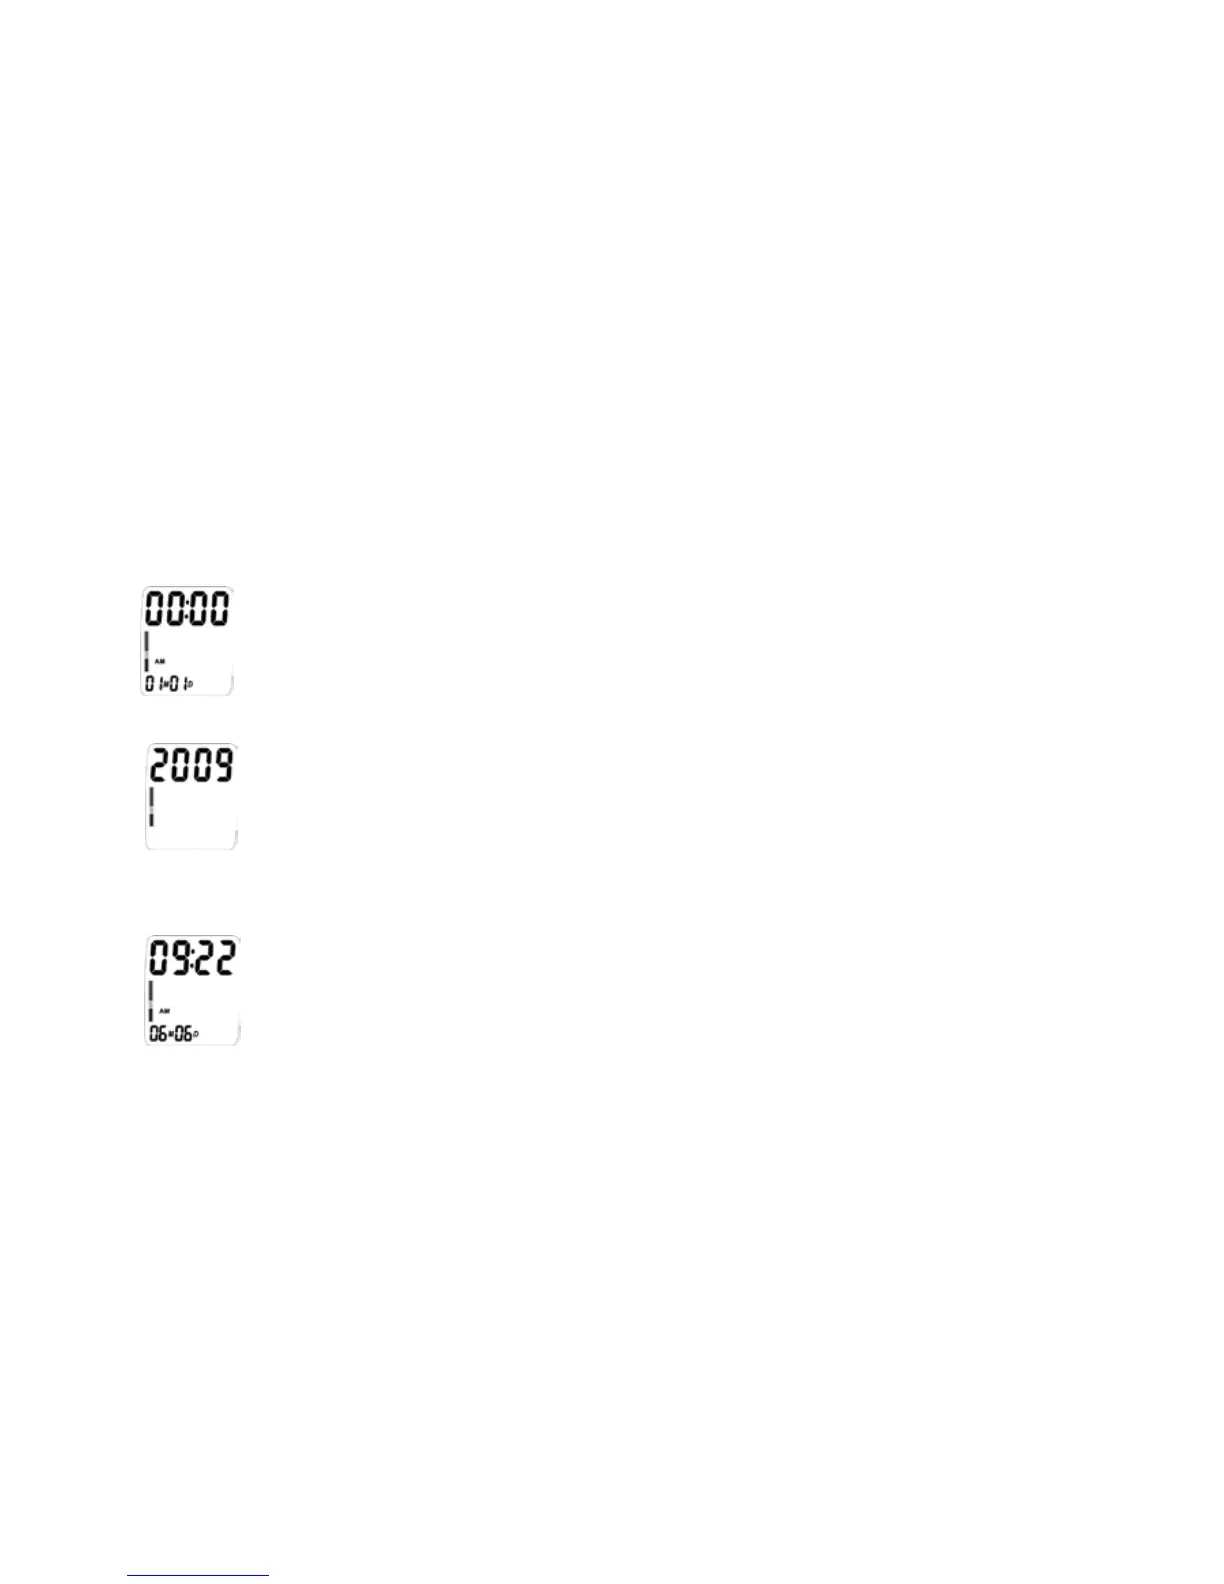
fig. 7-1
1. When the device has batteries installed, the display will show as in Fig. 7-1;
fig. 7-2
2.
Pressandholdbutton“M1”,thenpressbutton“O/|simultaneously”,andtheyearnumberwillflash;
3.
Pressbutton“M1”or“M2”againtoincreaseordecreasethenumber,andpressbutton“O/|”forconfirmation;
fig. 7-3
4. When the year setup is confirmed, the month number will flash automatically. Follow the same
steps as above to set month, day and time;
5.
Pressbutton“O/|”tofinishsetup.Ifyouwanttochangethedateandtime,repeatsteps2,3,and4.
 Loading...