Simply Connected
© 2014 Luxul. All Rights Reserved.
Other trademarks and registered trademarks are the property of their respective owners
7
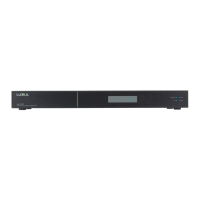
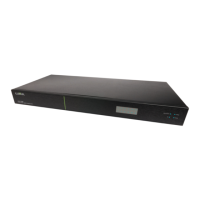
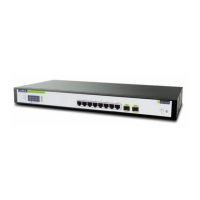
Network Connections
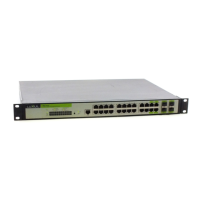
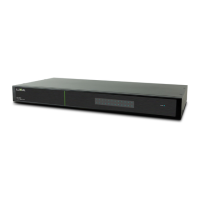
The XMS-1008P supports 10/100/1000 Mbps Ethernet; 10/100 Mbps half/full-duplex mode
and 1000 Mbps full-duplex mode. All RJ-45 ports support Auto MDI/MDIX and can be used
as ordinary ports or as Uplink ports. Any RJ-45 port can be used to connect the XMS-1008P
to an Ethernet enabled device (including servers, routers, and other switches) without a
crossover cable.
The XMS-1008P offers 2 SFP optical/copper module expansion ports. When Gigabit SFP
optical modules are inserted, these interfaces can support optical fiber cables to extend
the Gigabit network up to 49 miles—enabling the network to extend beyond the 300 foot
limitation of twisted pair Ethernet. When Gigabit SFP copper modules are inserted, the
standard Ethernet limitations apply.
Network Transmission Media
For the RJ-45 ports, Category-5, super Category-5 or Category-6 unshielded twisted
pair (CAT5/CAT5e/CAT6 UTP) should be used. For best results, it is recommended that
Category-6 shielded twisted pair be used to ensure stable data transmission at 1000 Mbps.
Optical fiber/cable should be selected based on the wavelength of the SFP optical module
to be used.
CAUTION:
Make sure only one Uplink channel exists between switches or
between the XMS-1008P and a router. Otherwise, loops can occur
and result in network failure.
CONFIGURATION
Login
The XMS-1008P is not equipped with internal DHCP server. However, if you are connecting
to the XBR-2300 Enterprise Dual-WAN Router with the default LAN address, the configura-
tion will be automatic. Otherwise, the IP address of the computer for login and configura-
tion will need to be manually configured. The table below lists the default parameters of the
XMS-1008P.
Parameter: Default Value
Default IP address:
192.168.0.3
Default user name:
admin
Default password:
admin
Login to the switch with the following steps:
1. Plug an Ethernet cable into any of the switch ports
2. Plug the other end into the Ethernet port of your computer
 Loading...