PRECAUTIONS PREPARATION ADVANCED PLAYBACKBASIC OPERATIONS
RECORDING
OPTIONAL SETTINGS
TROUBLESHOOTING INFORMATION
21
RECORDING
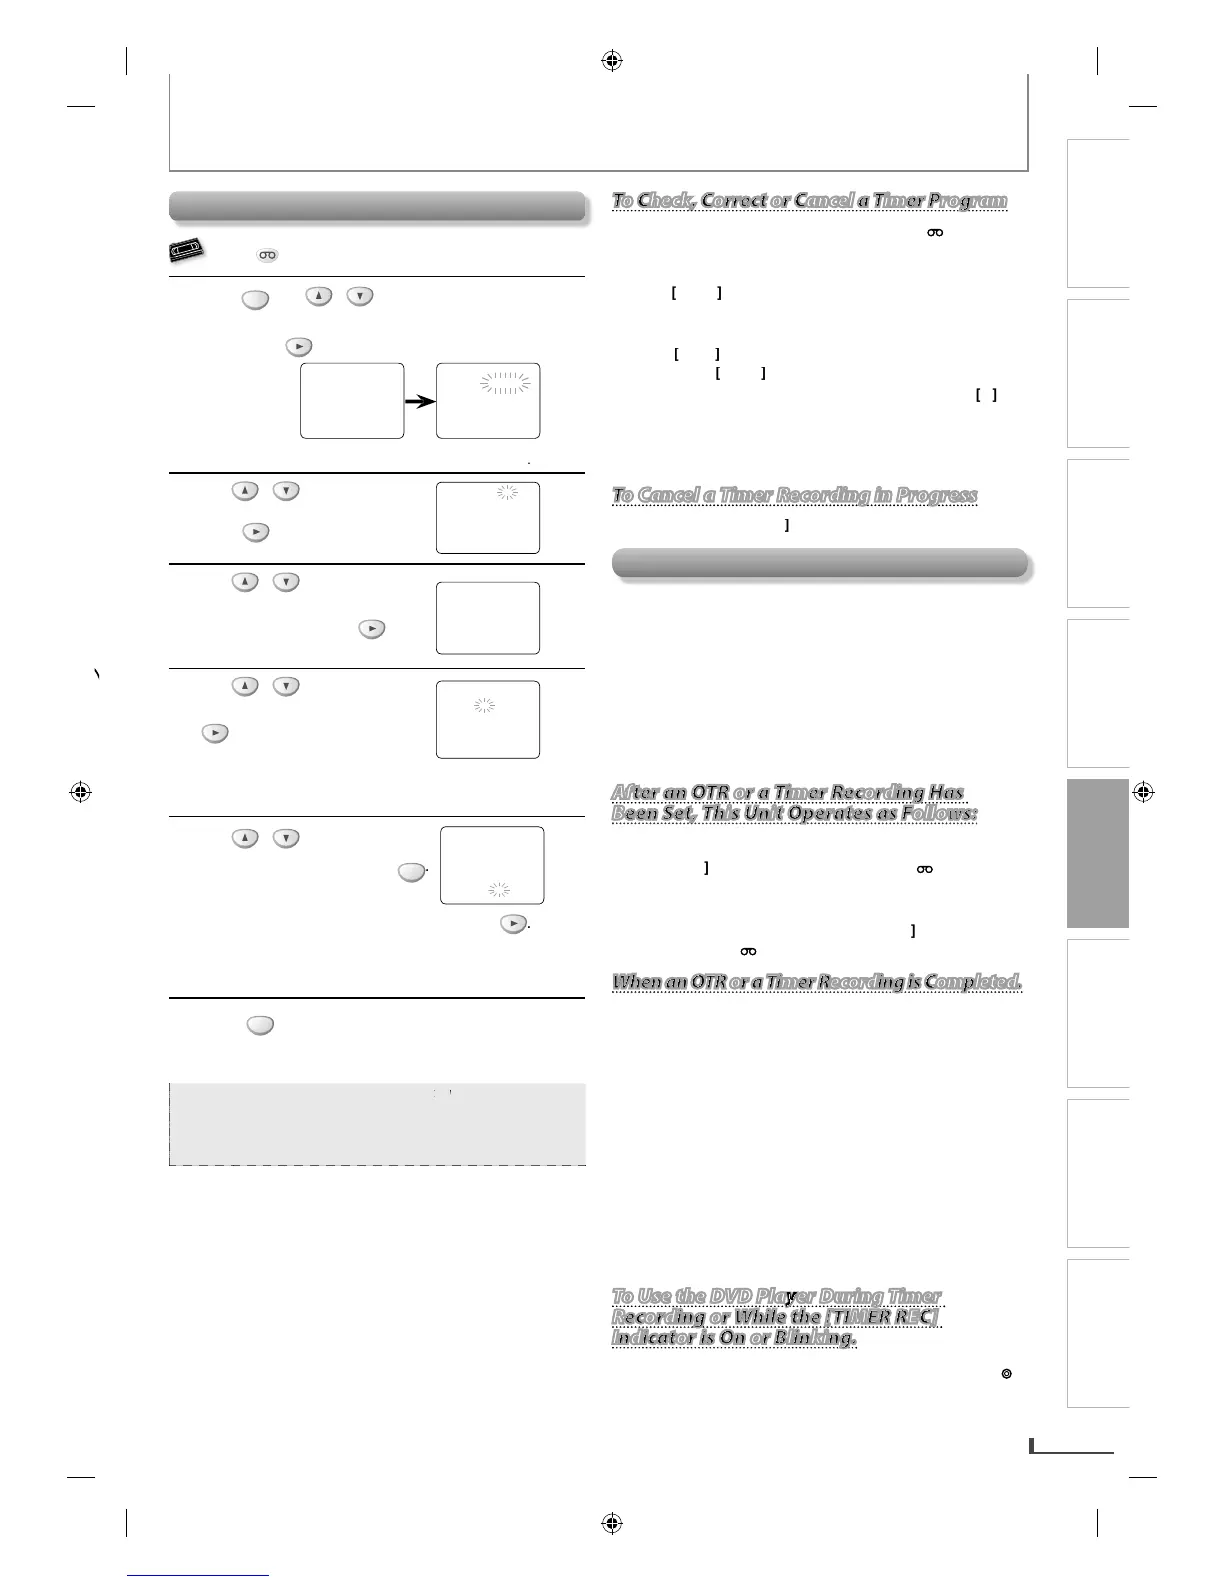
Timer Recording
ATELLITE LINK
AUTO REPEAT
0 6 TUE
START TIME 0 7 : 3 0 PM
END TIME
o set another program after step 5, press
hen, repeat procedures from steps 2 throu
Select “L1” or “L2” to activate rear input
front input jacks accordingl
To Check, Correct or Cancel a Timer Prog
To Check, Correct or Cancel a Timer Program
To Check, Correct or Cancel a Timer Program
2) Repeat procedures in step 1 above.
3
o check. The details of the program
You can cancel the entire program b
To Cancel a Timer Recording in Progress
To Cancel a Timer Recording in Progress
If there is no cassette ta
e in the unit or the cassette
tape does not have the erase-protection tab,
ailure occurred or the unit is
unplugged
or more than 30 seconds, clock setting and
e runs out before an OTR or a timer
recording is finished, the unit e
After an OTR or a Timer Recording Has
After an OTR or a Timer Recording Has
After an OTR or a Timer Recording Has
Been Set, This Unit Operates as Follows:
Been Set, This Unit Operates as Follows:
When an OTR or a Timer Recording
When an OTR or a Timer Recording is Completed.
When an OTR or a Timer Recording is Completed.
ctivated and some timer pro
or DVD has NOT been activated, the
unit goes to the DVD mode and all the VCR
unctions
will be unavailable. All the DVD functions are available
To Use the DVD Player During Timer
To Use the DVD Player During Timer
Recording or While the [TIMER REC]
Recording or While the [TIMER REC]
Recording or While the [TIMER REC]
Indicator is On or Blinking.
Indicator is On or Blinking.
Indicator is On or Blinking.
E8K6AUDDV220MW9ENv1.1.indd21E8K6AUDDV220MW9ENv1.1.indd21 2009/11/0211:12:352009/11/0211:12:35
 Loading...