BE 58-602 Pulsar
®
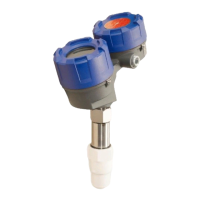
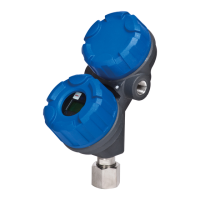
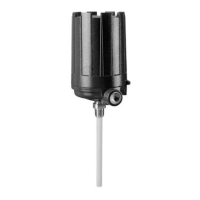
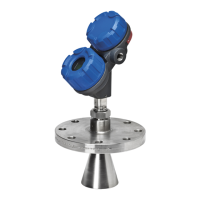
Model R96 Radar Transmitter
1.3 QuickStart Wiring
Explosion hazard. Do not remove covers unless power
has been switched off or the area is known to be non-
hazardous.
NOTE: Ensure that the electrical wiring to the PULSAR Model R96
radar transmitter is complete and in compliance with all regula-
tions and codes.
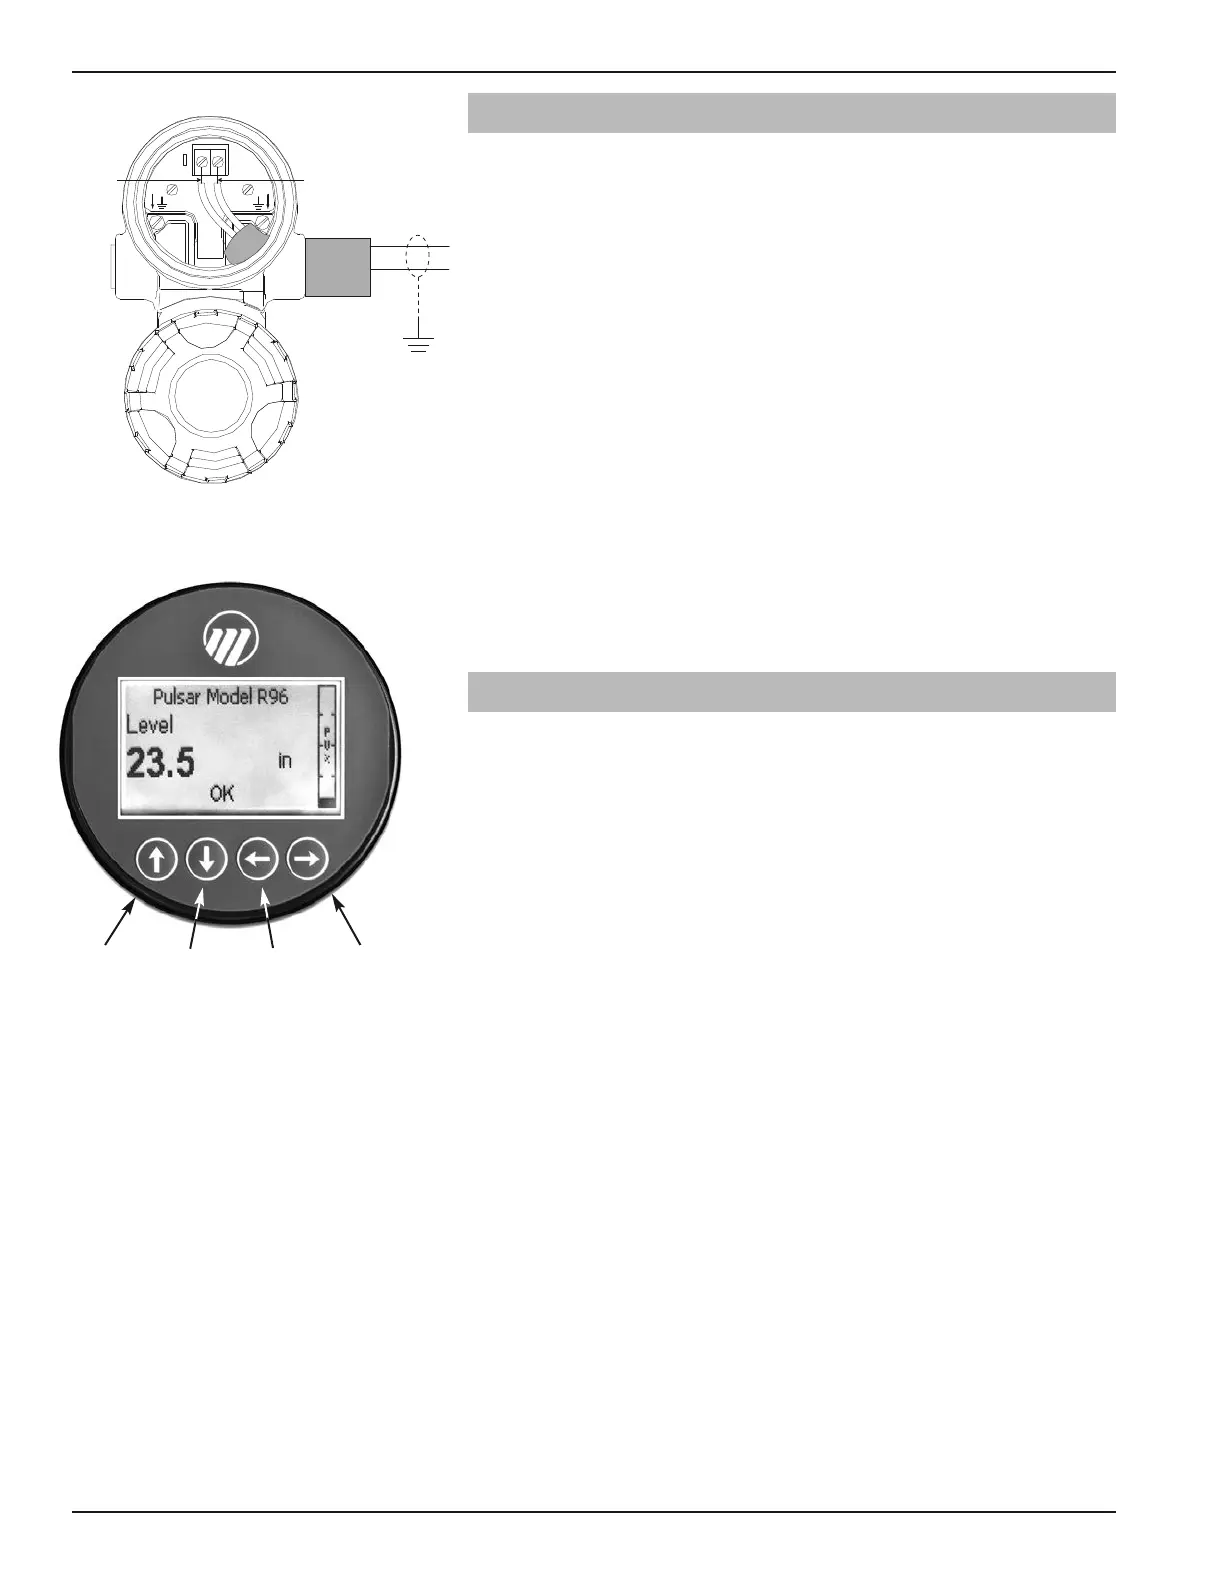
1. Remove the cover of the upper wiring compartment.
2. Attach a conduit fitting and mount the conduit plug in the
spare opening. Pull the power supply wire through the con-
duit fitting.
3. If present, connect cable shield to an earth ground at the
power supply.
4. Connect the positive supply wire to the (+) terminal and the
negative supply wire to the (-) terminal. For Explosion
Proof Installations, see Wiring, Section 2.5.3.
5. Replace the cover and tighten.
1.4 QuickStart Configuration
If requested, the PULSAR Model R96 transmitter is
shipped fully pre-configured for the application and can be
installed immediately. Otherwise it is shipped configured
with default values from the factory and can be easily
reconfigured in the shop. The minimum configuration
instructions follow. Use the information from the operating
parameters table before beginning configuration. See
Configuration Information, Section 1.1.2.
The Quick Start menu offers a very simple two screen
overview showing the basic parameters required for a typical
“Level Only” application.
1. Apply power to the transmitter.
The graphic LCD display can be programmed to change
every 2 seconds to show pertinent Measured Values on the
Home Screen. For example: Level, %Output, and Loop
current can all be displayed on a rotating screen.
The LCD can also be programmed to always show just one
of the Measured Variables at all times. For example: Level
can be the only value displayed on the screen.
2. Remove the cover of the electronics compartment.
Up Down Back Enter
Black (-) Red (+)
(+)
(-)
 Loading...