1
2
3
4
Removing and installing piston with connecting rod
105
Removing piston with connecting rod
D Remove oil pan, oil suction pipe, see page 53
D Remove cylinder heads, see page 79
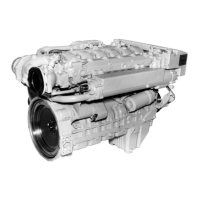
Fig. 1
Remove bolts from connecting rod bearing cap.
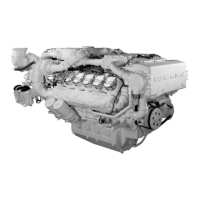
Fig. 2
Take off connecting rod bearing caps with bearing
shells, expediting the procedure by means of light
strokes with a synthetic hammer if necessary.
Note:
Connecting rod bearing caps are match-
marked with the connecting rod big ends;
arrange them in corresponding order.
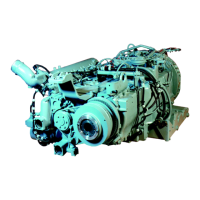
Fig. 3
Remove combustion residues (oil carbon) from top
cylinder edge using a piece of hard wood.
Caution:
Do not damage cylinder liners.
Push out connecting rod with piston in upward
direction.
Caution:
Do not damage oil spray nozzles.
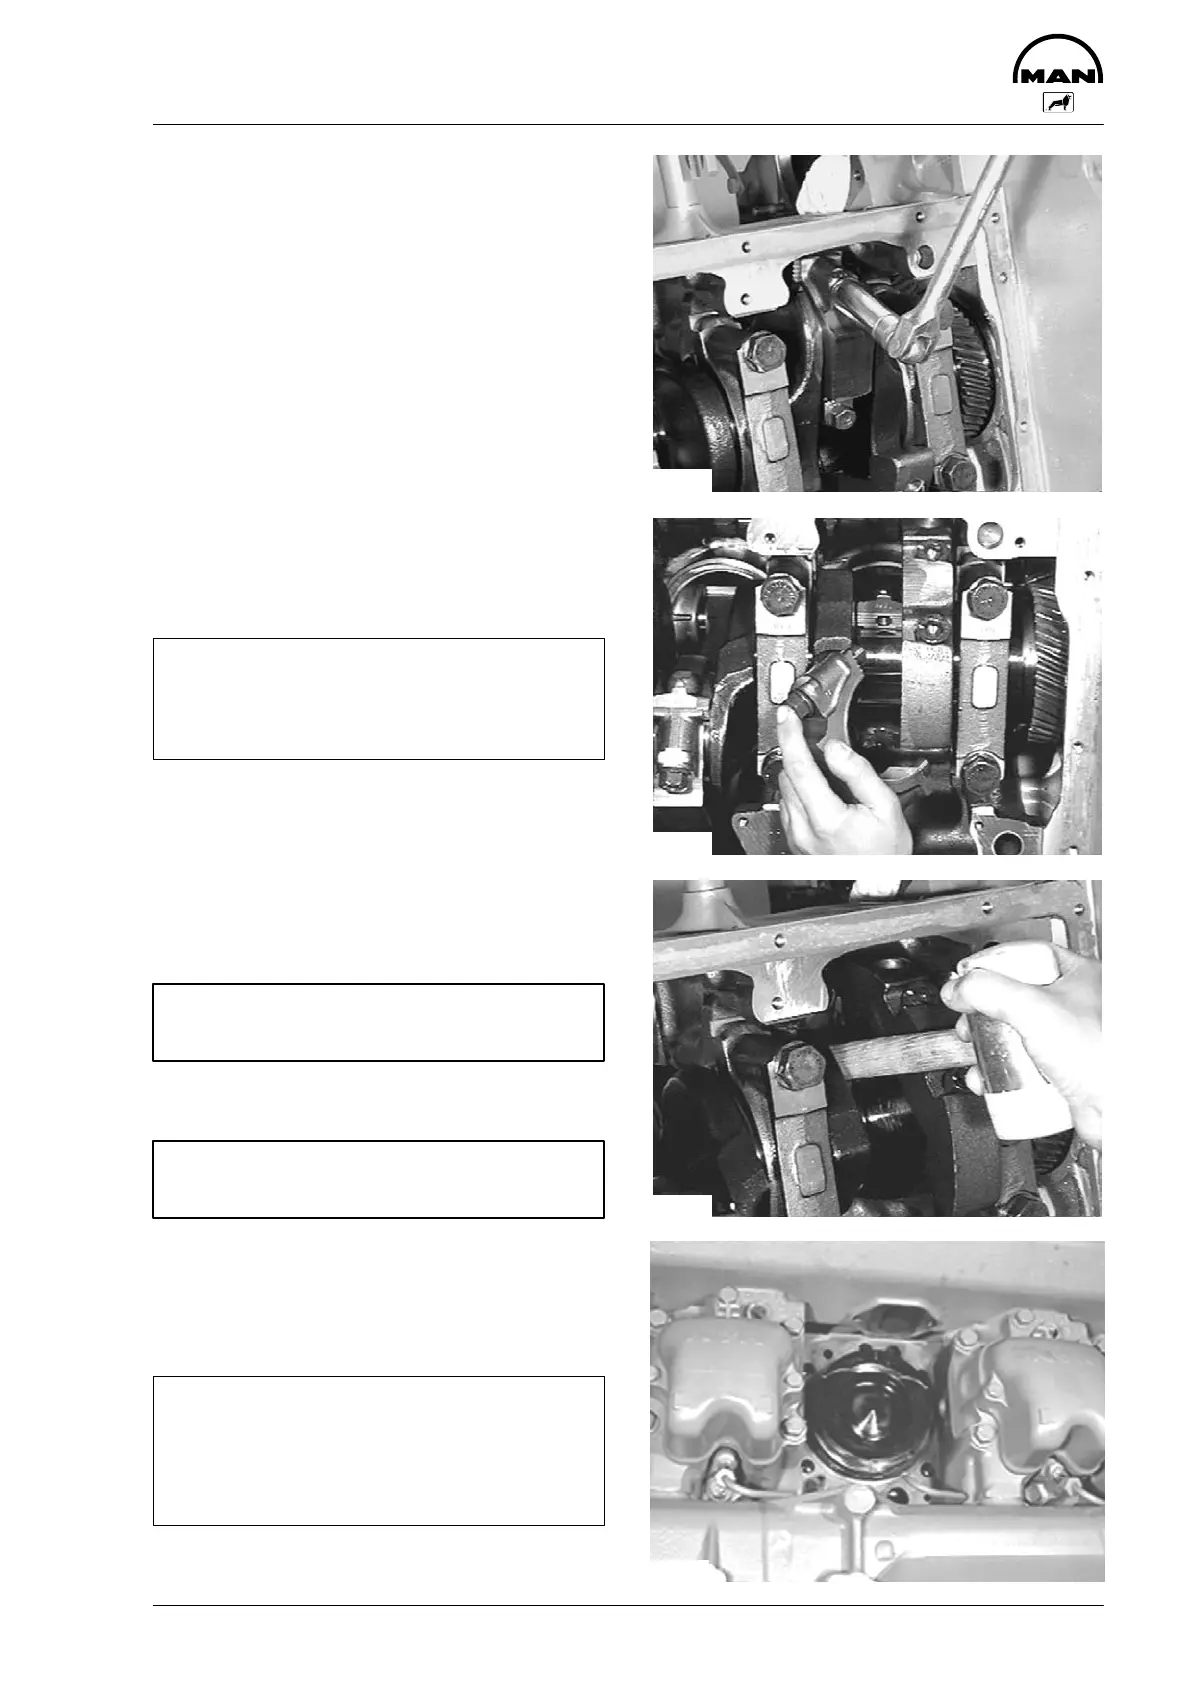
Fig. 4
Lay pistons with connecting rods and associated
caps aside; use deposit rack if available.
Inspect pistons and piston rings visually.
Note:
For reworked crankcase sealing faces repair
pistons with undersizes of 0.2, 0.4 and 0.6
mm in the compression height are available
(see ”Engineering S Data S Setting values”).
3724
3553
3554
3555
 Loading...