Make sure to initialize this unit after replacing the microcomputer or any peripheral equipment, or the
CD PCB.
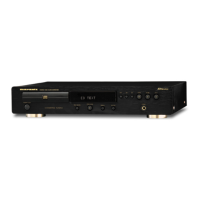
1. Press the power button to turn off the power.
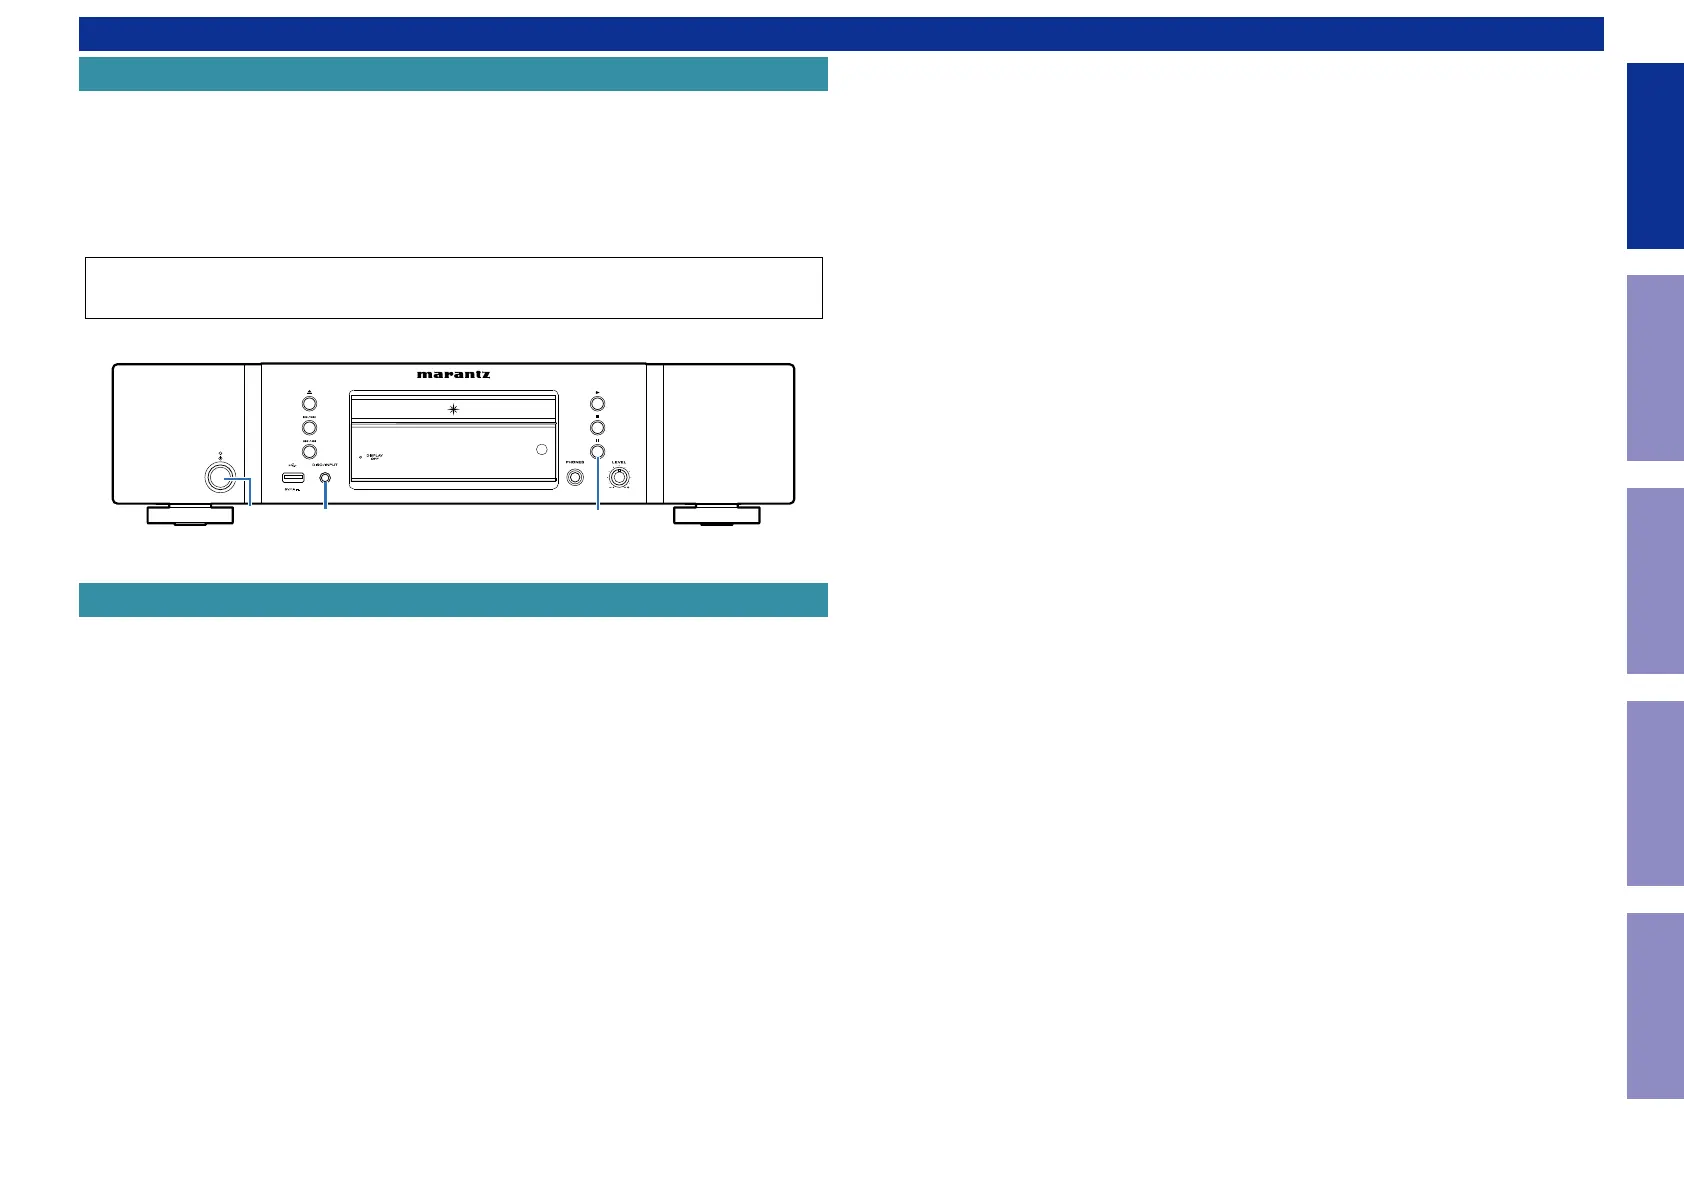
2. While holding down buttons "
PAUSE
" and "
DISC/INPUT
" simultaneously, press the power button to
turn on the power.
3. "
INITIALIZING
" is displayed.
NOTE: • If the unit fails to enter the service mode in step 3, repeat the procedure from step 1.
• Initializing the device restores the customized settings to the factory settings. Write down
your settings in advance and recongure the settings after initialization.
The jig (RS-232C > product internal connector conversion board + 7P Cable Kit) used for rmware up-
dates is as shown below.
Order with your dealer for the jigs your dealer if necessary.
8U-210100S : WRITING KIT : 1 Set
606050028012P : 7P FFC (straight) : 1Set
(See FIRMWARE UPDATE PROCEDURE)
PAUSE
X
DISC/INPUT
JIG FOR SERVICING
Initializing This Unit
CAUTION IN SERVICING.
5
Caution in
servicing
Electrical Mechanical Repair Information Updating