One Chirp Two Chirps Three Chirps Four Chirps
Button LED One Pulse LED Two Pulse LED Three Pulse LED Four Pulse
(Factory Default Setting)
Exit the Programming Mode (3 long chirps and 3 parking light flashes to confirm this exit)
Tachometer
Checking Type
RPM Learning Start
Timer:
0.6 second (1 chirp)
0.8 second (2 chirps)
1.0 second (3 chirps)
1.2 second (4 chirps)
1.4 second (5 chirps)
1.6 second (6 chirps)
1.8 second (7 chirps)
2.0 second (8 chirps)
3.0 second (9 chirps)
4.0 second (10
chirps)
Voltage Checking
Type
Fixed Crank
Mode
+
Low Check Level
High Check Level
22
9X + 1X (Hold)
Step 2
Step 1
3X
Enter the crank detection programming mode, select the engine checking type, then follow the procedures to test
and re-set the cranking parameters as needed.
Note: The default detection setting is “Voltage Detection”. Once your wiring is completed, you can press the
button (2) times and start the engine to make sure all your connections are good to this point.
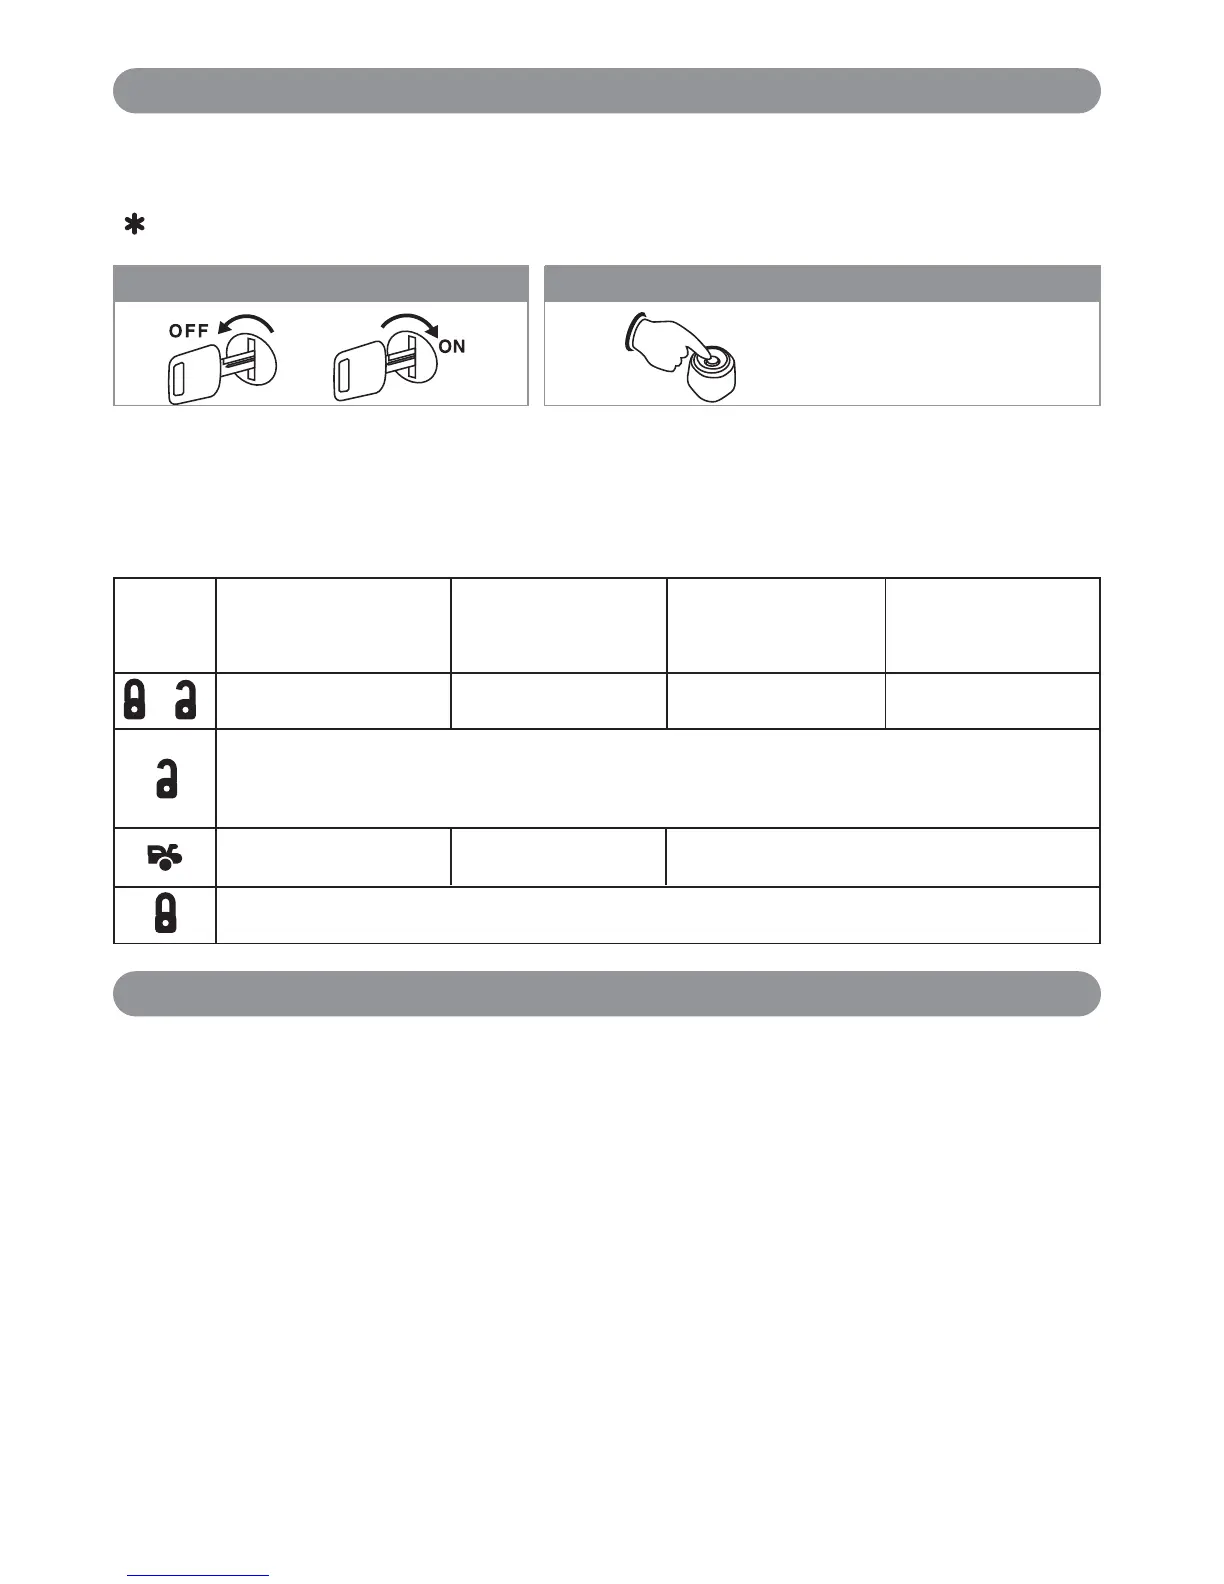
With the ignition switch in the OFF position,
turn the ignition switch On - Off - On - Off - On -
Off.
Before 15 seconds has passed, push and release the valet
switch 10 times holding the button down on the 10th press.
Wait until you hear 5 short chirps/beeps + 1 long chirp/beep.
Release the button. You are now in “Engine Crank Detection
Programming” mode.
Engine Crank Detection Programming
Use the transmitter buttons as illustrated to adjust the features required. Keep re-pressing the transmitter button that
relates to the feature you want to adjust until the correct amount of chirp/beeps is heard. Move on to the next feature.
In this programming group you will set the type of engine starting detection you want to use in your installation.
There are 3 types available:
1. Tachometer (RPM) Detection: (Most reliable and recommended) This type of detection requires a wire
connection to the vehicles ignition coil. You must also “teach” the remote start unit the engine idle RPM level
before you can start the engine by remote
2. Voltage Detection: This method detects the drop and rise in the battery voltage when the vehicle is started by
remote. This type of detection requires a solid main power input connection but it does not require any
additional hard wire connections.
3. Elapsed Timer: This method is the easiest for installation but is not always the best method for year round
usage (Summer and Winter). To operate this method, you will program a specific time window for the remote
start to crank the engine. Battery strength, environment and the aging process of the vehicle may require the
timer to reset from time to time or season to season.
Engine Crank Detection Programming Explanations
X6-IM.qxp 9/12/2008 1:51 PM Page 22