3
.
Zero-setting of measuring head
E9
E9E9
E9
19
3.1 Mechanical zero-setting of measuring head
The zero-setting of the measuring heads can be performed with several mechanical
methods, which will be examined individually in the subsequent paragraphs. Only the
description that refers to the specific application that is being used must be read.
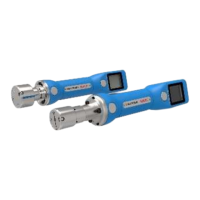
3.1.1 Zero-setting with micrometric screw
a) Loosen screw 1 and move contact 2 as far back as it will go.
b) Loosen screws 3 and 4
c) Slide the fork assembly on rod F so as to obtain a distance between contacts 5
and 6 approximately equal to the diameter to be measured.
d) Tighten screw 3.
e) Move the contacts to the central line of the master workpiece and rotate knurled
ring 7 until the indicator of the meter goes near zero, then tighten screw 4.
f) Move fork CF until the point is found where the meter indicates the maximum
measurement value.
g) In this position, slide contact 2 in order to cause it to touch the workpiece, then
tighten screw 1.
h) If the meter has moved too far away from zero, correct it by loosening screw 4
and rotating ring 7; then tighten screw 4.
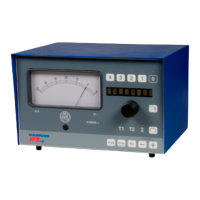
i) Bring the indicator of the meter exactly to zero by acting on the zero-setting
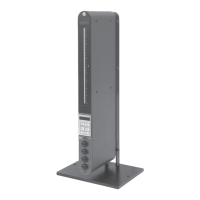
potentiometer 13 (Figure 1).
j) Put the machine in working conditions (workpiece and wheel revolving, coolant
on workpiece), then correct any differences by acting on the zero-setting
potentiometer 13 (Figure 1).
Figure 3 . Zero-setting with micrometric screw