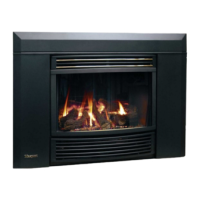
THERMOSTATS
ACCModels.Twoaccessoryoptionsareavailable:
•Thehand-heldIRRCModel300non-programmableremotethermostat.
•Thewall-mountedprogrammablethermostat.
Instructionsforinstallingbothoptionsaresuppliedwiththem.
ECSModels.Anoptionalbatterypoweredwall-mountedprogrammablethermostatisavailable.
GASPRESSUREADJUSTMENT.Allpressureadjustmentsmustbemadewhiletheheateris
operatingonthe‘HIGH’setting.
ACCNGandACCLP.Thesehaveapressureregulatorinsidethecontrolvalve.Therearetwotestpoints
sidebysideontopofthecontrolvalve–theoutletpressuretestpointistheoneclosertotheflamesize
controlknob.Ifadjustmentisnecessary,uncouplethecontrolrodfromthetopoftheflamesizecontrol
knob,extractthescrewfromdownthecentreofthisknobandpulltheknoboffvertically.Thepressureis
thensetbyrotatingtheknurledplasticwheelexposedbyremovingtheknob.Oncethepressureiscorrect
(0.95kPaforNGor2.5kPaforLP),caremustbetakennottoturntheplasticwheelastheknobisre-
fittedinitsmaximumanti-clockwiseposition.Thispositionissetwhentheskirtoftheknobcontactingthe
adjacent metal up-stand. Rotate the knob clockwise and then fully anti-clockwise while observing the
pressuretoverifythatitiscorrectbeforereplacingtheretainingscrewandre-couplingthecontrolrod.
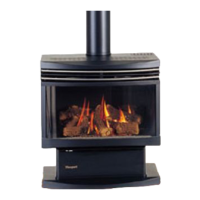
ECSNGandECSLP.Thesealsohaveapressureregulatorinthecontrolvalve.Theoutletpressuretest
pointisonthetopofthecontrolvalveandistheoneremotefromthegasinletconnection.Therearetwo
pressuresettingstoadjust,highandlow.Accesstotheadjustersisgainedbyfirstremovingtheheatshield
abovethevalveandthen removingtheprotectivetransparent cap at the very top of the control valve
modulatingcoil.Thiswill expose the central screw(low pressureadjuster) anda10mm hexagonalnut
surrounding it (high pressure adjuster). Note that the modulating coil may be rotated through 90° if
necessarytoprovideeasieraccessforpressureadjustments.Beforeadjustingthehighpressure,the fire
mustbealightandburningatthe‘HIGH’setting.(Holddownthe+endofthetoprockerswitchonthe
handpiecefor30secondstoensurethis).
Setthehighpressurefirst.NGhighpressureshouldbe0.95kPaandLPhighpressureshouldbe2.3kPa.
Adjust,ifnecessary,byrotatingthe10mmnut,screwingdowntoincreasethepressureanduptodecrease
it.
Beforesettingthelowpressure,removeoneofthebluewiresconnectedtothetopofthemodulatingcoil.
Thereis noneedtoalterthehandpiececontrolsetting.Adjustthelow pressureby rotating the central
Phillipsheadscrew,takingcarenottoshiftthepositionof thealreadyadjusted10mmhex.nut.Screw
downtoincreasethepressure.Thecorrectlowpressuresare1.0kPaforLPand0.40kPaforNG.
Replacetheprotectivecapontopoftheadjusters,re-fitthebluewiretothemodulatingcoil,rotatethe
assemblyabovethecoiltoitsoriginalpositionandre-fittheheatshieldabovethevalve.
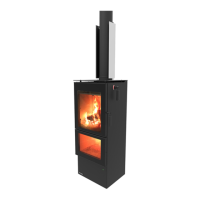
FAN
ACCMODELS. Thesehave a Thermodischeat operatedswitch incorporated in the fan wiring circuit to
preventthefanfromrunninguntilthefireboxhasreachedareasonableworkingtemperature.Itwillnotbe
possibletocheckthefanoperationuntilabouttenminutesafterthefirehasbeenliton‘HIGH’.Whenthis
timehaselapsed,checktheoperationofthefanonallspeedsettings.Verifycorrectoperation.
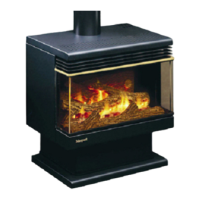
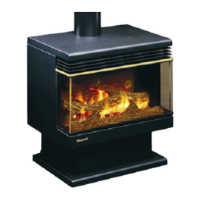
ECSMODELS.ThesehaveaThermodiscalso(seeaboveparagraph).Oncethefireboxhasheatedup,check
thefanoperationbypressingthelowerrockerswitchonthehandpiece.Pressingthe+endrepeatedlywill
increasethespeedthroughallfourfanspeedsettings(threespeedsandoff),whilepressingthe–endwill
stepitdownthroughthespeeds.Verifycorrectoperation.
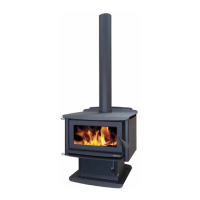
FLUE.USEONLYANAPPROVEDFLUESYSTEM.
NOTE.Forsafeoperation,thefluemustneverbelessthan900mmlong.
1.Standtheheaterinitsproposedposition,takingcaretoobservetheminimumclearancesshownonpage
7.Theheaterdoesnotrequireafloorprotector(hearth).
2. Drop a plumb-bobfrom theceilingto hang centrallyintheflue socket of the heater and mark the
positionontheceiling.Driveasmallnailthroughatthispointandinspecttheceilingandrooftoensure
thattheflueanditstrimwillbeatleast25mmclearofanycombustiblematerial.Thefluetermination
requirementsstatedin3belowwillalsoneedtobemet.
7
 Loading...