6
ENG
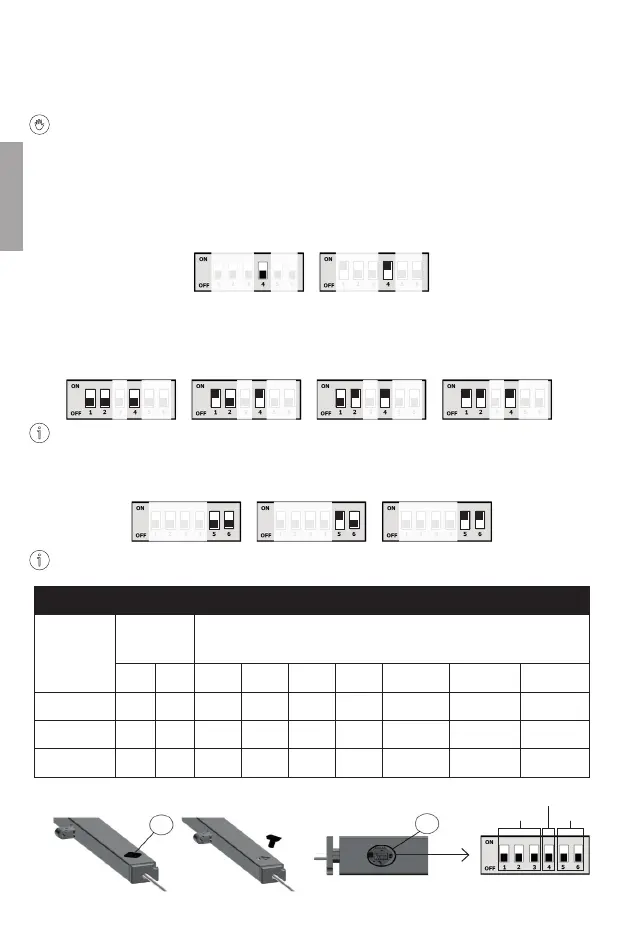
6. Configuring the actuator via dip-switches
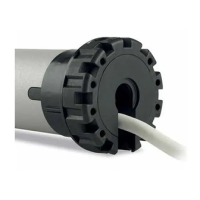
1. Locate the rubber cap (A).
Remove the cap and locate the dip-switch (B).
On all actuators, the dip-switches are factory set to OFF with standard stroke. (see stroke table).
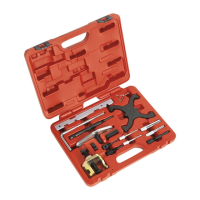
2. Obtain a precision screwdriver with stem diameter preferably 2.5mm flat tip.
3. Before changing dip-switch positions ensure that the actuator is not powered.
4. A “slave” actuator will follow the movements of its “master”. To make an actuator “slave” it is necessary
to act on dip-switch 4 which is in the OFF position by default. By setting dip-switch 4 to ON, the actuator
becomes “slave”. Practical examples in annexes: A-2, A-3 and A-4.
5. A group of actuators interact on the same window or on a group of windows that can move in a coordi-
nated manner. Each actuator must be assigned a dierent ID. IDs are assigned by acting on dip-switches
1 and 2. Practical examples in annexes: A-2, A-3 and A-4. There are a total of 4 possibilities to customise
the ID.
The strokes of all actuators must all be set to the same length.
6. To change the actuator stroke, set dip-switches 5 and 6 to the OFF position. (see stroke table).
Always refer to specialised personnel for actuator configuration.
STROKE TABLE
TYPE OF
CONFIGURA-
TION
DIP- SWITCH ACTUATOR
5 6 A1123.1 A1123.2 A1123.3 A1124.X A1125.X A1125.11/.12 A1125.13
STANDARD OFF OFF 150mm 300mm 500mm 300mm 0-17-34mm
MEDIUM ON OFF 200mm 350mm 600mm 350mm 0-34mm
LONG ON ON 300mm 400mm 0-40mm
MASTER
ID 0 MASTER
STANDARD
ACTUATOR ID 2
LONG
SLAVE
ACTUATOR ID 1
MEDIUM
ACTUATOR ID 3
ID
RUOLO
CORSA
A
B