16
1. Using the open-end wrench, place the flat open end onto the flat surfaces
on the arbor shaft.
2. Insert the closed-end wrench over the hex nut. Holding both wrenches
firmly, push the closed-end wrench toward the back of the machine. Make
sure the blade nut is securely tightened. Do not over-tighten. Check all
clearances for free blade rotation.
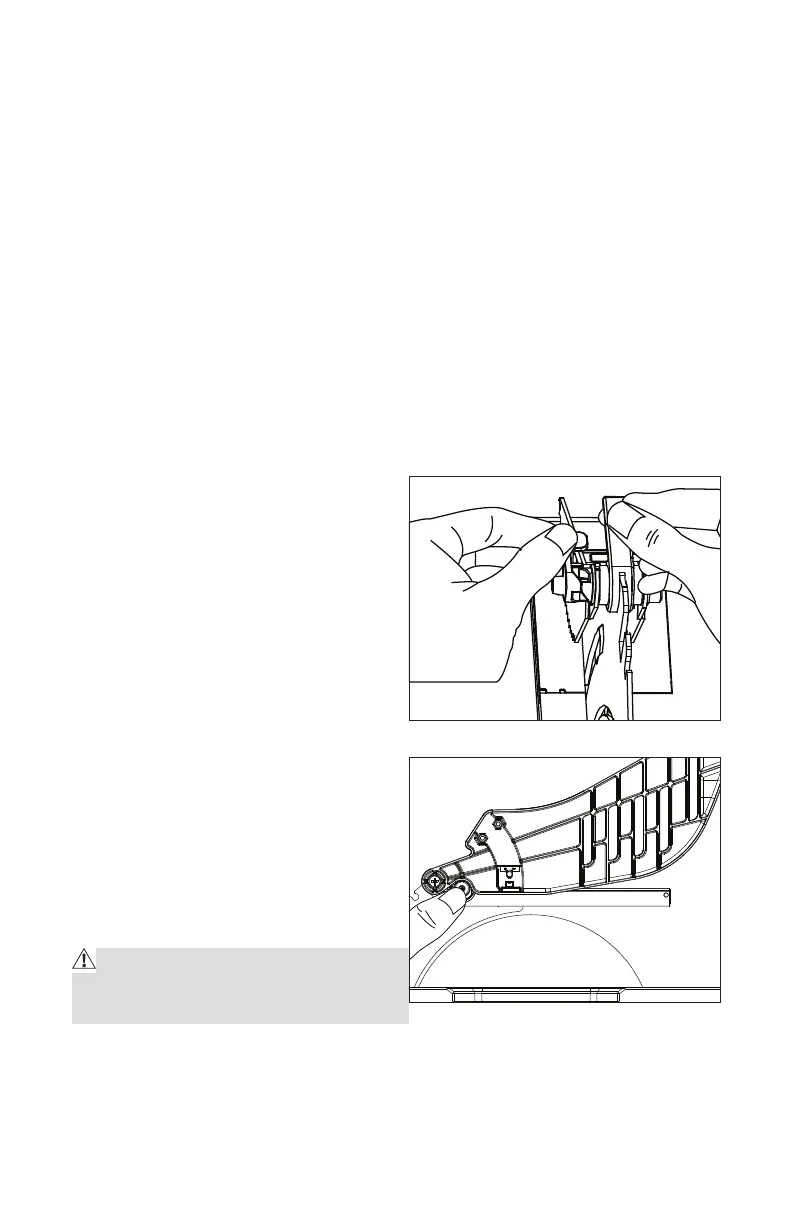
INSTALLING THE ANTI-KICKBACK PAWLS AND BLADE GUARD ASSEMBLY
(See Fig8, 9)
NOTE: Anti-kickback pawls should only be installed for through-cuts.
1. Unplug the saw
2. Raise the saw blade to its highest position.
3. Place the spreader/riving knife in the “up” position.
To install anti-kickback pawls:
1. Hold the anti-kickback pawls
unlocking lever up.
2. Align the slot in the pawls over the
rear hole in the spreader/riving knife.
3. Lock the pawls in place by pushing
the lever down.
To install the blade guard:
1. Lift both guard barriers up to their
locked position.
2. Press and hold the button on the
right side of the blade guard.
3. Lower the back of the guard into
the front hole of the spreader /riving
knife, and push the guard down
horizontally until it is fully engaged.
4. Lock the guard in place by releasing
the button.
CAUTION! Lift the anti-kickback pawls
and guard up to check if they are locked
securely.
CHECKING AND ALIGNING THE SPREADER/RIVING KNIFE AND SAW BLADE
(See Fig. 10, 11)
NOTE: Only install the spreader/riving knife for through-cuts.
If the spreader/riving knife is out of alignment with the saw blade, adjustment
Fig. 8
Fig. 9
 Loading...