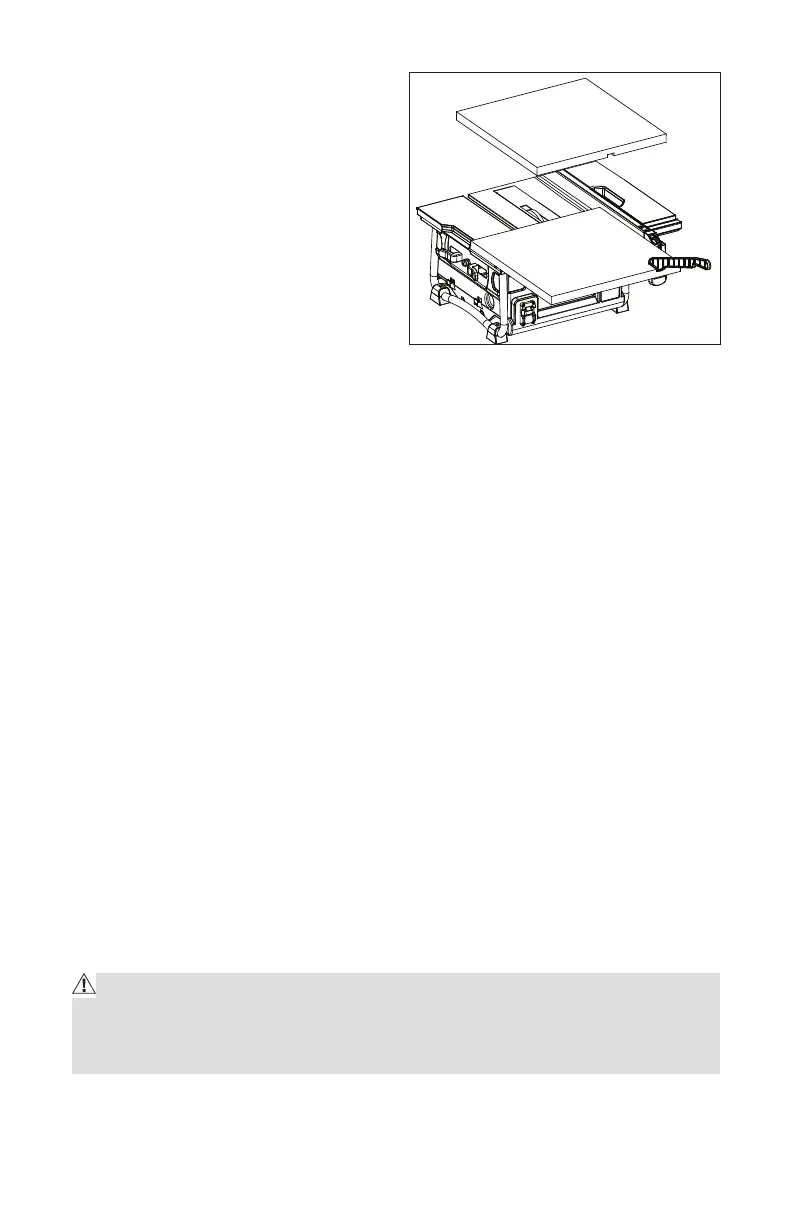
30
NOTE: Remove the bushing in order to
expose sufficient thread to safely hold
the dado blade set.
4. Remove the spreader/riving knife.
5. Reinstall the inner flange.
6. Mount the dado blade, using the
blade and chippers appropriate for
the desired width of cut.
7. Reinstall the outer flange and the
blade nut.
NOTE: Make sure the blade nut is fully engaged and the arbor extends past a
securely tightened blade nut.
8. Place the release lever in the locked position.
9. Install the dado throat plate, rotate the blade by hand in order to make
sure it turns freely, and then lower the blade.
NOTE: When cutting with a dado blade, use a dust collection system to
prevent heavy dust loads from piling up under the saw and on the fan intake
on the motor. Clean these areas often.
DUST COLLECTION
Your table saw is equipped with a dust extraction port. For best results,
connect a vacuum to the port at the rear of the saw. If the saw is operated
without a vacuum attached, some of the dust will be blown out the dust
collection port. After extended use, the saw’s dust collection system may
become clogged.
MAINTENANCE
GENERAL MAINTENANCE
Avoid using solvents when cleaning plastic parts. Most plastics are
susceptible to damage from various types of commercial solvents. Use a clean
cloth to remove dirt, dust, oil, grease, etc.
WARNING! Do not allow brake fluid, gasoline, petroleum-based
products,
penetrating oils, etc., to come into contact with plastic parts. Chemicals can
damage, weaken or destroy plastic, which may result in serious personal in-
jury.
1. Periodically check all clamps, nuts, bolts, and screws for tightness and
condition. Make sure the throat plate is in good condition and in proper
Fig. 30
DADO
CUTTING
 Loading...