29
MITRING (Refer to Fig. 28)
WARNING! Mitre angles greater
than 45° may force the guard into
the
saw blade, causing damage to the guard
and personal injury. Before starting the
motor, test the operation by feeding the
workpiece into the guard. If the guard
contacts the blade, place the workpiece
under the guard, not touching the
blade,
before starting the motor.
CAUTION! Certain workpiece shapes,
such as mouldings, may not
lift the guard properly. Feed the workpiece slowly
to start the cut. If the guard contacts the blade, place the workpiece under the
guard, not touching the blade, before starting the motor. This operation is the
same as crosscutting, except that the mitre gauge is locked at an angle other
than 0°. Hold the workpiece FIRMLY against the mitre gauge, and feed the
workpiece slowly into the blade (to prevent the workpiece from moving).
Mitre gauge operation
To set your mitre gauge, loosen the locking handle and move the mitre gauge
to the desired angle. The mitre gauge has set stops and 90° and 45° left and
right.
COMPOUND MITRING
This is a combination of bevel crosscutting and mitring. Follow the
instructions for both bevel crosscutting
and mitring.
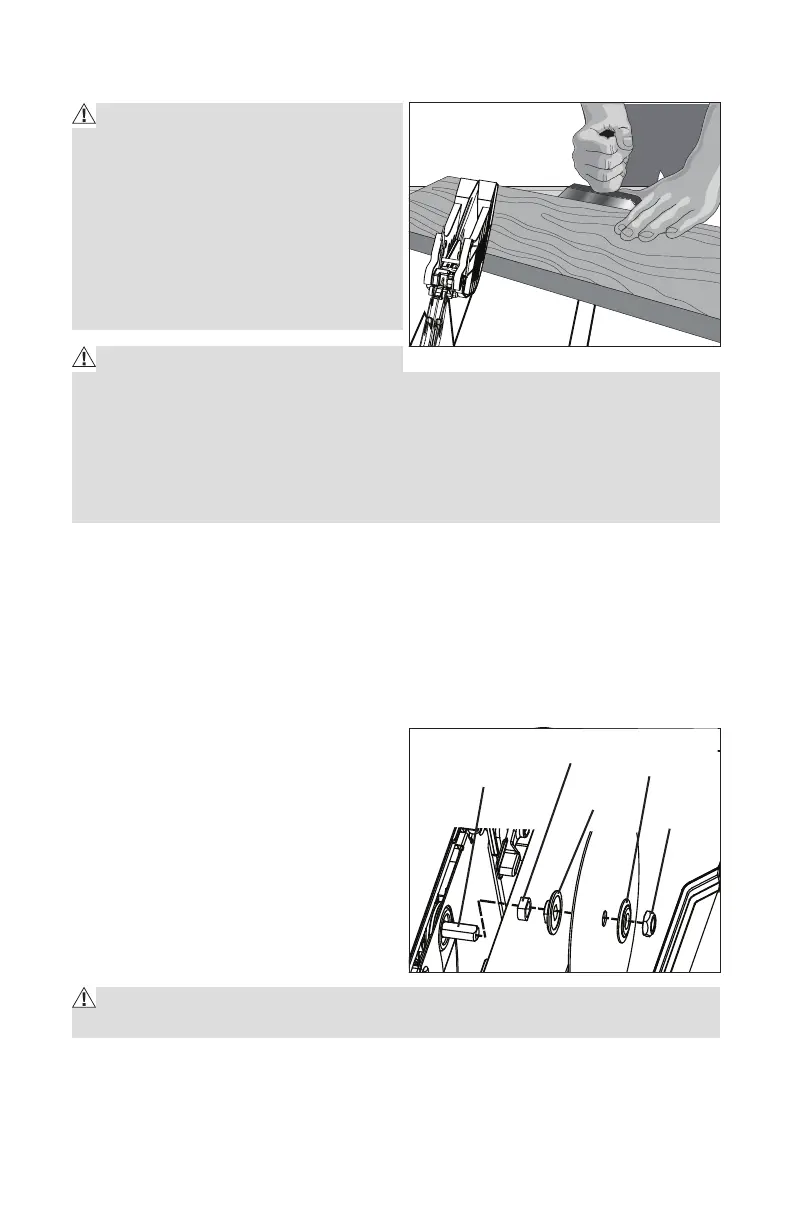
DADO CUTTING
The included dado throat plate is required
for this procedure. Blades and dado sets
must not be rated lower than the speed
of this tool. This saw is designed for
use with a 6” (15.2 cm) stack dado (up
to 1/2” (13 mm) wide). Do not use an
adjustable dado with this saw.
WARNING! Unplug the saw in order to prevent accidental startin
g that could
result in possible injury.
1. Unplug the saw
2. Remove the blade guard, anti-kickback pawls, and throat plate.
3. Remove the blade nut, outer flange, saw blade, inner flange, and bushing.
Fig. 28
Fig. 29
ARBOR SHAFT
BUSHING
INNER
FLANGE
OUTER FLANGE
BLADE
NUT
 Loading...