33
Installing a Floppy Diskette Drive
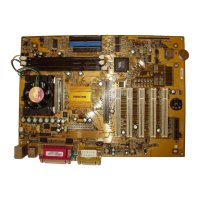
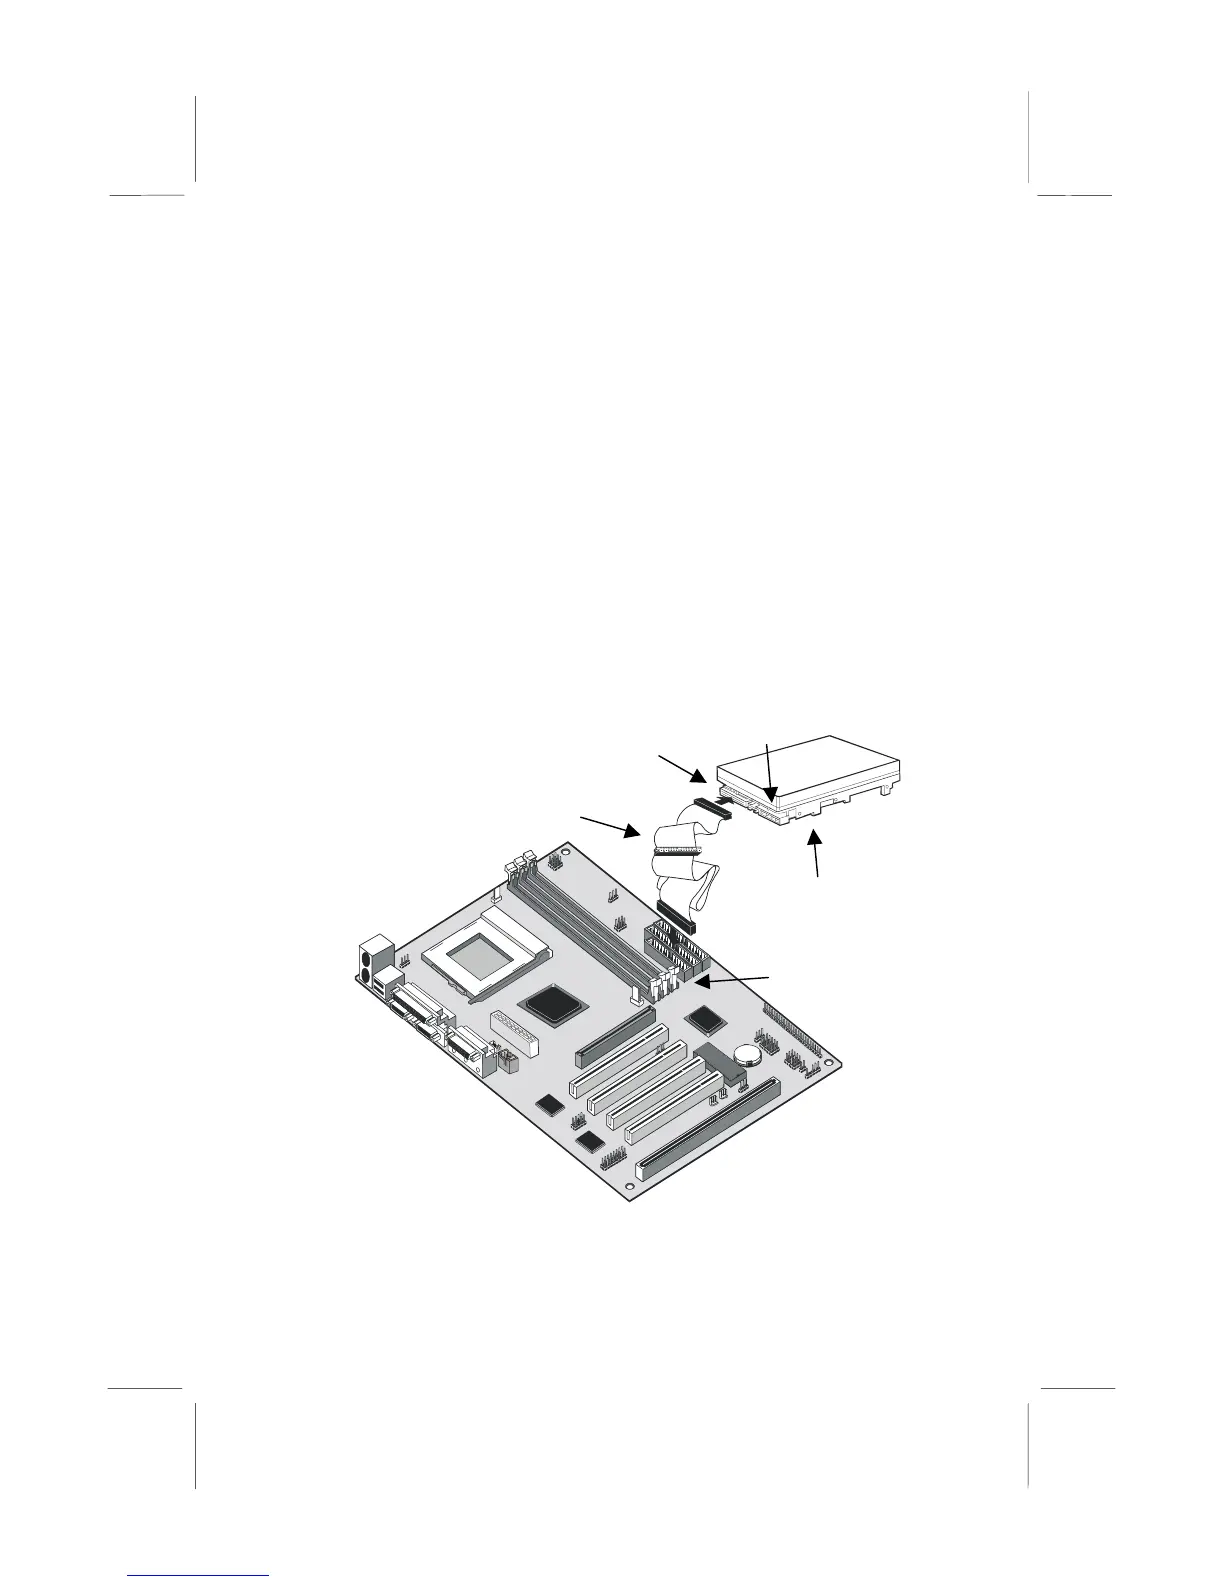
The mainboard has a floppy diskette drive interface and it ships with a
diskette drive ribbon cable that supports one or two floppy diskette drives.
You can install a 5.25” drive or a 3.5” drive with various capacities. The
floppy diskette drive cable has one type of connector for a 5.25” drive
and another type of connector for a 5.25” drive.
1. Install the floppy diskette drive into the drive cage in your system
case.
2. Plug the diskette drive cable into the diskette drive interface on the
mainboard FDD1.
3. Plug one of the connectors on the diskette drive cable into the data
connector on the back edge of the floppy diskette drive. Make sure
that you have the pin-1 side of the cable matched with the pin-1 side
of the connector.
4. Plug a power cable from the case power supply unit into the power
connector on the back edge of the diskette drive.
5. When you first start up your system, go immediately to the setup
utility and use the Standard page to configure the floppy diskette
drives that you have installed. See Chapter three for more
information.
Power connector
FDD ribbon cable
FDD1
Floppy diskette drive
Data connector