15
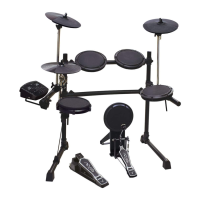
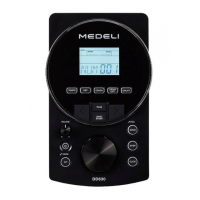
1. Press the [ voice ] button until the LED display shows :
"PXX". (XX = Pan value, -8 to 8). The pad button indicator
lights and display shows the current value of lighting pad.
2. Press the [ PAD ] button or hit the percussion pad you
want to adjust.
3. Press the [ + ] or [ - ] buttons to adjust the level of the
current pad.
4. Repeat step 2 and 3 to adjust the level of other pad.
Note: P-8 (left) -- 0 (center) -- P8 (right)
Adjust the pan of the pad
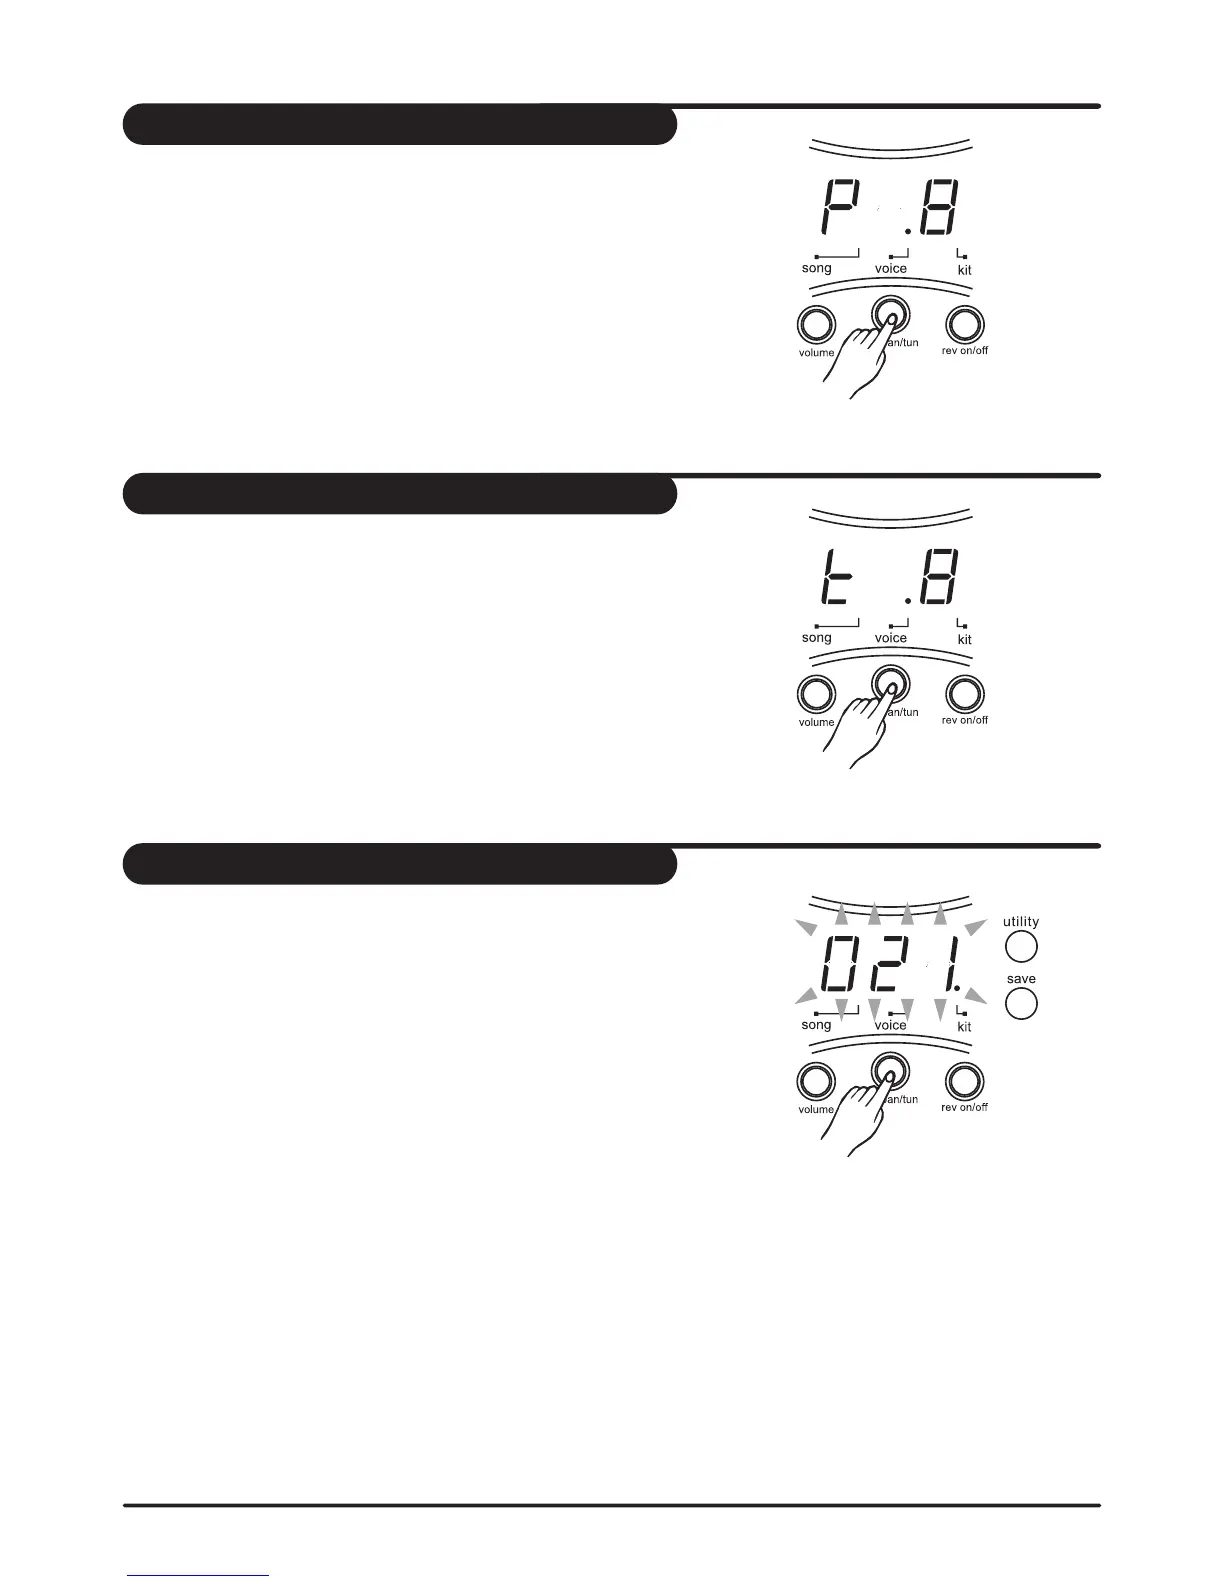
1. Press the [ voice ] button until the LED display shows :
"tXX". (XX = Tuning value, -8 to 8). The pad button indicator
lights and display shows the current value of lighting pad.
2. Press the [ PAD ] button or hit the percussion pad you
want to adjust.
3. Press the [ + ] or [ - ] buttons to adjust the tuning of the
current pad.
4. Repeat step 2 and 3 to adjust the level of other pad.
Note: P-8 (left) -- 0 (center) -- P8 (right)
Adjust the tuning of the pad
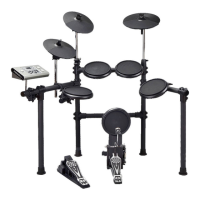
Once completing to your own drum kit, you have to save them
in the unit; otherwise your drum kit will be erased when you
turn off the unit.
1. Press [ voice ] button.
The kit number 021 appears and is flashing.
2. Press [ + ] or [ - ] buttons to set the kit number (021-050) for
saving your drum kit.
3. Press [ save ] button again. The flashing kit number stops.
4. Repeat step 2 and 3 for to set the other user kits.
Set a user drum kit