1-800-MEDLINE (633-5463) | medline.com 19
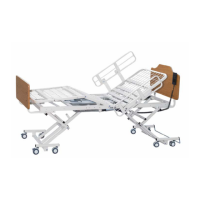
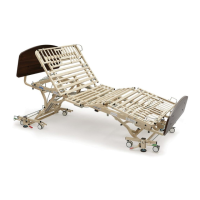
ACTUATOR REPLACEMENT
hEAD AND FOOT ACTUATORS
1. Unplug the bed from AC power.
2. Unplug the actuator cable.
3. Remove the clevis pin, cotter pin and spacers from both the motor and piston sides of the
actuator.
Attention: Note the location of all bushings, washers, cable ties, wire routing and hardware for
proper reassembly.
4. Install the new actuator at the motor end first then piston end, using the original clevis pin,
cotter pin and any spacers that were removed in Step 3. Installing the motor end first will
reduce possible damage to spindle and piston mechanism of the actuator.
5. Plug in the actuator cable.
6. Reconnect AC power.
7. Test the bed by raising and lowering the head and foot sections
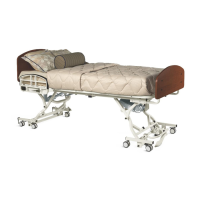
hIGh-LOW ACTUATORS
CAUTION
• RemoveALLaccessoriesmountedtothebed(assistrails,assistbarsandheadand
footboards). Failure to do so could result in the bed being unstable causing injury.
• Thebedmustbeturnedonitssidebeforereplacingactuators.Aminimumoftwopeople
are required to turn bed on its side.
• Fullyelevatethebeddeckandheadsectionbeforeturningthebedonitssidetocreatea
more stable work platform.
1. Remove all accessories mounted to the bed (assist rails, assist bars and head and
footboards).
2. Elevate the bed to its highest position and raise the head and foot sections.
3. Unplug the bed from AC power.
4. With at least TWO people, carefully turn the bed on its side.
5. Remove the clevis pin, cotter pin and spacers from both the motor and piston sides of the
actuator.
Attention: Note the location of all bushings, washers, cable ties, wire routing and hardware for
proper reassembly.
8. Install the new actuator at the motor end first then piston end, using the original clevis pin,
cotter pin and any spacers that were removed in Step 5. Installing the motor end first will
reduce possible damage to spindle and piston mechanism of the actuator.
6. Plug in the actuator cable.
7. With at least TWO people, carefully return the bed to the upright position.
8. Reconnect AC power.
 Loading...