12-Quart Digital Pressure Cooker | Model MCPR3500 | 11
1. Remove packaging materials such as cardboard, plastics or Styrofoam and discard
appropriately.
2. Clean all the parts by wiping with a soft damp cloth or sponge and dry thoroughly.
3. Thoroughly clean the cooking pot in the dishwasher or with warm soapy water. Rinse,
towel or air-dry, and place in the pressure cooker.
RUBBER SEALING RING ASSEMBLY
BEFORE FIRST USE
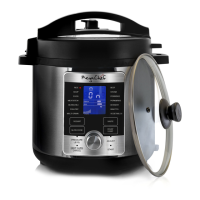
1. Lid Handle
2. Pressure Limiting Valve
3. Float Valve (external view)
4. Lid
5. Lid Rest Insert
6. Filter
7. Float Valve (internal view)
8. Rubber Sealing Ring
9. X-Shaped Metal Ring
10. Outer Pot
11. Inner Pot
12. Lid Rest Slot
13. Handles
14. Control Panel
15. Main Body
16. Sensor
17. Heating Plate
18. Anti-Slip Feet
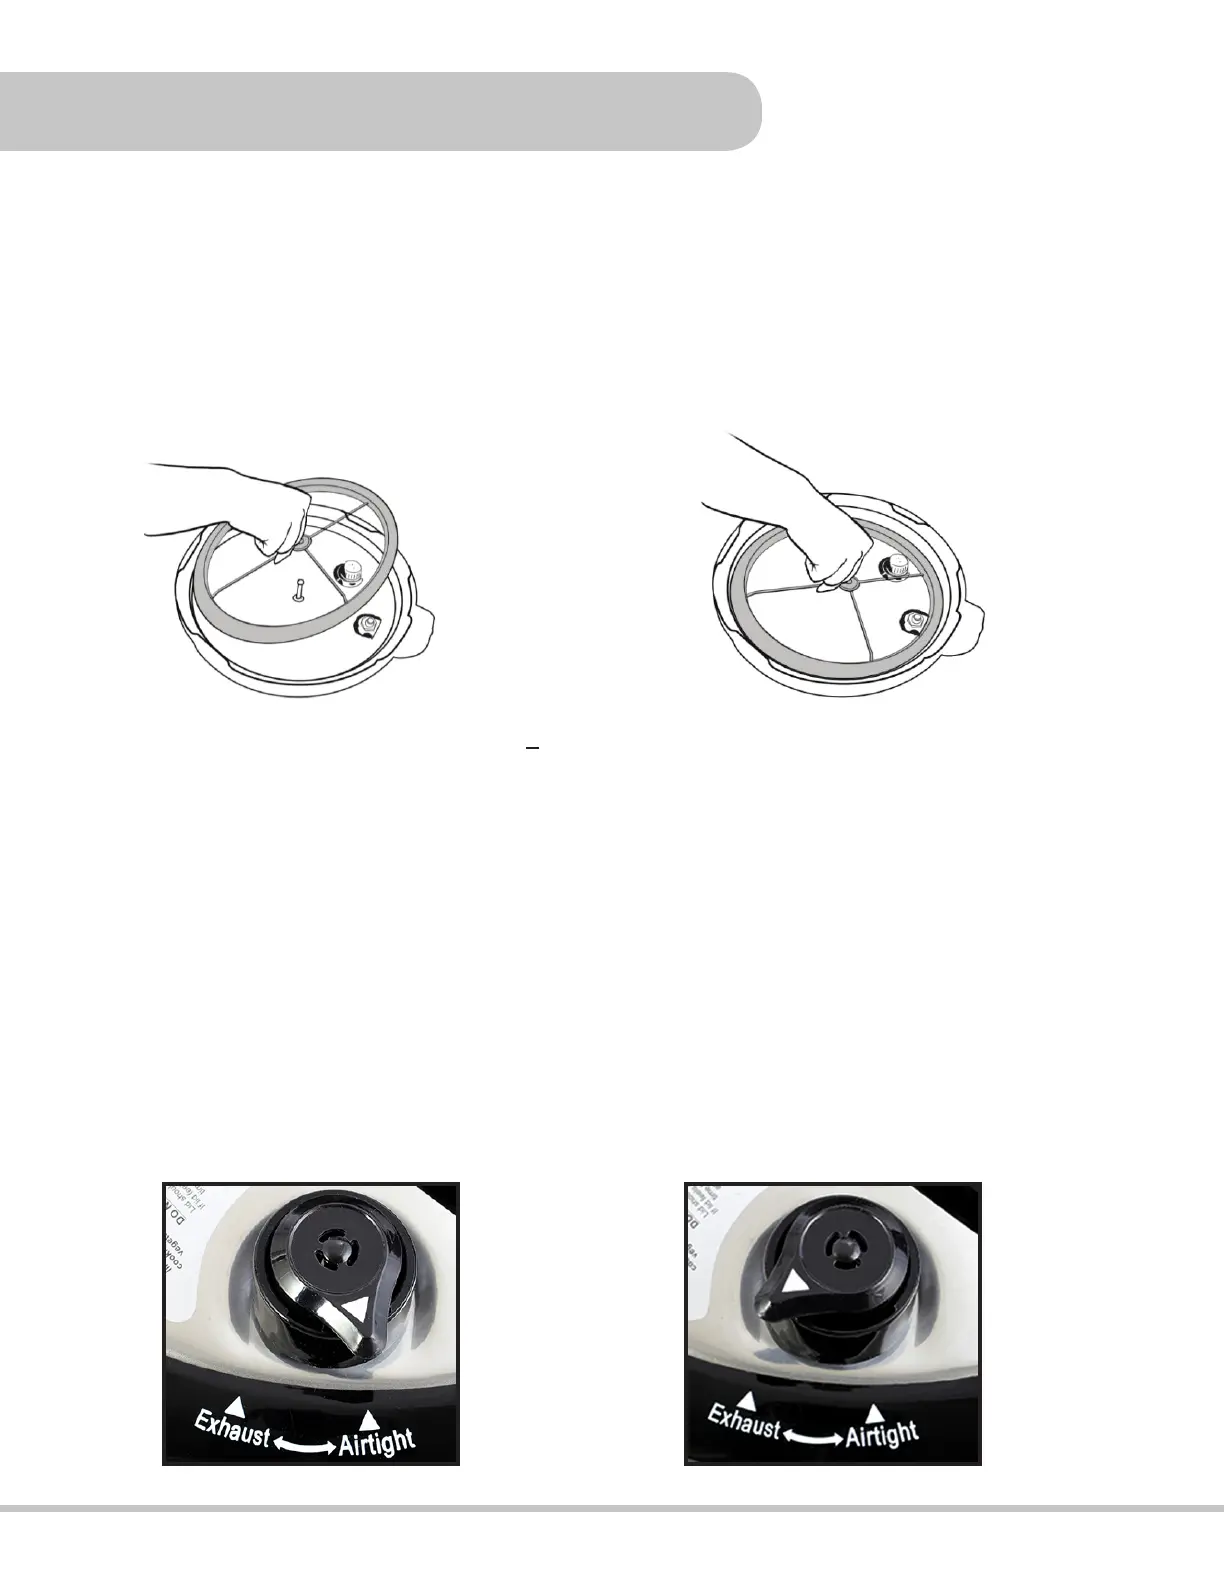
Always ensure the rubber sealing ring (9) is securely tted onto the X-shaped metal ring (10).
Make sure the crease in the rubber sealing ring meets with the outside of the X-ring all the way
around. Then place the X-ring and rubber seal ring back into the lid (5), making sure the hole
in the center of the X-ring’s cross-section is lined up with the metal pin in the center of the lid.
Press down rmly until the X-ring is secured onto the lid.
PRESSURE LIMITING VALVE
Turn the pressure valve so it points towards the “Airtight” position (g 1); the pressure limiting valve
should wobble in the airtight position. To release pressure, turn it 45° clockwise so it points towards
the “Exhaust” position
(g 2); the pressure valve should feel tight in the exhaust position.
Fig. 1 Fig. 2