Refer to www.meir.com.au for tolerances, flow rates and other additional information | 1716
JUMPER VALVE WALL TOP ASSEMBLY INSTALLATION INSTRUCTIONS
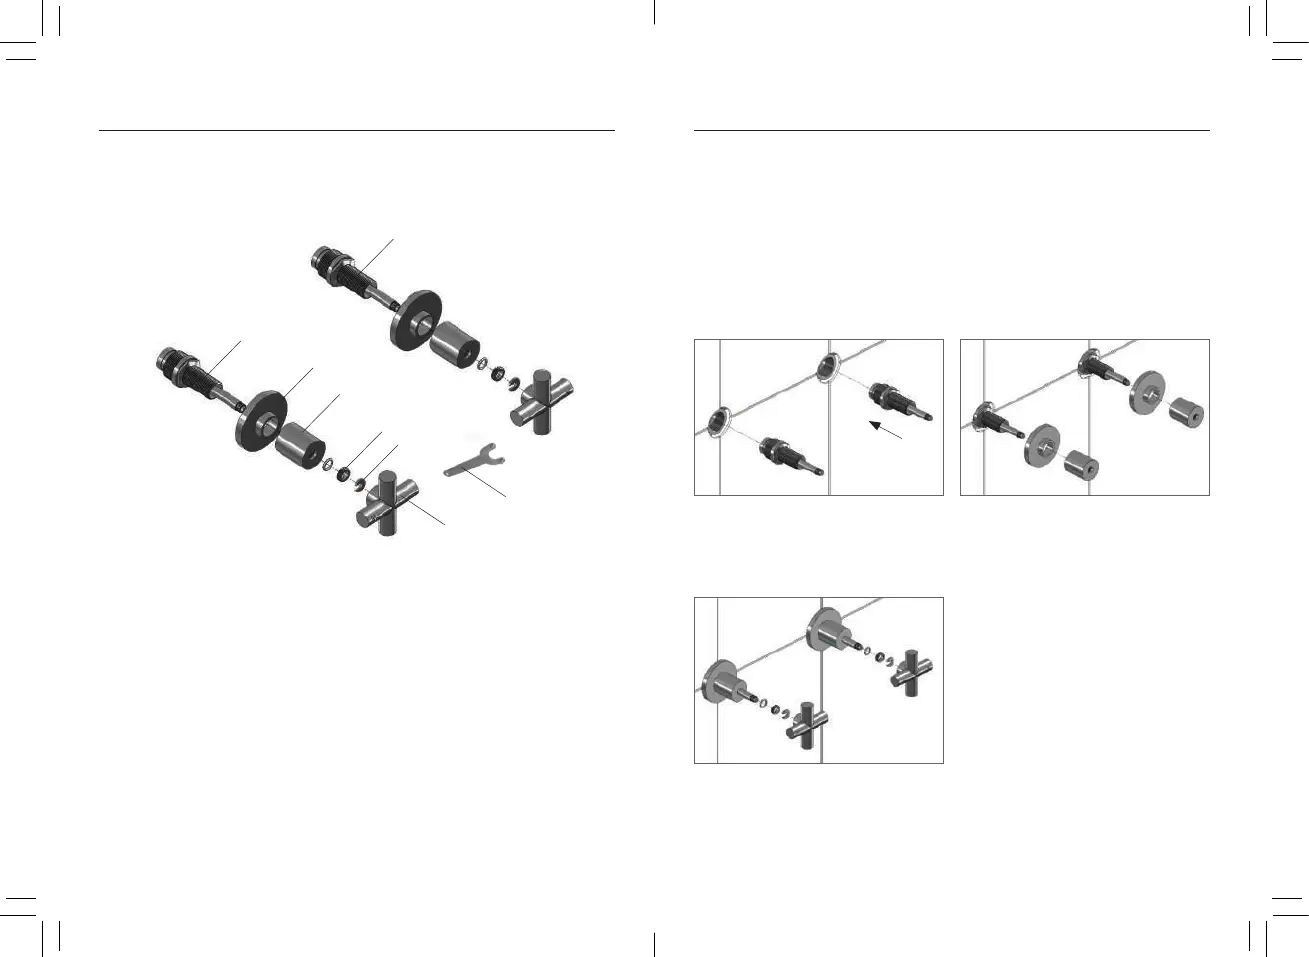
1. Ensure the seat surface is clean
and smooth, if required re-seat
and flush. Disassemble the handle
and back plate from the spindle if
required. Install the jumper valve
spindle into the breech seat and
tighten the locking nut. Ensure
the spindle sits correctly in terms
of direction and depth before
waterproofing.
2. Slide the cover plate and fixing
nut over the spindle and hand
tighten (if there is not enough
thread to tighten the fixing
nut on you will require spindle
extensions, these can be
purchased separately).
3. Install parts 4, 5 and 6 then tighten accordingly. Use care when
using the provided 2 prong spanner to avoid scratching the spindle.
Test for leaks around the spindle bodies and to ensure the wall tops
are functioning correctly.
1. Hot cartridge
2. Backplate
3. Fixing nut
4. Nut
5. C-clip
6. Handle
7. Cold cartridge
8. Installation tool
7
1
2
3
4
5
6
8