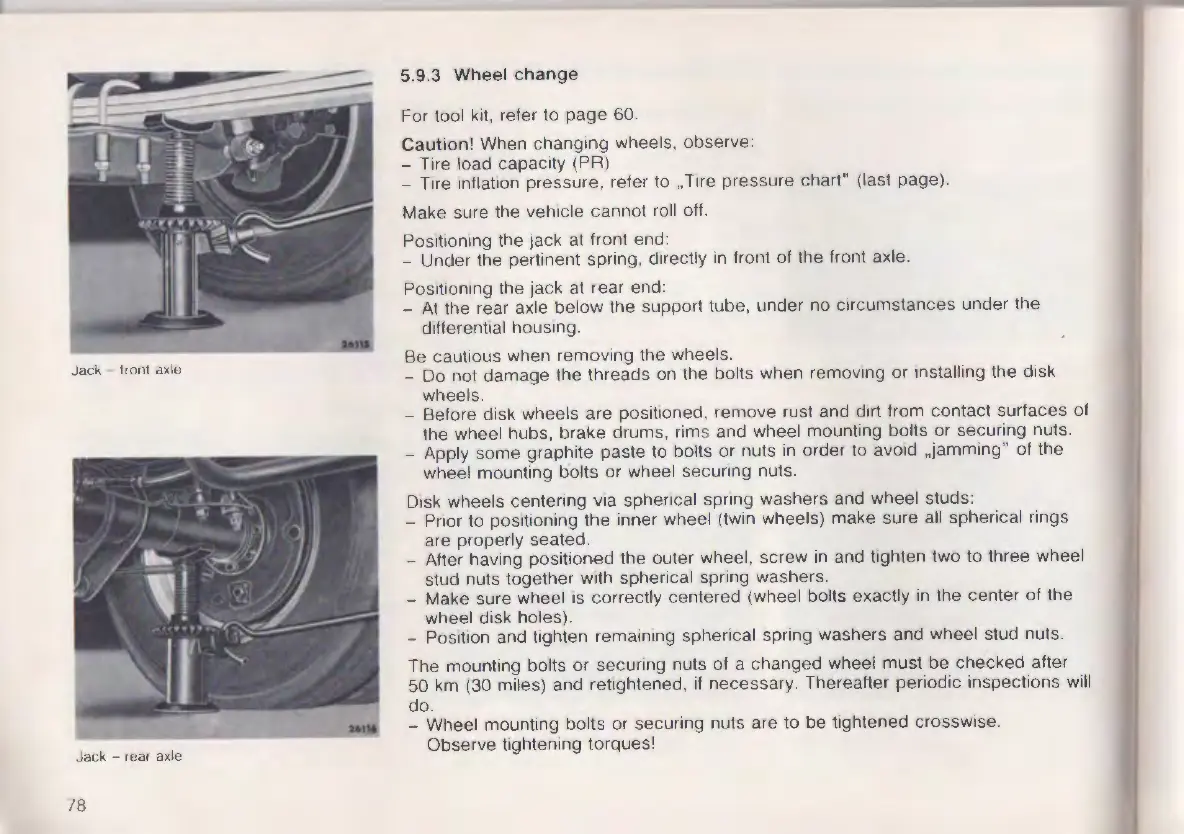
Jack - tron1 axle
Jack - rear axle
18
5.9.3 Wheel change
For tool kit, refer to page
60 .
Caution! When changing wheels, observe:
- Tire load capacity (PR)
- Tire inflation pressure, refer to ,,Tire pressure chart" (last page).
Make sure the vehicle cannot roll off.
Positioning the jack at front end :
- Under the pertinent spring , directly in front of the front axle.
Positioning the jack at rear end:
- At the rear axle below the support tube , under no circumstances under the
differential housing.
Be cautious when removing the wheels.
- Do not damage the threads on the bolts when removing or installing the disk
wheels.
- Before disk wheels are posit ioned , remove rust and dirt from contact surfaces of
the wheel hubs, brake drums , rims and wheel mounting bolts or securing nuts.
- Apply some graphite paste to bolts or nuts in order to avoid ,,jamming " of the
wheel mounting b"olts or wheel securing nuts.
Disk wheels centering via spherical spring washers and wheel studs:
- Prior to positioning the inner wheel (twin wheels) make sure all spherical rings
are properly seated.
- After having positioned the outer wheel, screw in and tighten two to three wheel
stud nuts together with spherical spring washers.
- Make sure wheel is correctly centered (wheel bolts exactly in the center of the
wheel disk holes).
- Position and tighten remaining spherical spring washers and wheel stud nuts .
The mounting bolts or securing nuts of a changed wheel must be checked after
50 km (30 mites) and retightened, if necessary. Thereafter periodic inspections will
do.
•• - Wheel mounting bolts or securing nuts are to be tightened crosswise.
~~~-------'= Observe tightening torques!
 Loading...