1 CCM-270A/WS
201807 63
Tap in the group area on the left to select and view different maps. Tap the different IDU icon on the map to select the
specific indoor unit. Once selected, the control method is similar to that in the “Group” view. Tap “+” or “-” at the
lower-left corner to zoom in and out of the map. This interface is just to see the indoor units according to their locations
on the map. It is just a better way to remember which indoor units are being controlled. Looking at the map and their
relative position helps users to remember better which indoor units are being controlled. Other functions are similar as in
Group View or System View. The user can change the name of the indoor units also for better understanding of the map.
The method to change the name of the units has been discussed in 8.1 Edit in this part (Functions) of the manual.
Important Point:
The groups present here in the “Map” menu are different from those created in the “Group” menu. The groups for “Map”
view need to be made in the “Map” tab of the “Install” menu. The user needs to upload the map (picture) into
CCM-270A/WS touch screen controller using a USB disk which can be connected to the US port of the touch screen
centralized controller. The details on how to upload the map in Touch screen controller have been discussed in 8.3 Edit
Map in the part (Functions) of this manual.
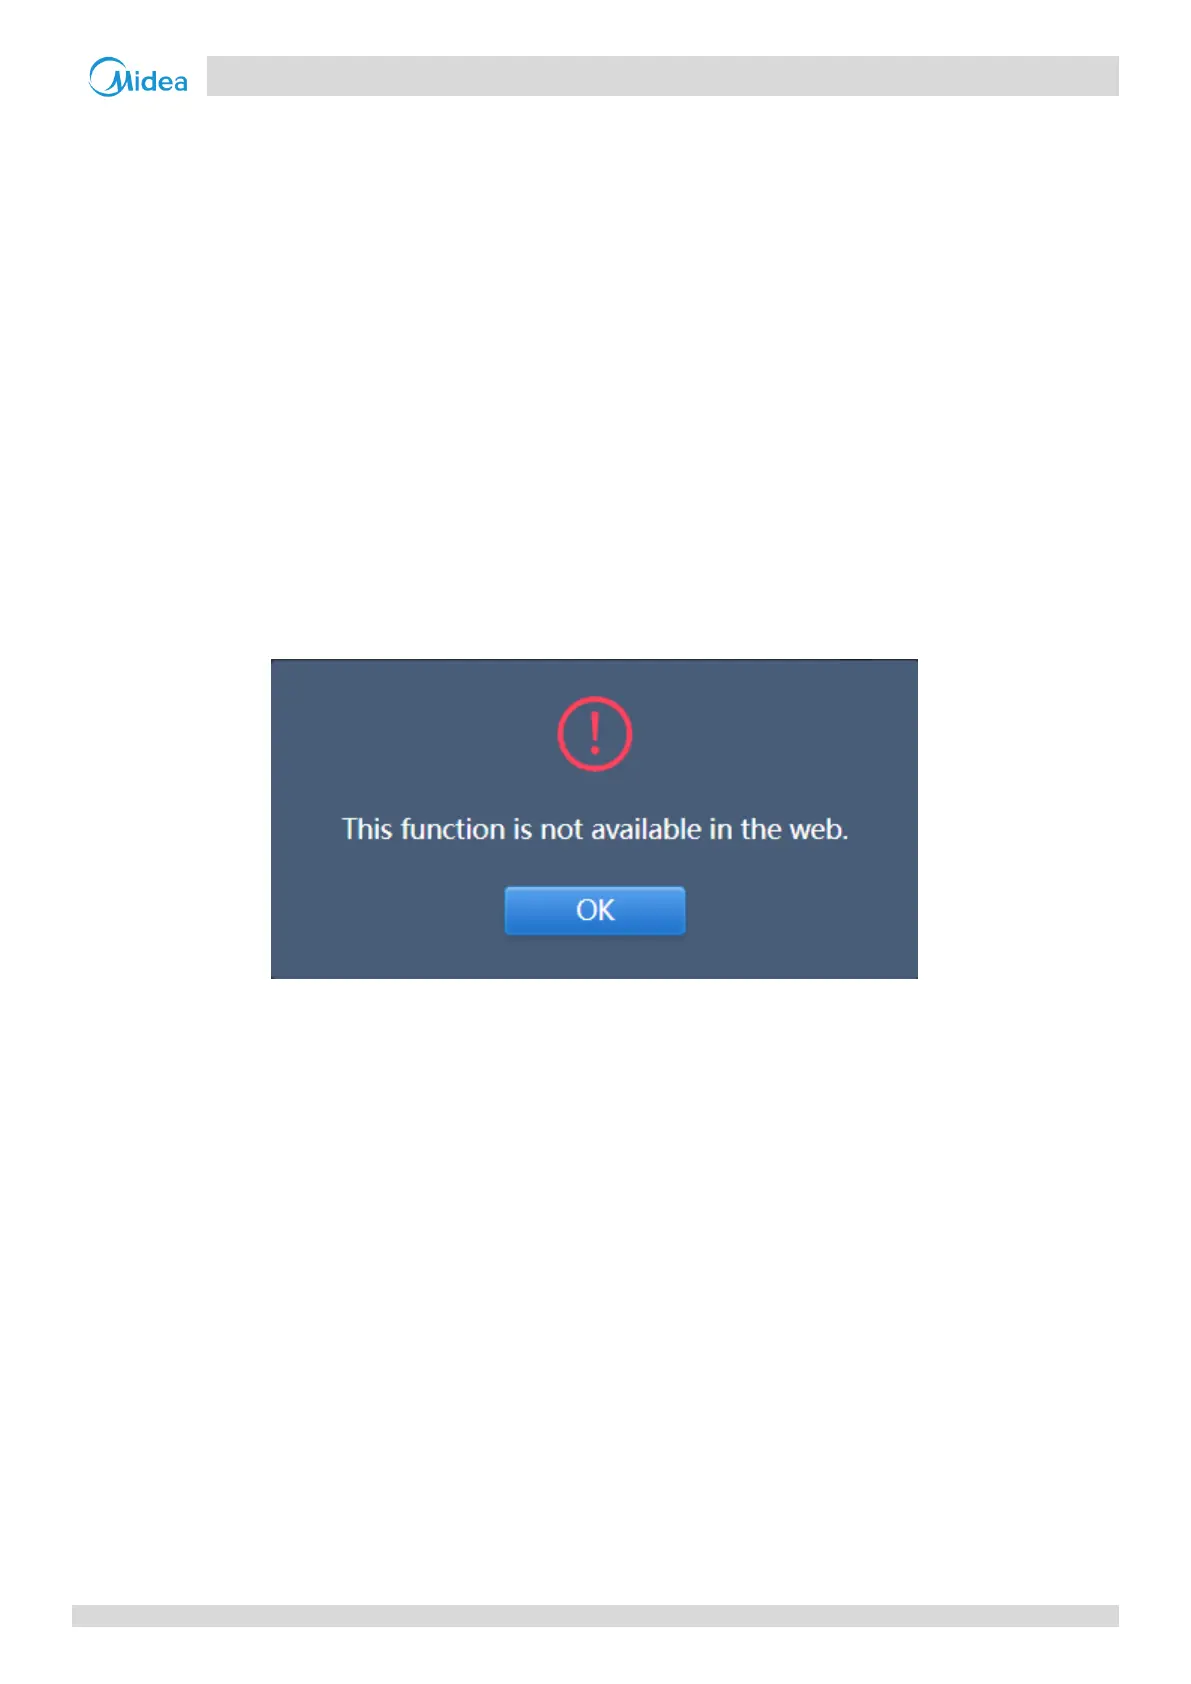
For Computer Website: This function is not available in computer website.
If you will try to click on the map view from the computer website, the following dialog box will pop up.