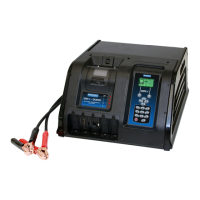
GRX-3000
Midtronics bv. Lage Dijk-Noord 6 IJsselstein NL
www.midtronics.com
17
Chapter 4: Preparing to Charge
Inspecting the Battery
Before starting the test, visually inspect the battery for:
• Cracked,buckled,orleakingcase.Ifyouseeanyofthese
defects, replace the battery. DO NOT CHARGE THE
BATTERY.
• Corroded, loose, or damaged cables and connections.
Repair or replace as needed.
• Corrosiononthebattery terminals,dirt or acidonthe
case top. Clean the case and terminals using a wire
brush and a mixture of water and baking soda.
• Lowelectrolytelevel.Iftheelectrolytelevelistoolow,
add distilled water to the level indicated by the battery
manufacturer. Do not overll.
• Corroded or loose battery terminals, tray and hold-
down xture. Tighten or replace as needed.
Connecting the Clamps
Connect the charging clamps to the battery in accordance
with all precautions and safety instructions. Do not connect
either clamp to the vehicle’s chassis.
Connect the clamps to the battery posts: negative (–) black
clamp to the negative (–) post; positive (+) red clamp to the
positive (+) post.
If the clamps are not making good contact with the battery
posts, the screen displays CHECK CLAMP CONNECTIONS.
Make sure that both jaws of each charging clamp come
in good contact with the battery posts. If you accidentally
reverse the clamp connections, the charger sounds an alarm
and displays REVERSE CLAMPS.
Chapter 4: Preparing to Charge

 Loading...